DIY: Projects by category | by magazine. Videos: How to | habitat magazine | Colour class
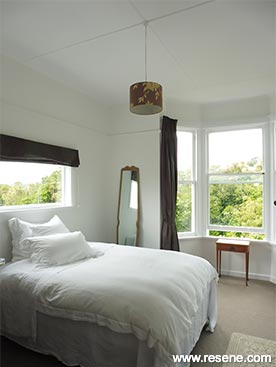
Transform a large bedroom into a light and airy space with a selection of fresh Resene whites.
Room for improvement with Mark Rayner - Project 05
Difficulty level: Moderate
| Room: | Bedroom |
| Condition: | Excellent |
| Ceiling: | Previously painted with waterborne ceiling paint |
| Woodwork: | Previously painted with waterborne semi-gloss paint |
| Walls: | Previously painted with waterborne low sheen paint |
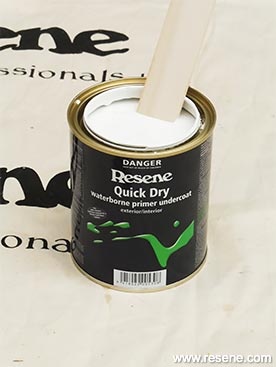
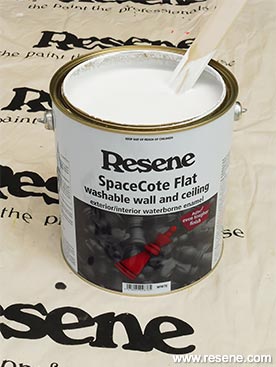
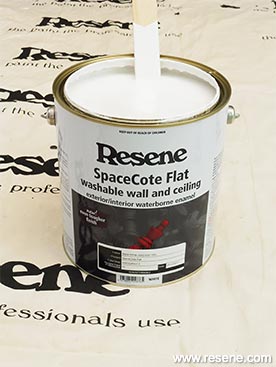
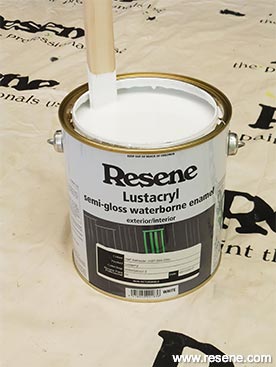
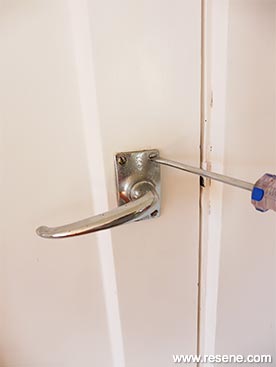
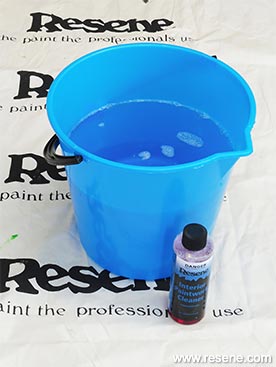
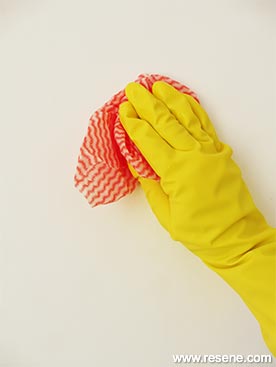
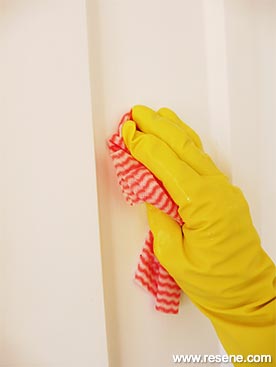
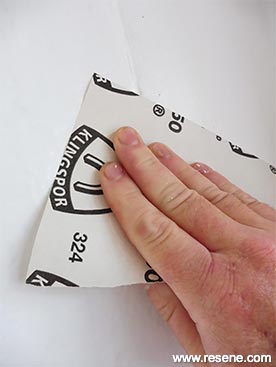
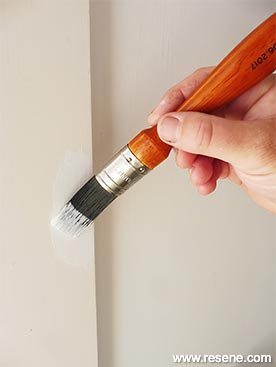
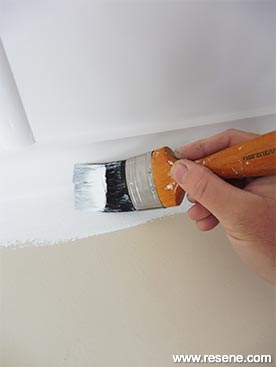
You will need: Bucket with warm water, clean cloths, dropcloth, paintbrushes, paint roller and tray, paint roller extension handle, paint stirrer, Resene Interior Paintwork Cleaner, Resene Lustacryl tinted to Resene Half Alabaster, Resene Quick Dry, Resene SpaceCote Flat tinted to Resene Black White, Resene SpaceCote Flat White, rubber gloves, sandpaper, screwdriver.
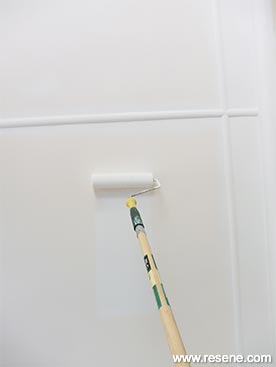
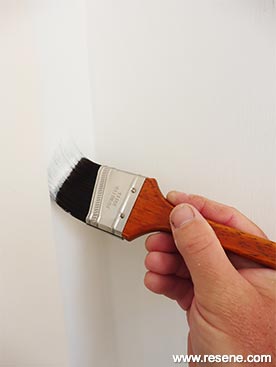
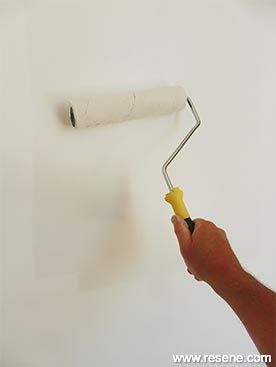
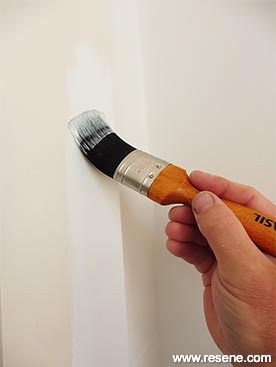
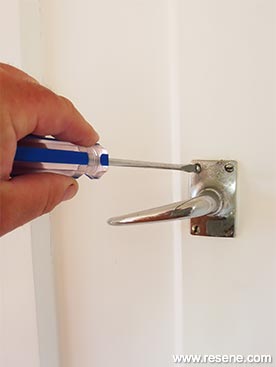
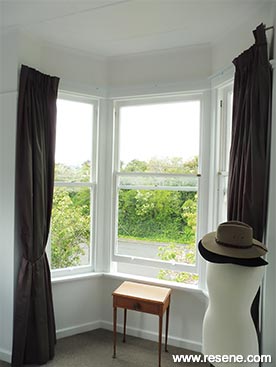
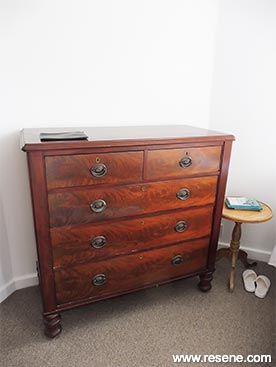
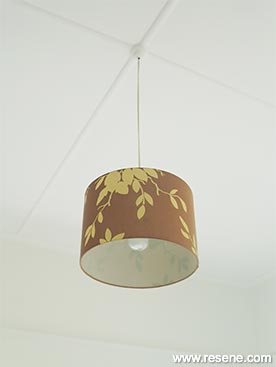
› Download a PDF of this project
Order online now:
Testpots |
Paints |
Primers and Sealers |
Stains |
Clears |
Accessories
![]() Get inspired ! Subscribe
Get inspired ! Subscribe ![]() Get saving ! Apply for a DIY card
Get saving ! Apply for a DIY card
Can't find what you're looking for? Ask us!
Company profile | Terms | Privacy policy | Quality and environmental policy | Health and safety policy
Colours shown on this website are a representation only. Please refer to the actual paint or product sample. Resene colour charts, testpots and samples are available for ordering online. See measurements/conversions for more details on how electronic colour values are achieved.
What's new | Specifiers | Painters | DIYers | Artists | Kids | Sitemap | Home | TOP ⇧

