DIY: Projects by category | by magazine. Videos: How to | habitat magazine | Colour class
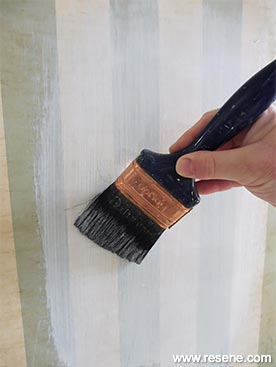
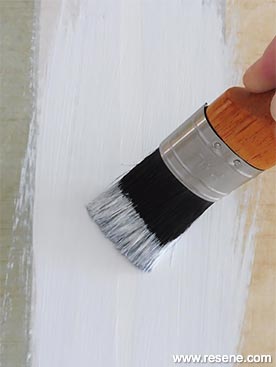
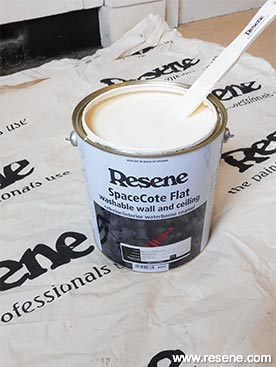
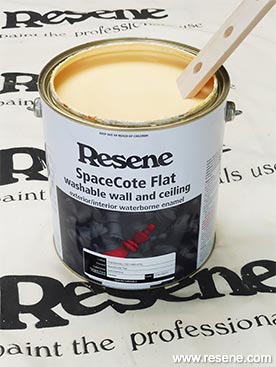
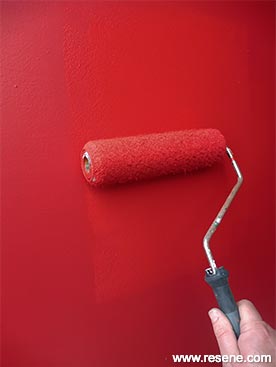
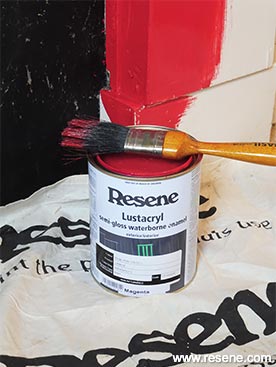
Transform a tired vinyl-papered dining room into a warm and welcoming space using a bold two colour effect.
Room for improvement with Mark Rayner - Project 04
Difficulty level: Challenging
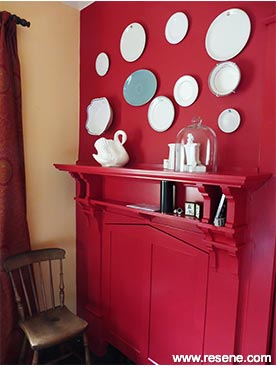
| Room: | Dining room |
| Condition: | Average |
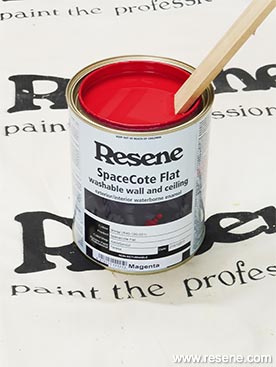
| Ceiling: | Tongue and groove, previously painted with waterborne ceiling paint |
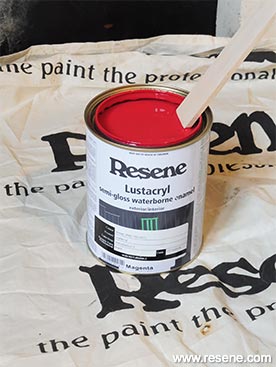
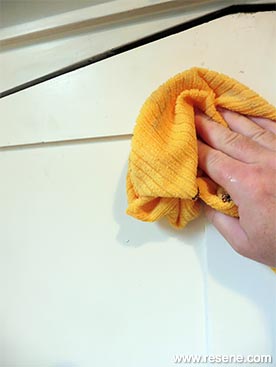
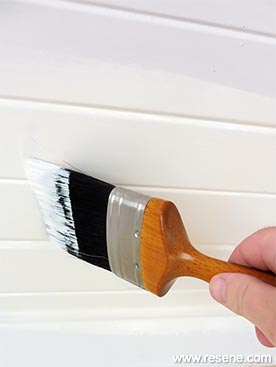
| Woodwork: | Previously painted with waterborne flat and semi-gloss paint |
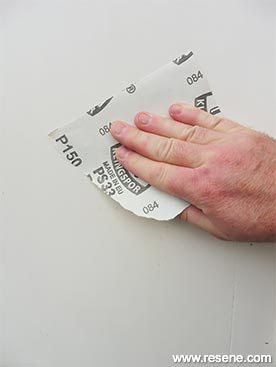
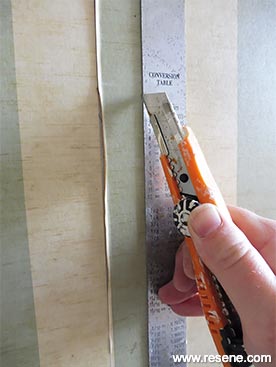
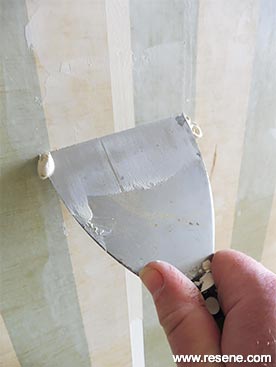
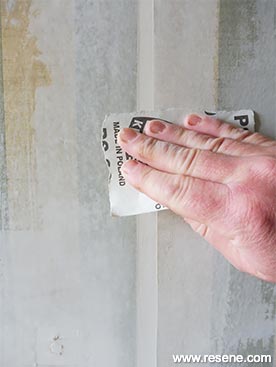
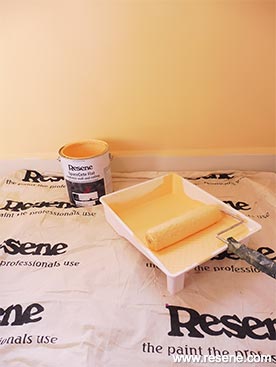
| Walls: | Covered with vinyl wallpaper, lifting in places |

› Download a PDF of this project
![]() Get inspired ! Subscribe
Get inspired ! Subscribe ![]() Get saving ! Apply for a DIY card
Get saving ! Apply for a DIY card
![]()
Can't find what you're looking for? Ask us!
Company profile | Terms | Privacy policy | Quality and environmental policy | Health and safety policy
Colours shown on this website are a representation only. Please refer to the actual paint or product sample. Resene colour charts, testpots and samples are available for ordering online. See measurements/conversions for more details on how electronic colour values are achieved.
What's new | Specifiers | Painters | DIYers | Artists | Kids | Sitemap | Home | TOP ⇧