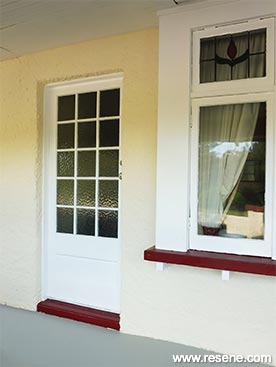
| Room: |
Exterior veranda |
| Condition: |
Very good |
| Ceiling: |
Tongue and groove previously painted with waterborne satin paint |
| Woodwork: |
Previously painted with waterborne semi-gloss paint |
| Walls: |
Stucco previously painted with waterborne satin paint |
You will need
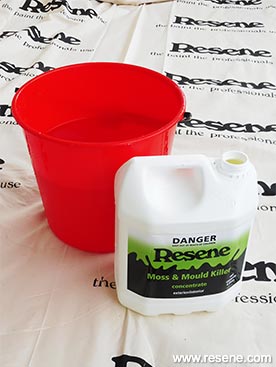
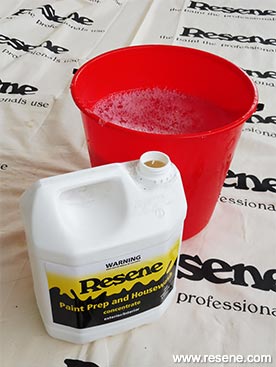
- Bucket
- Clean cloths
- Drop cloth
- Garden hose with clean running water
- Paintbrushes
- Paint roller and tray
- Paint stirrers
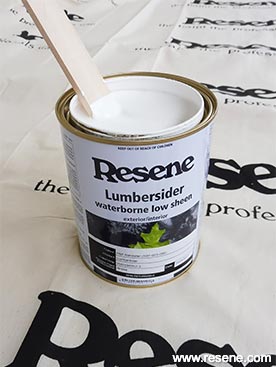
- Resene AquaShield tinted to Resene Pipi
Instructions
- Handy hints: Make sure you choose the correct roller sleeve for each painting job – textured surfaces such as tongue and groove and stucco will require a different roller sleeve to smooth walls. If in doubt, ask your local Resene Color Shop expert. Because stucco is so heavily textured it has a greater surface area than a flat wall so take this into account when estimating the amount of paint required.
- Top tip: When painting an exterior area, avoid working in strong wind or direct sunlight as this may cause paint to dry too quickly. In hot weather it may be necessary to use Resene Hot Weather Additive to slow the drying.
- To get the look: Mark previously painted the concrete floor with Resene Walk-on paint tinted to Resene Delta.
- Other ideas: For a fresh coastal look consider a combination of cool pastel greens or blues.
 Step two
Wearing rubber gloves, thoroughly soak the veranda ceiling, wall and woodwork with the solution and leave for 48 hours.
 Step four
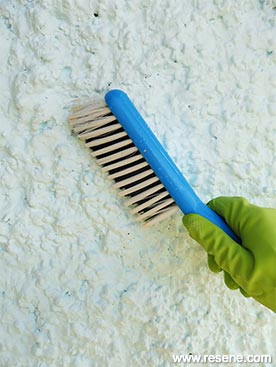
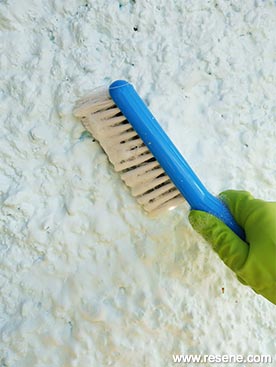
Scrub the veranda ceiling, wall and woodwork vigorously with the solution using a stiff bristled brush.
 Step five
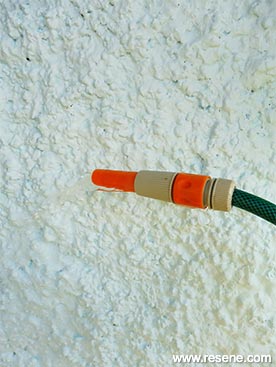
Rinse the veranda ceiling, wall and woodwork with clean water and allow to dry.
 Step six
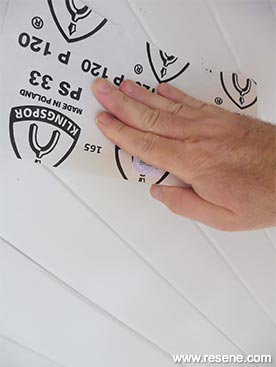
Lightly sand the ceiling to ‘key’ the surface.
 Step seven
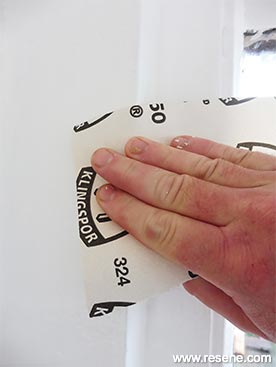
Lightly sand all the woodwork to ‘key’ the surface.
 Step eight
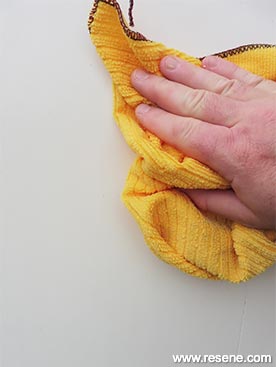
Wipe off any sanding residue with a clean cloth.
 Step ten
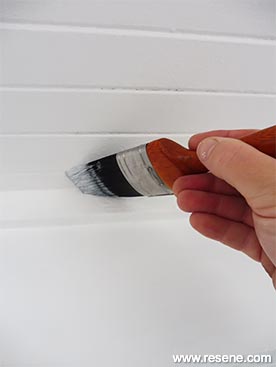
Apply two coats of
Resene Half Alabaster to the tongue and groove ceiling, cutting in around the edges first with an angled brush. Use a wide brush or appropriate roller to apply the main body of paint, working in the direction of the grooves. Allow two hours for each coat to dry.
 Step twelve
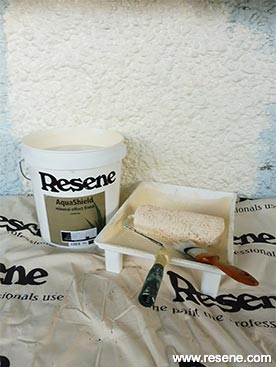
Apply two coats of
Resene AquaShield to the stucco wall, cutting in around the edges first with an angled brush. Use a wide brush or a roller to apply the main body of paint to the wall. Allow two hours for each coat to dry.
 Step fourteen
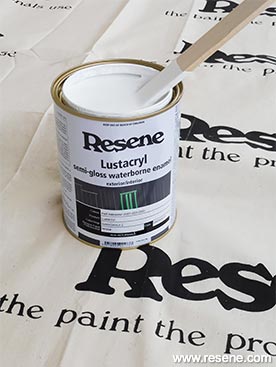
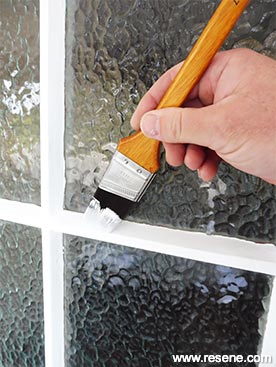
Apply two coats of
Resene Lustacryl to all the woodwork (apart from the windowsills and doorsteps), cutting in around the edges first with an angled brush. Allow two hours for each coat to dry.
 Step sixteen
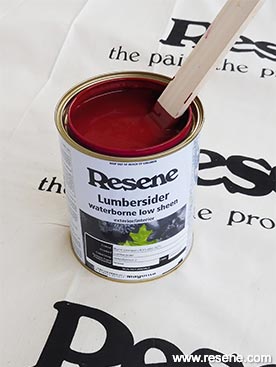
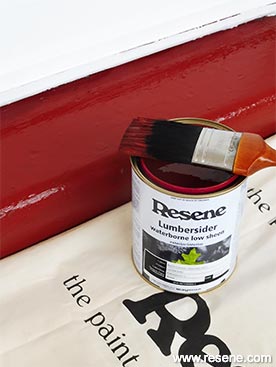
Apply two coats of
Resene Burnt Crimson to the windowsills and doorsteps cutting in around the edges first with an angled brush. Allow two hours for each coat to dry.