DIY projects from Your Home and Garden
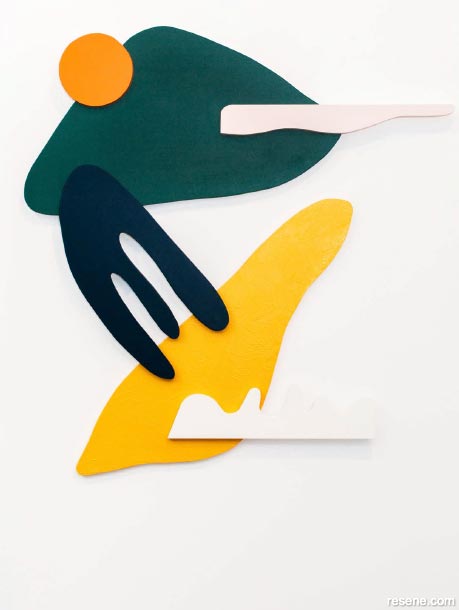
Make your own wall art from leftover MDF. Nikki Kettle’s abstract piece was inspired by her local environment.
Top tip: f you're keen on a glossy contrast, overcoat selected shapes with Resene Concrete Clear gloss to make those colours and shapes pop. Tip: I fitted my dowels in the back of one piece, then marked it with chalk and pressed it onto where I wanted it to sit. This gave me the exact position to drill the holes to slot them in.
 Supplies used
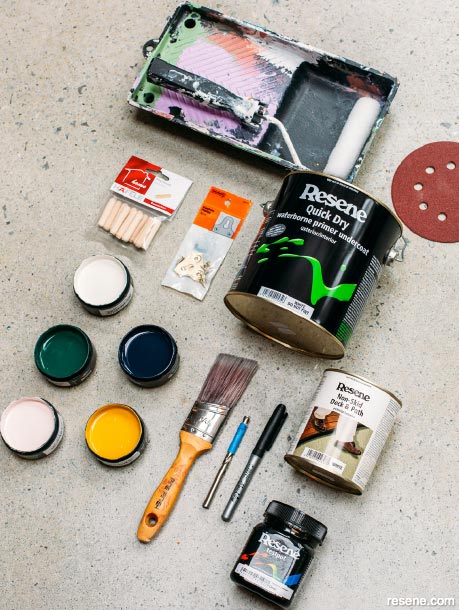
A close up of all the supplies used in the project.
 Step 1
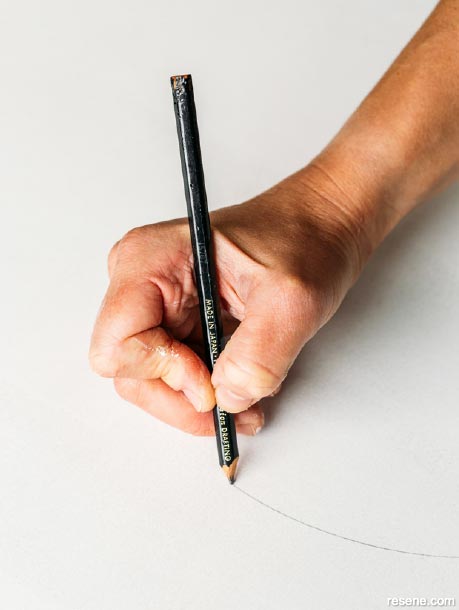
Sketch out some designs on paper. This is an abstract sculpture but I decided to make it reflect the area of New Zealand I live in, which has hills behind me, the sun rising to the east and the rivers flowing down to the sand and into the ocean.
 Step 2
Once you have your design roughly how you want it on paper, start sketching it onto the MDF using a pencil. I pre-primed my MDF using Resene Quick Dry undercoat while it was still in one big piece so I didn’t have to do lots of little ones later.
 Step 3
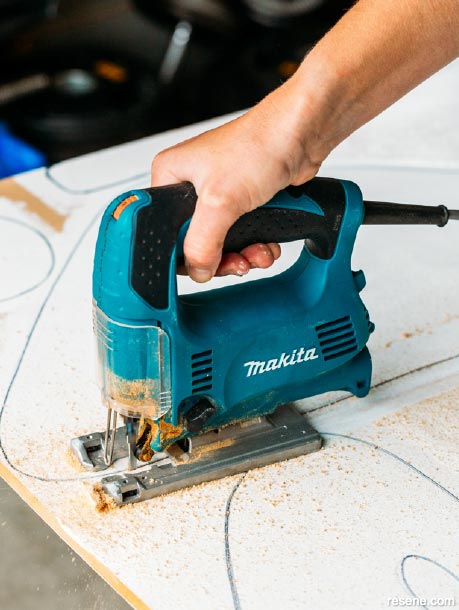
Once everything is sketched out onto the MDF, use a jigsaw to cut the shapes out. If not, you could cut the shapes with a copping saw. Clamp the MDF to a saw horse or bench to ensure it doesn’t move around while you’re cutting the shapes.
 Step 4
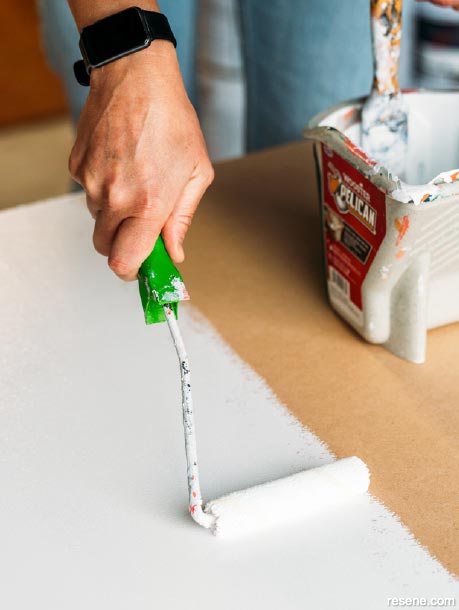
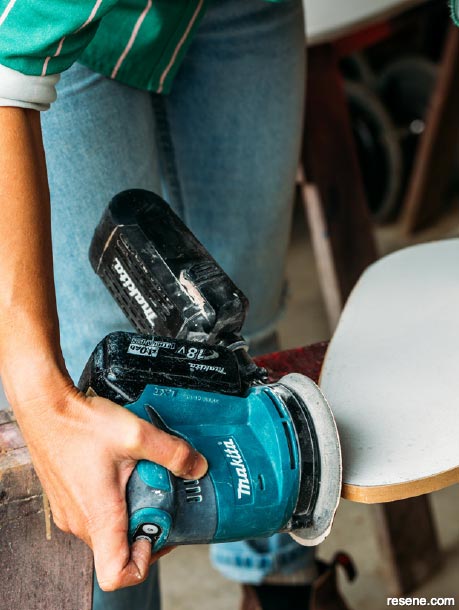
Once you have cut out all your shapes give them a good sand, wipe off the sanding dust, then prime the edges and face with Resene Quick Dry undercoat.
 Step 5
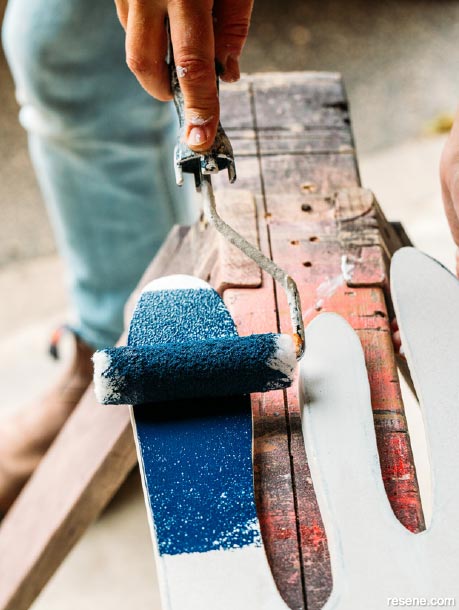
Figure out which colours you want to go where and start painting using the Resene testpots of paints. This is an abstract sculpture so the colours don’t necessarily need to reflect the shapes you are forming. I used Resene Non-Skid Deck & Path waterborne textured paint on the piece that represents the sand, then painted Resene Pizza over the top.
 Step 6
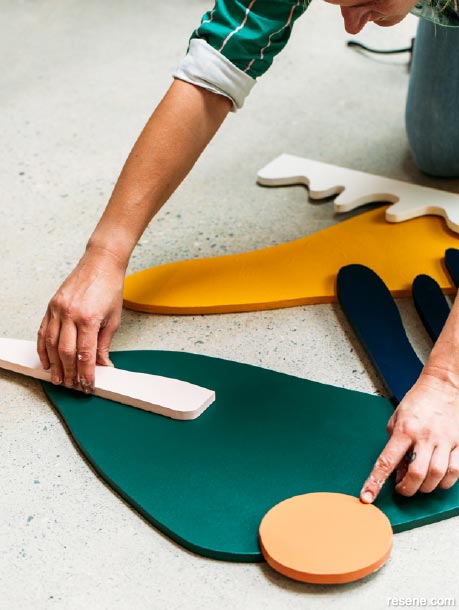
Now that all the shapes are cut and painted, lay them out how you would like them to look on the wall. You need to ensure each piece makes contact with the previous piece as well as the next piece in the sculpture.
 Step 7
Once you’re happy with the layout, make some small reference marks where each piece needs to sit. One by one, lift them up and mark two holes for where the dowels will go in on the front of the back piece, and in the rear of the piece that sits on top.
Step 8
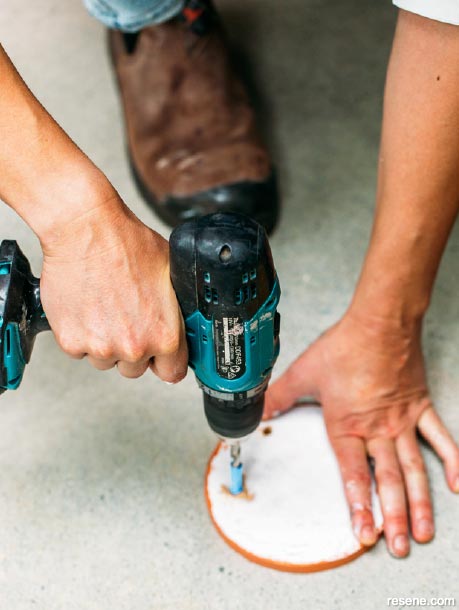
Mark your drill bit to depth with a piece of tape. You don’t want to drill all the way through the MDF. I used 12mm MDF so I drilled my holes about 6mm deep. Drill all holes on the front and backs with a drill bit slightly smaller than your dowel size. I used 8mm dowels and a 7.5mm drill bit.
 Step 9
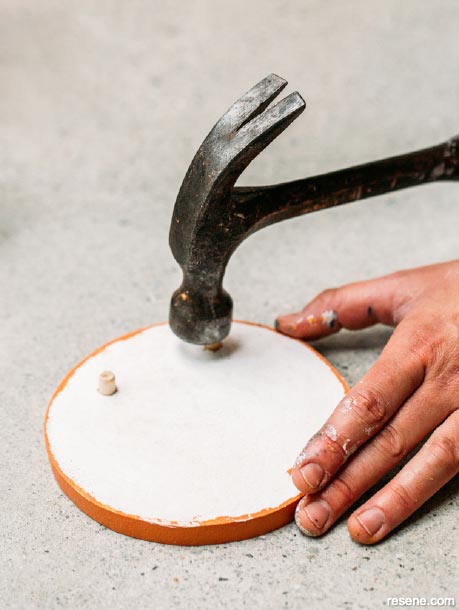
Place dowel rods in the back faces of your pieces. You may need to give these a tap with a hammer to get them in. I couldn’t find dowels short enough, so I cut mine in half.
Step 10
Slot your dowels into the corresponding piece. If you need to hit the front faces with a hammer to get them in, then make sure you put a piece of cloth down first and a scrap of timber so you don’t damage or dent anything.
 Step 11
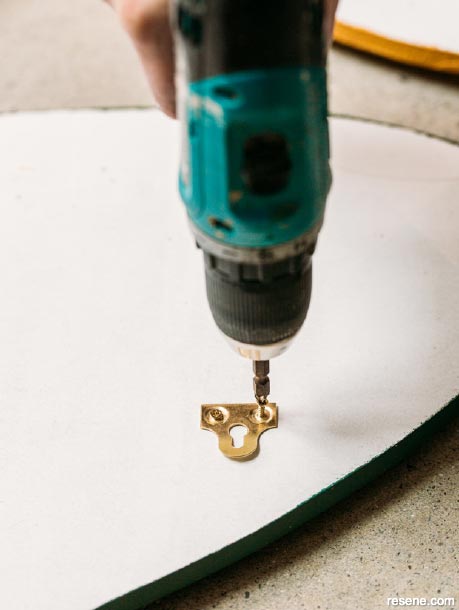
To attach it to the wall, I attached two picture mounting hooks to the back and placed some picture hooks in the wall to hang it on.
If you’re keen on a glossy contrast, overcoat selected shapes with Resene Concrete Clear gloss to make those colours and shapes pop.
I fitted my dowels in the back of one piece, then marked it with chalk and pressed it onto where I wanted it to sit. This gave me the exact position to drill the holes to slot them in.
More Resene colours to try
Project: Nikki Kettle. Photography: Anna Briggs. August 2023.
▸ Download a PDF of this article
Projects from Your Home and Garden
Our resident DIY expert, Nikki Kettle, shares the latest tips and DIY projects.
![]() Get inspired ! Subscribe
Get inspired ! Subscribe ![]() Get saving ! Apply for a DIY card
Get saving ! Apply for a DIY card
![]()
Can't find what you're looking for? Ask us!
Company profile | Terms | Privacy policy | Quality and environmental policy | Health and safety policy
Colours shown on this website are a representation only. Please refer to the actual paint or product sample. Resene colour charts, testpots and samples are available for ordering online. See measurements/conversions for more details on how electronic colour values are achieved.
What's new | Specifiers | Painters | DIYers | Artists | Kids | Sitemap | Home | TOP ⇧


