| Room: |
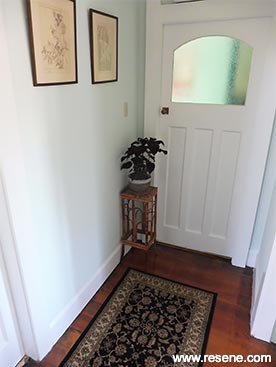
Hallway |
| Condition: |
Excellent |
| Ceiling: |
Previously painted with waterborne ceiling paint |
| Woodwork: |
Previously painted with waterborne semi-gloss paint |
| Walls: |
Previously painted with waterborne low sheen paint |
You will need
- Bucket with warm water
- Clean cloths
- Dropcloth
- Paintbrushes
- Paint roller and tray
- Paint stirrer
- Rubber gloves
- Sandpaper
- Screwdriver
Instructions
- Handy hints: When using a combination of light and dark colours on walls always paint the lightest colour first as it’s easier to cut in with a dark colour over a lighter.
- When painting it’s usually best to start from the top and work your way down – paint the ceiling first then the walls. If any drips from your ceiling painting end up on your walls they won’t ruin your new paintwork.
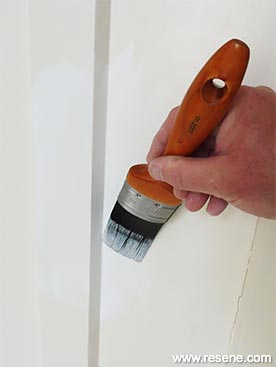
- Top tip: Use an angled brush for cutting in – this will save time and create a neater edge.
- To get the look: Mark previously varnished the floor with Resene Polythane clear polyurethane.
- Other ideas: For a more sumptuous look consider using a bolder colour as a feature wall.
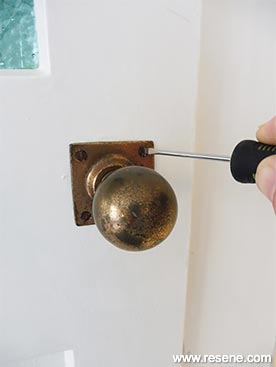
 Step one
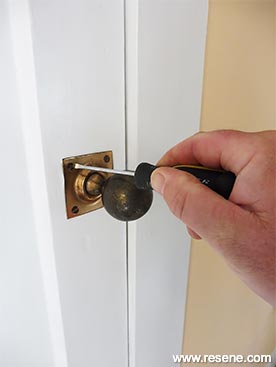
Carefully remove door handles and light switch and socket cover plates.
 Step two
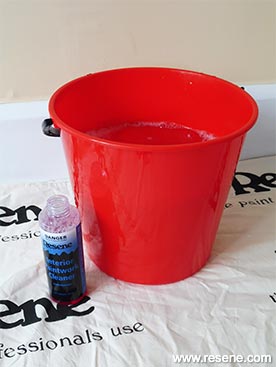
Mix one part Resene Interior Paintwork Cleaner to sixty parts clean warm water.
 Step three
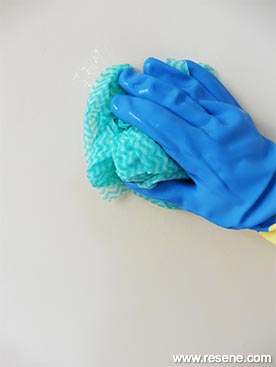
Carefully wash the ceiling, walls and woodwork with the solution following instructions on the packaging. Wipe off any excess solution with a clean dry cloth.
 Step four
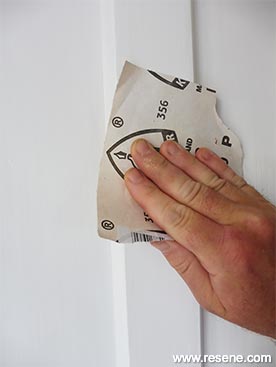
Lightly sand all the woodwork to ‘key’ the surface and wipe off any sanding residue with a clean cloth.
 Step six
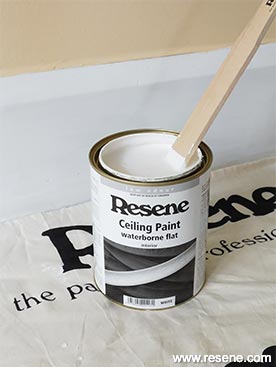
Cut in around the edges of the ceiling and around light fittings with the
Resene Ceiling Paint.
 Step seven
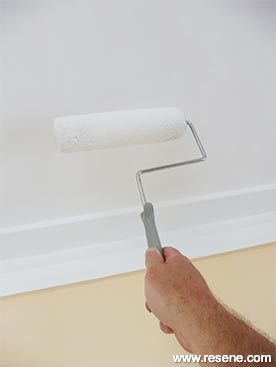
Roll the remainder of the ceiling and allow two hours for paint to dry.
 Step eight
Repeat steps six and seven and allow the ceiling paint to dry.
 Step ten
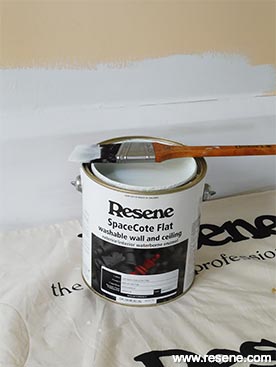
Cut in around all the woodwork, corners, light switches and sockets with the
Resene SpaceCote Flat.
 Step eleven
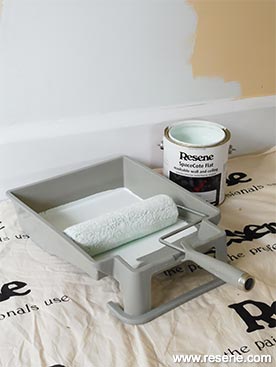
Roll the remainder of the walls with
Resene SpaceCote Flat and allow two hours for paint to dry.
 Step twelve
Repeat steps ten and eleven and allow wall paint to dry.
 Step fourteen
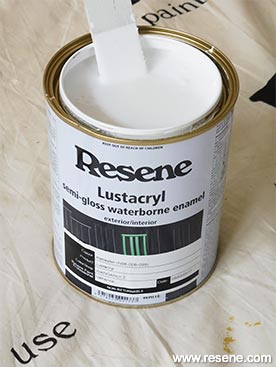
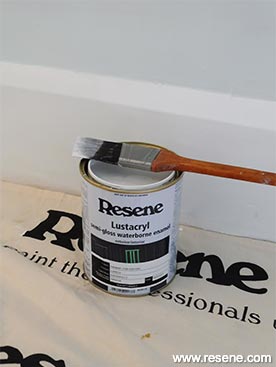
Apply one coat of
Resene Lustacryl to all the woodwork and allow two hours to dry.
 Step fifteen
Repeat step fourteen and allow paint to dry.
 Step sixteen
Carefully replace door handles and light switch and socket cover plates.
Other projects you might like to try: