Habitat bright ideas with Fleur Thorpe – DIY projects
You can never have enough set down space for glasses, magazines, hot drinks and more. Rather than try and find a side table in just the right colour, why not make and paint your own?
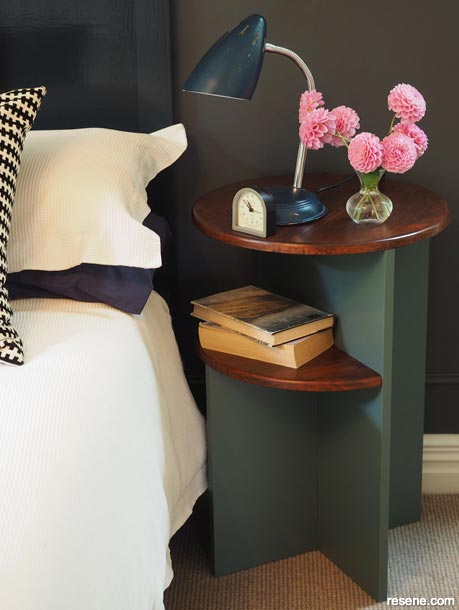
Wall painted in Resene Tuna, skirting board in Resene Half Rice Cake and headboard in Resene Dark Knight
 Step 1 (a)
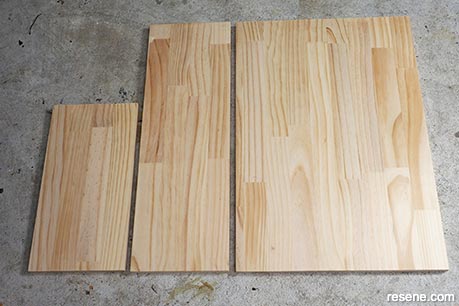
Start by cutting your pine panels into the following sizes: 45cm wide x 66cm tall (main base), 21.7cm wide x 66cm tall (tall base leg), 21.7cm wide x 42cm tall (short base leg) These will form the base of the table.
 Step 1 (b)
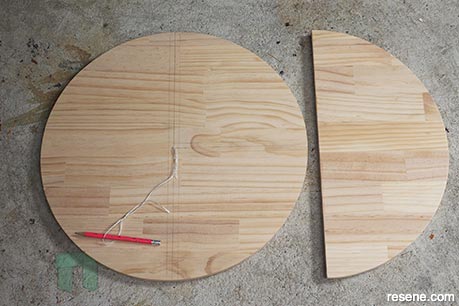
For the tabletop and shelf, cut two pieces as follows: 45cm x 45cm (tabletop), 45cm x 22cm (shelf). To make a round tabletop, make a simple compass out of a nail, string and pencil to make a circle that has a diameter the same size as the widest piece of wood, i.e. 45cm.
 Step 2
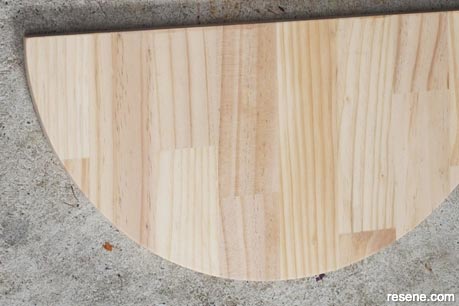
For the shelf, make a semi-circle that has a radius the same width as the smallest piece of wood, i.e. 21.7cm. Use a jig saw to cut these out and sand the edges smooth.
 Step 3
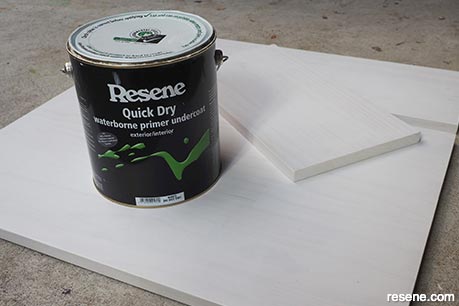
Prime the three base wood/legs with Resene Quick Dry. Once this has dried, give it a light sand with a fine grit sandpaper.
 Step 4
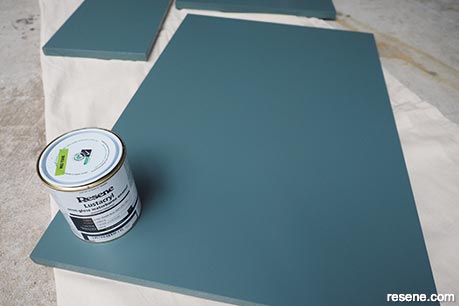
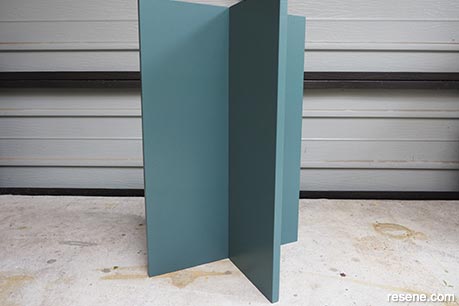
Paint the base wood with Resene Green Meets Blue in Resene Lustacryl. Fleur used a small microfibre roller for a nice finish. Leave the paint to cure overnight.
 Step 5
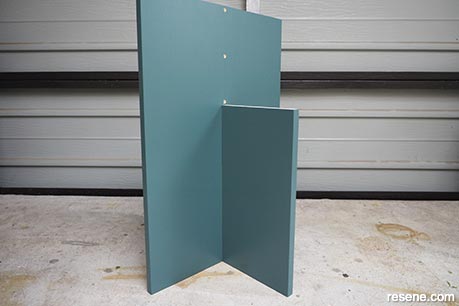
Use wood glue to glue the short base wood into place in the middle of the largest piece of wood. Secure it with screws by screwing in from the other side. Make sure you countersink your drill holes so that the screws sit flush with the wood.
 Step 6
Attach the last remaining piece of wood to the opposite side. Glue it first then screw it into place.
 Step 7
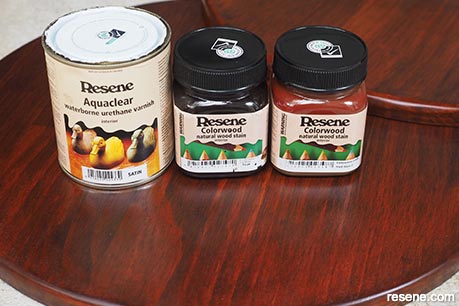
For the tabletop and shelf, stain it with one coat of Resene Colorwood in Resene Red Beech followed by Resene Teak. Allow to dry then seal with two coats of Resene Aquaclear.
 Step 8
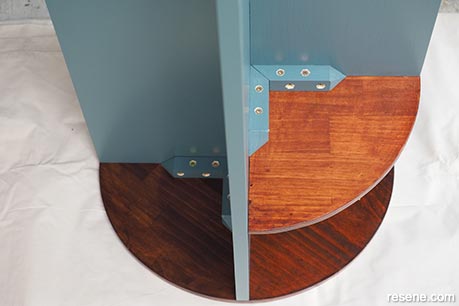
To secure the tabletop and shelf to the base, glue them in place first and then add blocking so you can screw into the base and then into the top and shelf from underneath.
Top tip: For a beachwashed style, finish the tabletop and shelf with Resene Colorwood Whitewash, Greywash or one of the ‘We Speak Beach’ colourwashes.
Styling and images by Fleur Thorpe. Apr 2022.
Habitat bright ideas
Need to add colour, pattern or a little creativity to your place? Check out these easy step by step DIY project ideas created in collaboration with Fleur Thorpe. We hope you enjoy making and painting these bright ideas and bringing colour to your home inside or out.
![]() Get inspired ! Subscribe
Get inspired ! Subscribe ![]() Get saving ! Apply for a DIY card
Get saving ! Apply for a DIY card
![]()
Can't find what you're looking for? Ask us!
Company profile | Terms | Privacy policy | Quality and environmental policy | Health and safety policy
Colours shown on this website are a representation only. Please refer to the actual paint or product sample. Resene colour charts, testpots and samples are available for ordering online. See measurements/conversions for more details on how electronic colour values are achieved.
What's new | Specifiers | Painters | DIYers | Artists | Kids | Sitemap | Home | TOP ⇧