Habitat bright ideas with Fleur Thorpe – DIY projects
Learn how to make an “EAT ME” shelf with these step-by-step instructions.
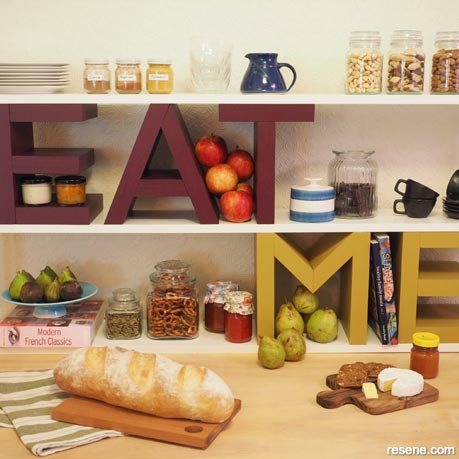
Background wall in the final photo is Resene Cararra and anaglypta wallpaper 2011 RD0151
Equipment Needed:
Resene products:
How to make an “EAT ME” shelf:
 Step 1
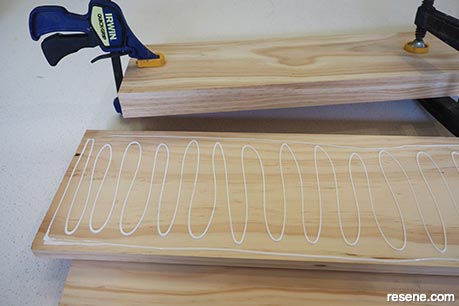
Start by gluing the four 1.8m lengths of pine together to form two pairs. I used wood glue for this and clamped them tight and left them overnight. If you don’t have clamps, placing heavy items on them, such as stacks of books, should also work.
 Step 2
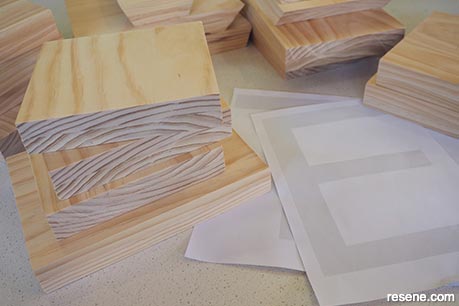
Cut the glued wood to make your letters. I found it helpful to print out my letters from the computer and take measurements from these for the different lengths required. Make sure that your finished letters will all be the same height (mine are 25cm tall). Sand any rough bits smooth.
 Step 3
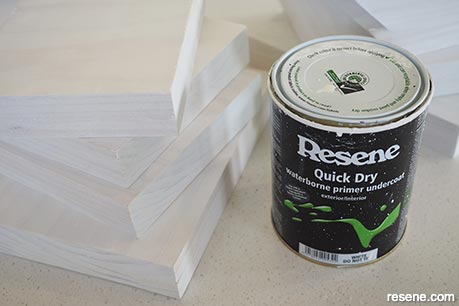
Use a small microfiber roller to apply one coat of Resene Quick Dry to the letter pieces. When this is dry, give it a light sand with a fine sandpaper.
 Step 4
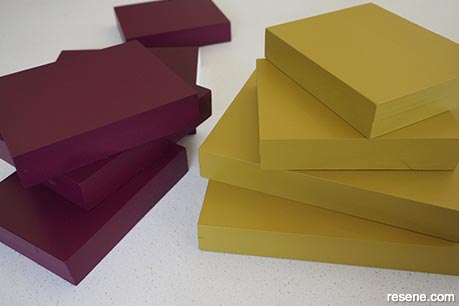
Paint your letters, again using a small microfiber roller. I painted the word “Eat” in Resene Blackberry and the word “Me” in Resene Lemon Ginger.
 Step 5
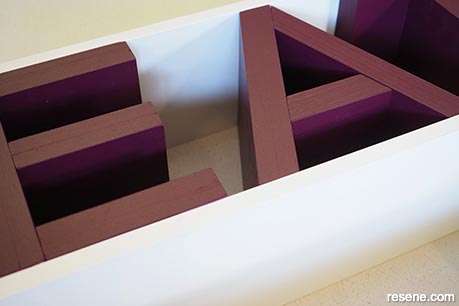
Glue your letters together. I found it best to glue these in place on to the shelves rather than gluing the letters independently and then gluing them to the shelves. For the shelves I used three lengths of 1.2m pine wood (180mm wide by 18mm thick). I primed them with Resene Quick Dry, gave them a light sand, and then painted them with two coats of Resene Half Rice Cake. I also used a jig saw to cut notches out of the ends for the upright supports.
 Step 6
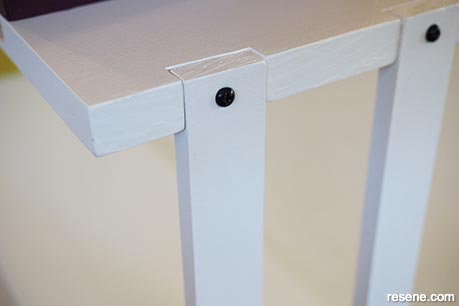
Once I had glued everything in place, I left this overnight to dry. The next day I screwed the letters to the shelves, buy either screwing in from underneath a shelf or at an angle from the back. To finish, I primed four lengths of 30mm x 10mm pine trim with Resene Quick Dry, gave it a light sand and then painted it with two coats of Resene Half Rice Cake. I then inserted these into the notches on the shelves that I had made earlier and then screwed these in place with black screws.
Project and accompanying photos supplied by Fleur Thorpe for Habitat by Resene. Apr 2022.
Habitat bright ideas
Need to add colour, pattern or a little creativity to your place? Check out these easy step by step DIY project ideas created in collaboration with Fleur Thorpe. We hope you enjoy making and painting these bright ideas and bringing colour to your home inside or out.
![]() Get inspired ! Subscribe
Get inspired ! Subscribe ![]() Get saving ! Apply for a DIY card
Get saving ! Apply for a DIY card
![]()
Can't find what you're looking for? Ask us!
Company profile | Terms | Privacy policy | Quality and environmental policy | Health and safety policy
Colours shown on this website are a representation only. Please refer to the actual paint or product sample. Resene colour charts, testpots and samples are available for ordering online. See measurements/conversions for more details on how electronic colour values are achieved.
What's new | Specifiers | Painters | DIYers | Artists | Kids | Sitemap | Home | TOP ⇧


