Habitat bright ideas with Fleur Thorpe – DIY projects
Reinvent an old table or add more personality to a new one with a stripe effect. Follow Fleur’s step by step instructions to make your own.
How to create your own striped coffee table
Fleur’s table was a second-hand dining table that was one metre in diameter. One of the legs was broken so Fleur needed to add new legs before starting the project.
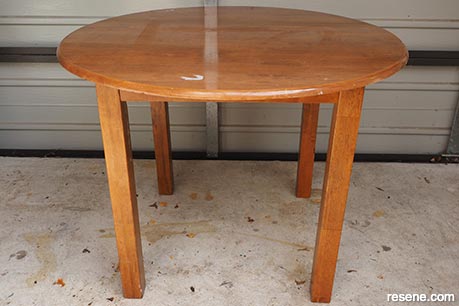 Table before
A close-up of the table used in this project.
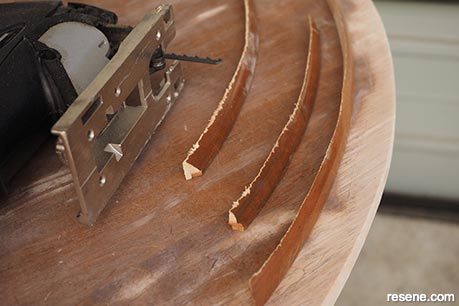 Step 1
Use a jig saw to cut off the rounded bevelled edge of the table. Fleur chose to do this to give the table a more modern look and help make the paint pattern work and look better later with a straight edge. Sand the edge and the whole tabletop with medium grit sandpaper.
 Step 2
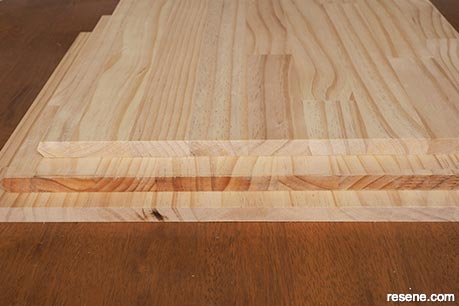
Cut the pine plank into three equal lengths of 36cm. On one edge of each of the legs, make two 30 degree cuts so that all three legs will fit together into a tri star shape. Make the opposite edge rounded and on the bottom corner of each leg where it will be on the floor, use a jig saw to round off that corner also.
 Step 3
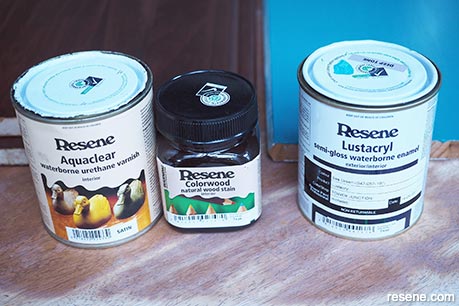
For two of the legs, use a cloth and apply a single coat of Resene Colorwood natural wood stain in Resene Teak. Once this is dry, apply two coats of Resene Aquaclear satin. For the other leg, apply a coat of Resene Quick Dry. Once this is dry, lightly sand with a fine sandpaper and apply two coats of Resene Sea Green, allowing the first coat to dry before applying the second coat.
 Step 4
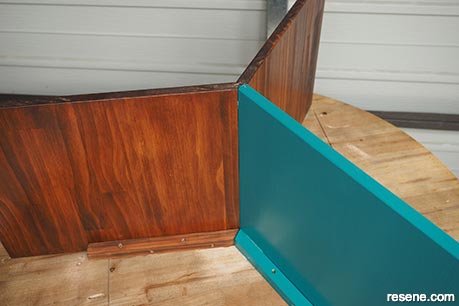
Now it is time to pull apart the table. Take out all the screws holding the legs on and flip the tabletop over. Use wood glue to glue the new legs in place. Leave this overnight to fully dry and harden. Cut some blocking to fit on either side of each leg. Fleur’s blocking is 24mm x 24mm. Glue these in place and then screw them into each leg and into the bottom of the tabletop.
 Step 5
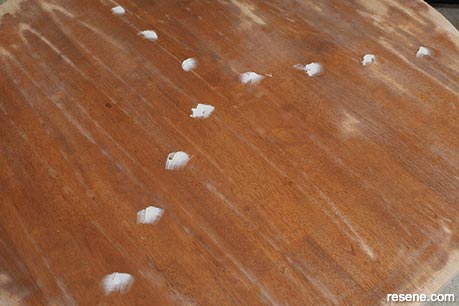
Flip the table over and drill through the tabletop and into each leg (make sure you countersink the drill holes). Use hole/patch filler to fill over the screws.
 Step 6
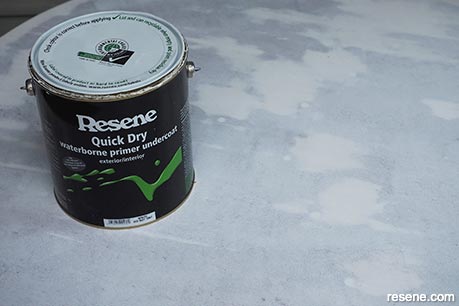
Once the filler is dry, sand and wipe off sanding dust. Then paint the entire tabletop with Resene Quick Dry.
 Step 7
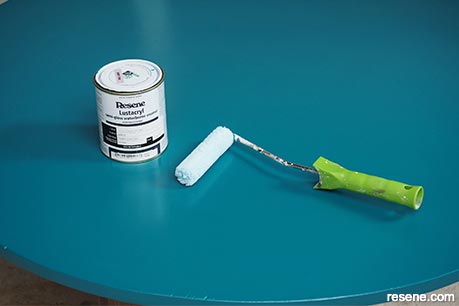
Once the primer is dry, lightly sand with a fine grit sandpaper, wipe the dust away with a soft cloth and then apply two coats of Resene Retro using a small microfibre roller, allowing the first coat to dry before applying the second coat. Leave to dry.
 Step 8
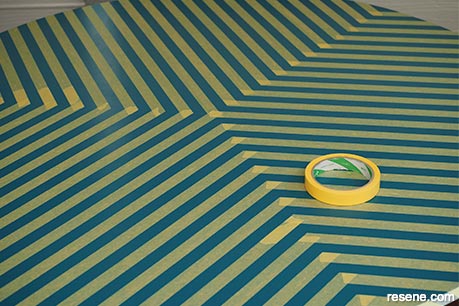
Find the centre of the table and use painter masking tape to make my pattern.
 Step 9
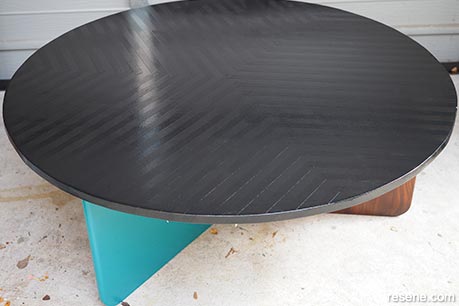
Paint over the whole table with Resene Black using a small microfibre roller and allow the first coat to dry before applying the second coat. Remove the tape as soon as you have finished applying the second coat and while the paint is still wet.
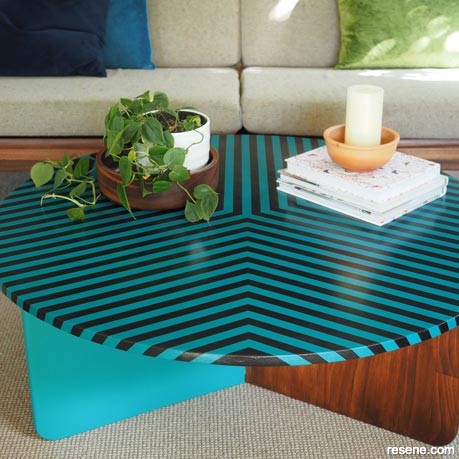
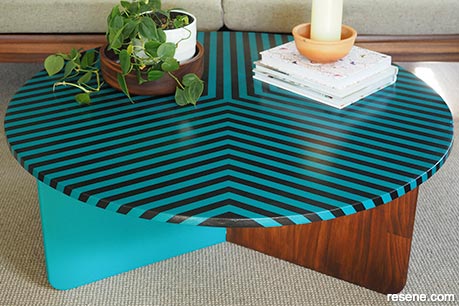 Finished project
A close-up of the finished project.
Top tip: Add a little sparkle to your table by using Resene FX Metallic paints for one of your colours. Make sure you finish it with a clear Resene finish to help protect the metallic surface.
Styling and images by Fleur Thorpe. Feb 2022.
Habitat bright ideas
Need to add colour, pattern or a little creativity to your place? Check out these easy step by step DIY project ideas created in collaboration with Fleur Thorpe. We hope you enjoy making and painting these bright ideas and bringing colour to your home inside or out.
![]() Get inspired ! Subscribe
Get inspired ! Subscribe ![]() Get saving ! Apply for a DIY card
Get saving ! Apply for a DIY card
![]()
Can't find what you're looking for? Ask us!
Company profile | Terms | Privacy policy | Quality and environmental policy | Health and safety policy
Colours shown on this website are a representation only. Please refer to the actual paint or product sample. Resene colour charts, testpots and samples are available for ordering online. See measurements/conversions for more details on how electronic colour values are achieved.
What's new | Specifiers | Painters | DIYers | Artists | Kids | Sitemap | Home | TOP ⇧