Habitat bright ideas with Fleur Thorpe – DIY projects
Make a basic coffee table a feature in your room with this fun paint pour technique. Choose Resene colours to suit or use ones leftover from your latest Resene decorating project.
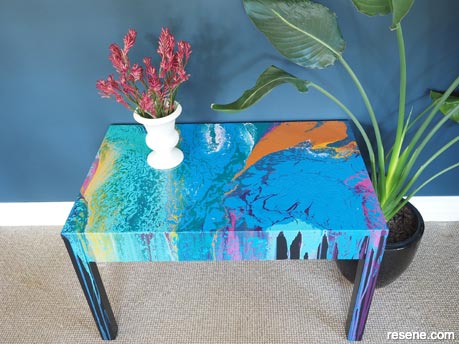
Wall painted in Resene Dark Knight and skirting board painted in Resene Half Rice Cake
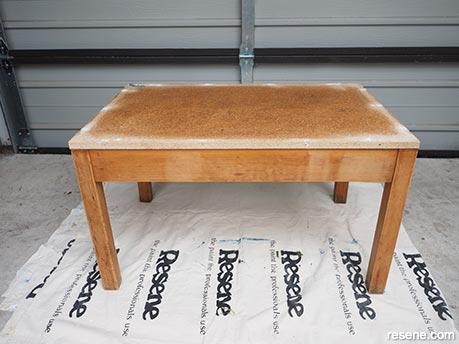 Step 1
Sand down your coffee table to remove any bumps or flaky paint or varnish. Wipe the dust away with a soft dry cloth.
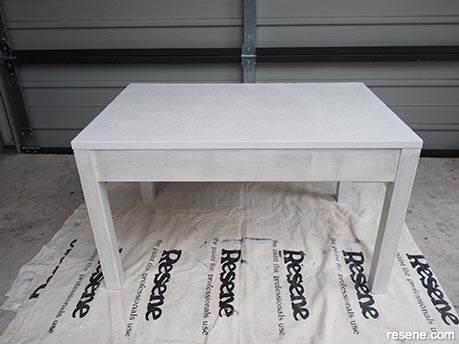 Step 2
Prime the table with Resene Quick Dry. Once this is dry, give it a light sand with a fine grit sandpaper. Wipe the table down again with a soft dry cloth to remove any sanding dust.
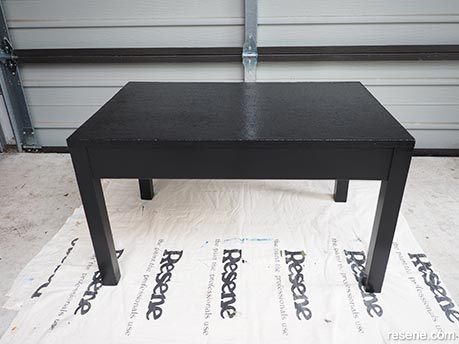 Step 3
Paint the table with Resene Black. Apply two coats of paint, allowing for the first coat to dry before applying the second coat.
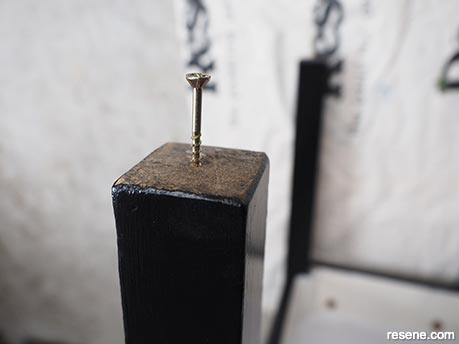 Step 4
Flip the table over and drill a screw into the bottom of each leg. This will raise the table off the ground and will mean that it doesn’t stand in a puddle of paint. Try to get the screws drilled in the same amount so that the table is level when upright.
 Step 5
Flip the table back over and put cardboard or newspaper under it to catch the majority of the paint.
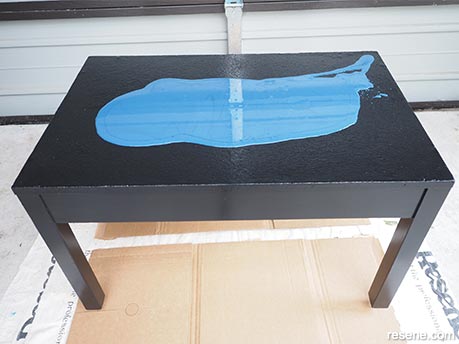
 Step 6
Pour on your first lot of paint. Fleur used Resene Madison. Either tilt the table with your hand to help the paint run to the edges, or you can use the back of a spoon to push it around.
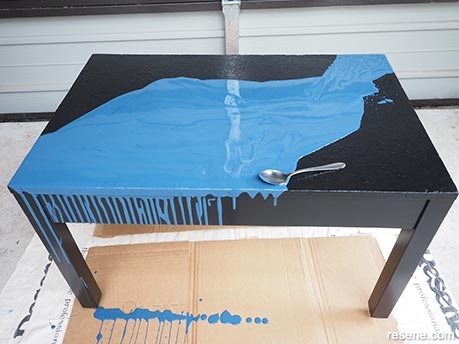
 Step 7
Pour on your next lot of paint. Fleur used Resene Retro, Resene Plum and Resene Captain Cook.
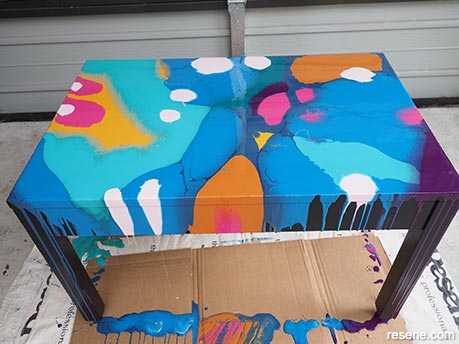 Step 8
Keep adding your other paint colours, either by pouring them on or spooning them on with a spoon. Depending on how level your table is, a lot of the paint will fall off and your pattern will keep changing. Don’t put too much paint on!! Every time you add paint, it pushes aside the paint already on the table. As the paint settles and dries, is merges and morphs into different shapes and patterns.
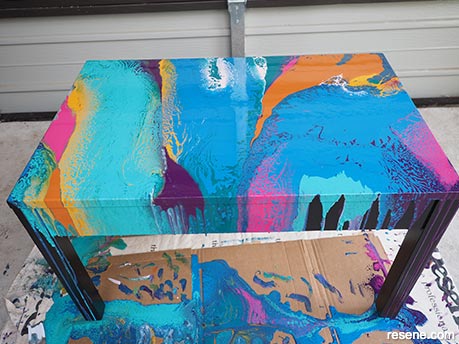 Step 8 (Continued)
Once the paint has started to dry, leave it alone and resist the urge to add more paint or try to alter the pattern. The paint surface dries first and will start to crinkly if you try to move the paint. Leave the table to dry for 3-4 days. Leave it somewhere where curious fingers and pets won’t touch it!
Top tip: Add a Resene FX Metallic colour or two into your paint pour palette for a little extra glamour.
Styling and images by Fleur Thorpe. Sep 2020.
Habitat bright ideas
Need to add colour, pattern or a little creativity to your place? Check out these easy step by step DIY project ideas created in collaboration with Fleur Thorpe. We hope you enjoy making and painting these bright ideas and bringing colour to your home inside or out.
![]() Get inspired ! Subscribe
Get inspired ! Subscribe ![]() Get saving ! Apply for a DIY card
Get saving ! Apply for a DIY card
![]()
Can't find what you're looking for? Ask us!
Company profile | Terms | Privacy policy | Quality and environmental policy | Health and safety policy
Colours shown on this website are a representation only. Please refer to the actual paint or product sample. Resene colour charts, testpots and samples are available for ordering online. See measurements/conversions for more details on how electronic colour values are achieved.
What's new | Specifiers | Painters | DIYers | Artists | Kids | Sitemap | Home | TOP ⇧


