Habitat bright ideas with Fleur Thorpe – DIY projects
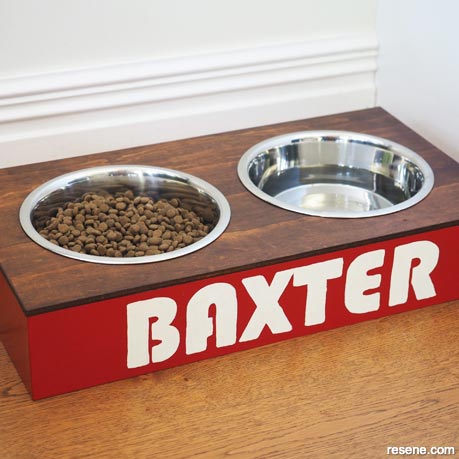
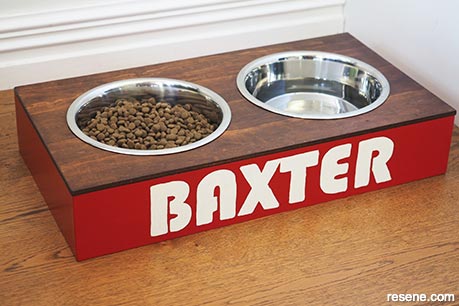
Keep your dog’s food bowls tidy with this handy DIY dog bowl. Paint it in colours to suit your home.
Wall painted in Resene Carrara and skirting board in Resene Half Rice Cake
Materials:
Tools:
Resene products and colours:
Top tip: The higher the sheen level the easier the dog bowl holder will be to clean. To adjust your painted area to a higher sheen, apply Resene Aquaclear gloss over the top and sides.
 Step 1
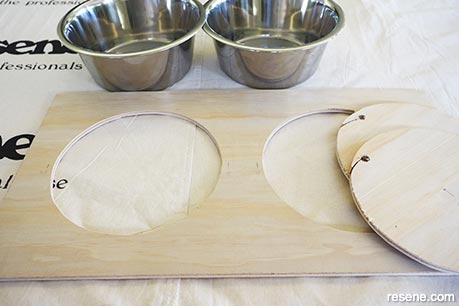
Start by working out how big you want your bowl station to be. Fleur started with a piece of plywood 52cm long and 26cm wide and then placed her two bowls side by side with a 3cm gap between them. She then measured how long the top piece of plywood would need to be with a 3cm gap at either end. For the width she measured the diameter of a bowl and added 3cm on either side of it. Next, work out the placement of the bowls and draw a circle with a compass, slightly smaller than the lip of the bowl. Use an electric drill to drill a hole inside both circles and then use a jig saw to cut the two circles out. Sand any rough edges smooth with a piece of sandpaper.
 Step 2
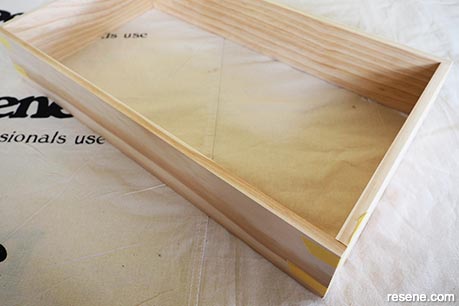
Cut the pieces of pine board to make the base frame of the bowl station. Fleur cut two lengths at 52cm long to go at the front and back, and two side pieces at 24cm to go on the sides. Glue these together with strong wood glue and hold them in place while the glue dries using masking tape. Once the glue is dry, drill in some screws to secure the boards together. Fill these with wood filler and once this is dry, sand smooth with sandpaper.
 Step 3
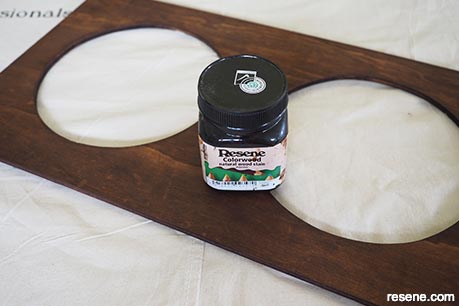
While the glue on the base is drying, stain the top. Fleur used one coat of Resene Colorwood wood stain tinted to Resene Teak. Apply the stain with a brush then rub off any excess stain using a rag.
 Step 4
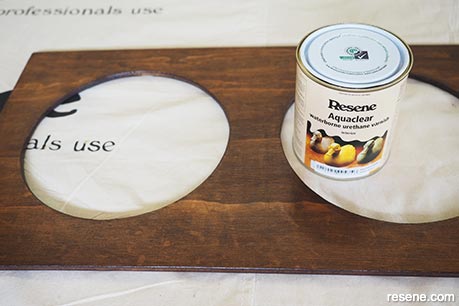
Once the stain is dry, apply two coats of Resene Aquaclear, allowing for the first coat to dry before applying the second coat. Apply to the edges and underside too to help protect the dog bowl holder against any spills and general wear and tear.
 Step 5
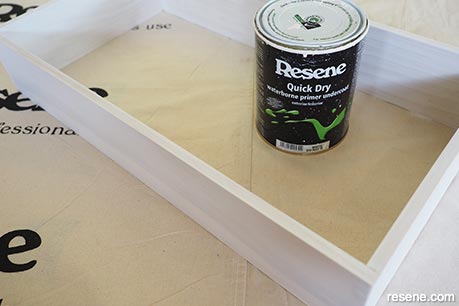
Prime the base frame with a coat of Resene Quick Dry.
 Step 6
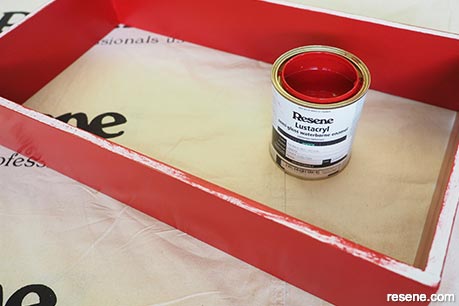
Once the Resene Quick Dry primer has dried, apply two coats of Resene Lustacryl tinted to your chosen colour to the base (Fleur used Resene Red Berry), allowing the first coat to dry before applying the second coat.
 Step 7
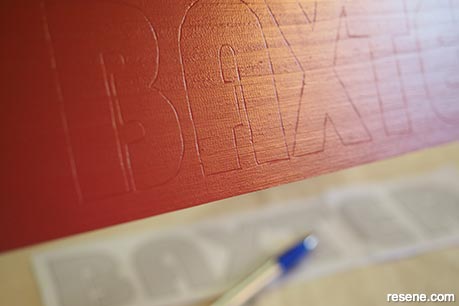
Print out the name of your dog and use Sellotape to attach this to the front of the base. Use a ballpoint pen to trace around the lettering. Press firmly so that you leave an indentation on the painted wood. Remove the paper printout and with a small artist paintbrush, paint in the lettering with Resene Quarter Parchment.
 Step 8
Once the paint on the base and the Resene Aquaclear on the top is dry, use strong wood glue to glue the top to the base. You can place some heavy items on top while it dries to make sure there is good contact between the base and the frame. Wall painted in Resene Carrara and skirting board in Resene Half Rice Cake.
Styling and images by Fleur Thorpe. Nov 2022.
Habitat bright ideas
Need to add colour, pattern or a little creativity to your place? Check out these easy step by step DIY project ideas created in collaboration with Fleur Thorpe. We hope you enjoy making and painting these bright ideas and bringing colour to your home inside or out.
![]() Get inspired ! Subscribe
Get inspired ! Subscribe ![]() Get saving ! Apply for a DIY card
Get saving ! Apply for a DIY card
![]()
Can't find what you're looking for? Ask us!
Company profile | Terms | Privacy policy | Quality and environmental policy | Health and safety policy
Colours shown on this website are a representation only. Please refer to the actual paint or product sample. Resene colour charts, testpots and samples are available for ordering online. See measurements/conversions for more details on how electronic colour values are achieved.
What's new | Specifiers | Painters | DIYers | Artists | Kids | Sitemap | Home | TOP ⇧