Habitat bright ideas with Fleur Thorpe – DIY projects
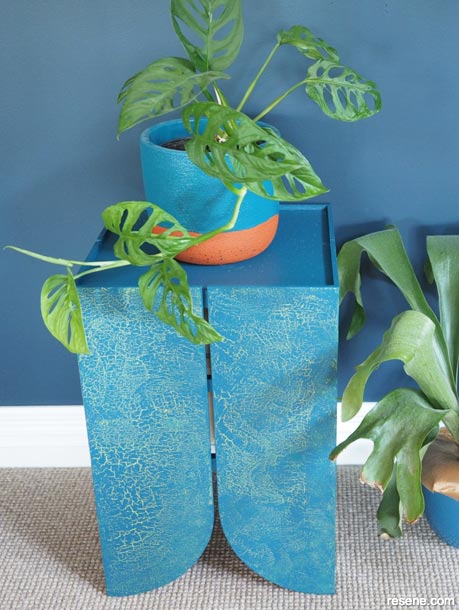
Create a crackle pedestal to display your plants or use it as a handy small side table.
 Step 1
Start by cutting your ply wood into eight panels that are 16.5cm wide by 50cm tall. Use a compass to round off one of the bottom corners and cut this off using a jig or band saw. Sand any rough edges smooth. Wipe off the sanding dust.
 Step 2
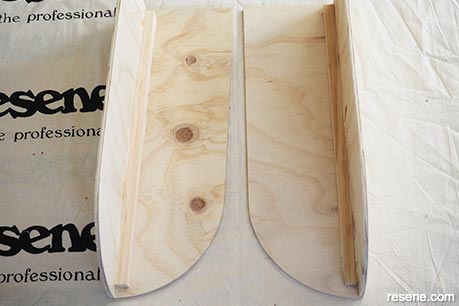
Cut the pine blocking wood into four lengths at 47cm long. Take two ply wood panels to form a corner and use wood glue to glue these in place with a length of the pine blocking in the corner. Secure the corner with some screws. Make sure that you position the blocking 14mm down from the top so that the top surface of the pedestal is recessed.
 Step 3
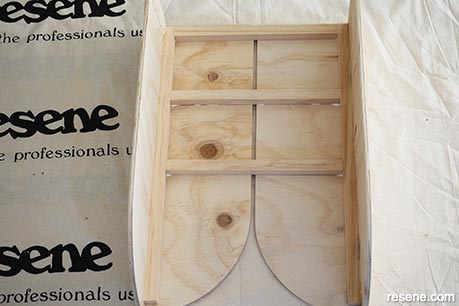
Cut some more of the pine blocking into equal lengths to that the ply wood panels leave a 6mm gap when constructed. Glue these in place and secure with screws.
 Step 4
Continue to finish constructing the rest of the pedestal, including cutting the top to size and gluing this in place.
 Step 5
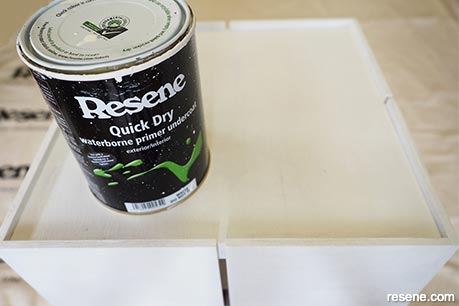
Use a small microfibre roller to paint on one coat of Resene Quick Dry.
 Step 6
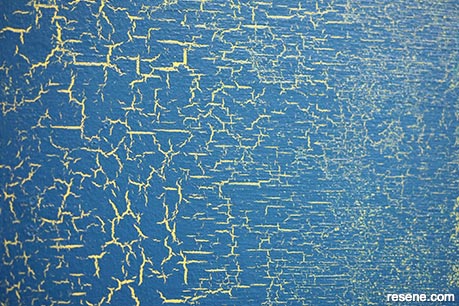
Once the primer is dry, paint on two coats of Resene Funk. Once this has dried, paint on a coat of Resene FX Crackle effect. Fleur painted on a thick layer making a criss-cross pattern using a paintbrush. Allow this to dry for 2-3 hours. The thicker the crackle usually the deeper the cracks you will see in your crackled effect.
 Step 7
Use a small microfibre roller to paint on one coat of Resene Nile Blue. Do this quickly and don’t do any touch ups or second layers. Don’t worry if your coverage isn’t very good as this will add to the effect. The Resene FX Crackle effect will start working straight away with the Resene Nile Blue cracking and exposing the Resene Funk paint underneath.
 Step 8
Once the Resene Nile Blue has dried, for extra protection you can apply two coats of Resene Aquaclear in a satin finish.
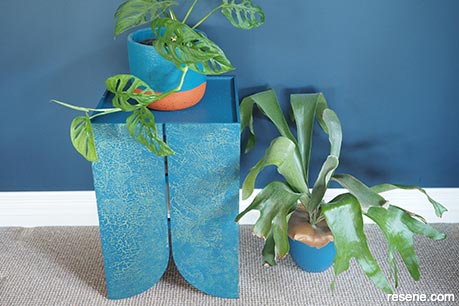
 Finished project
Wall painted in Resene Dark Knight, skirting board in Resene Rice Cake and plant pot in Resene Teal Blue and Resene Fire.
Top tip: Try using a Resene FX Metallic colour as your basecoat colour. Once the crackle effect has worked you will then see a metallic finish in your cracks.
Styling and images by Fleur Thorpe. Sep 2022.
Habitat bright ideas
Need to add colour, pattern or a little creativity to your place? Check out these easy step by step DIY project ideas created in collaboration with Fleur Thorpe. We hope you enjoy making and painting these bright ideas and bringing colour to your home inside or out.
![]() Get inspired ! Subscribe
Get inspired ! Subscribe ![]() Get saving ! Apply for a DIY card
Get saving ! Apply for a DIY card
![]()
Can't find what you're looking for? Ask us!
Company profile | Terms | Privacy policy | Quality and environmental policy | Health and safety policy
Colours shown on this website are a representation only. Please refer to the actual paint or product sample. Resene colour charts, testpots and samples are available for ordering online. See measurements/conversions for more details on how electronic colour values are achieved.
What's new | Specifiers | Painters | DIYers | Artists | Kids | Sitemap | Home | TOP ⇧


