Habitat bright ideas with Fleur Thorpe – DIY projects
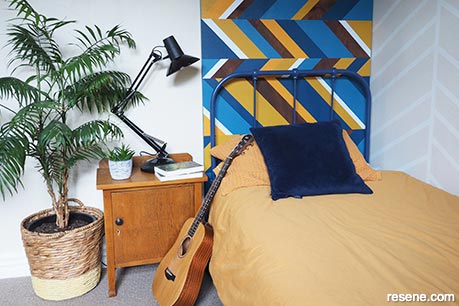
Combine your favourite Resene paint and wood stain colours into one headboard. Adjust your headboard size to suit your bed.
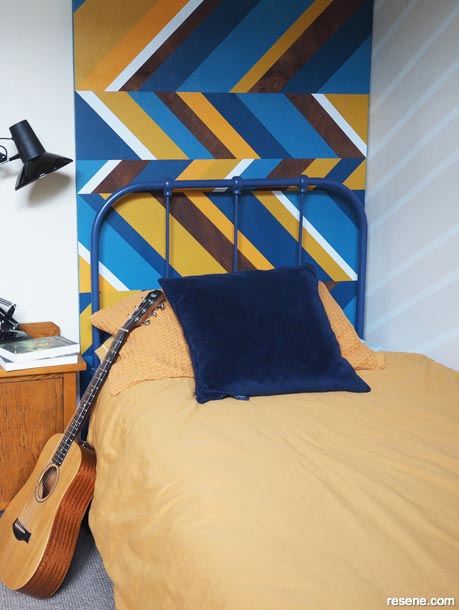
Walls painted in Resene Eighth Canterbury Clay and Resene Carrara, skirting board in Resene Half Rice Cake and small headboard in Resene Biscay.
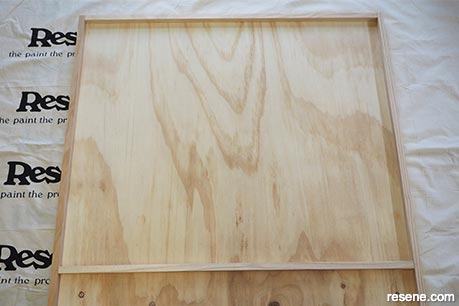 Step 1
Cut your sheet of plywood down to your chosen size. Fleur’s is 2.3m tall by 95cm wide. Cut your 18mm x 18mm pine wood so that you can make a frame around the perimeter of the plywood and across the back of it a couple of times. Use wood glue to glue these in place on the back of the plywood and you can also secure it with screws if you want.
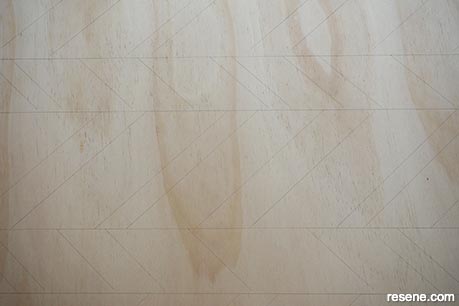 Step 2
Flip the ply over and on the front of it, use a ruler and pencil to mark out some horizontal lines. Fleur drew her lines 30cm, 20cm and 10cm apart. Next, use a 45 degree set square to make lines at random intervals. Fleur alternated the direction of these with each horizontal line.
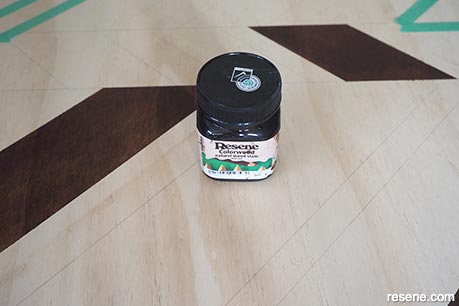 Step 3
Once you have all your lines in place, you can start staining and painting. Stain first. Use painters tape to mask off each of the different areas that you want to stain and apply Resene Colorwood wood stain in Resene Teak. Fleur used a cotton cloth to apply one coat and removed the tape as soon as I was finished. Repeat this process of taping and staining until you have all the stained areas finished.
 Step 4
Started applying the paint, using the same method as the stain. Tape off each area and apply two coats of paint with a paintbrush, allowing the first coat to dry before applying the second coat. Remove the tape as soon as you have finished the second coat. Repeat this for all the different coloured areas. For the painted areas Fleur used Resene Hot Toddy, Resene Pirate Gold, Resene Billabong, Resene Blumine and Resene Geyser.
 Step 5
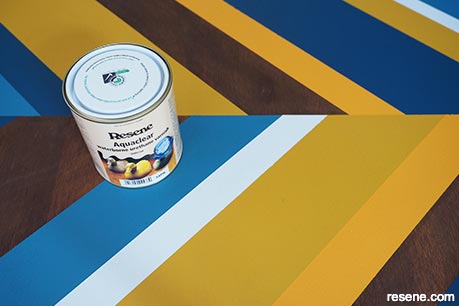
Once you have filled in the whole headboard with paint and the paint has dried, apply two coats of Resene Aquaclear in a satin finish.
 Step 6
Once the Aquaclear is dry, you can mount your headboard to the wall, securing it with a few screws. You can use the headboard by itself or layer over it with an existing headboard.
Top tip: Let your duvets inspire your headboard colour choices by picking out accent colours and choosing Resene colours that are close. This will help you tie in your design to your duvet. Or look for a single colour duvet so your headboard can be the star of the show.
Styling and images by Fleur Thorpe. Aug 2022.
Habitat bright ideas
Need to add colour, pattern or a little creativity to your place? Check out these easy step by step DIY project ideas created in collaboration with Fleur Thorpe. We hope you enjoy making and painting these bright ideas and bringing colour to your home inside or out.
![]() Get inspired ! Subscribe
Get inspired ! Subscribe ![]() Get saving ! Apply for a DIY card
Get saving ! Apply for a DIY card
![]()
Can't find what you're looking for? Ask us!
Company profile | Terms | Privacy policy | Quality and environmental policy | Health and safety policy
Colours shown on this website are a representation only. Please refer to the actual paint or product sample. Resene colour charts, testpots and samples are available for ordering online. See measurements/conversions for more details on how electronic colour values are achieved.
What's new | Specifiers | Painters | DIYers | Artists | Kids | Sitemap | Home | TOP ⇧


