Habitat bright ideas with Fleur Thorpe – DIY projects
Make a feature of an existing garden seat or add some personality to a new one. Use it for breaks when you’re in the garden or a rest spot on your porch.
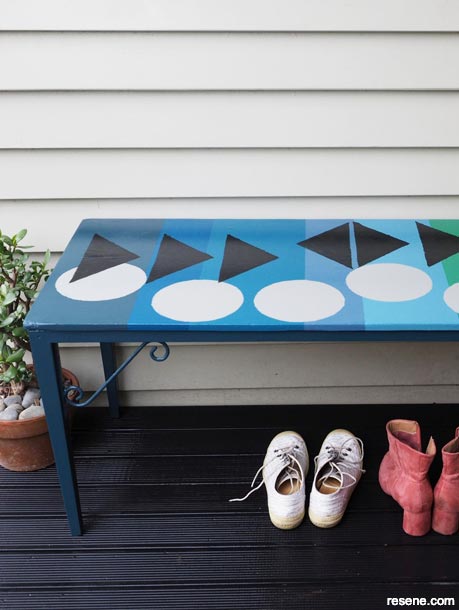
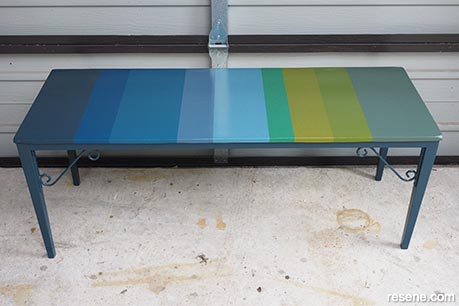
The colourful finished DIY stencilled bench seat painted in Resene Warrior, Resene St Kilda, Resene Teal Blue, Resene Liberty, Resene Bismark, Resene Green Pea, Resene Planter, Resene Untamed, Resene Middle Earth, Resene Castle Rock and Resene Black. Weatherboards painted in Resene Triple Ash.
How to create a DIY stencilled bench seat for your garden:
 Step 1
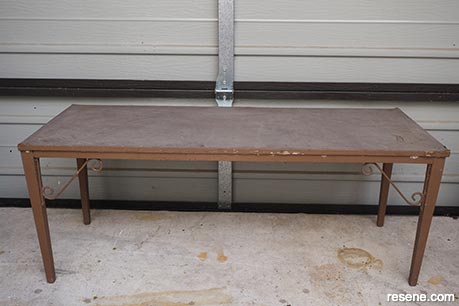
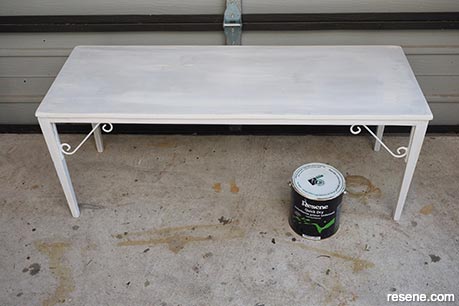
Start by giving the bench seat a good sand with a medium grit sandpaper. Wipe away the dust with a soft dry cloth. Paint the seat with one coat of Resene Quick Dry. Once the primer is dry, give it a light sand with a fine grit sandpaper. Wipe off sanding dusts.
 Step 2
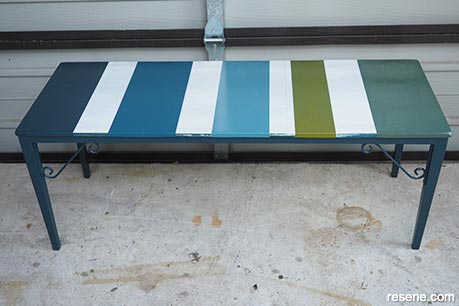
Paint the legs and base of the seat with two coats of Resene Warrior, allowing for the first coat to dry before applying the second coat. Use a measuring tape to mark stripes along the top of the seat. Use painters tape to tape off every second stripe and paint each stripe a different colour. Fleur used Resene Warrior, Resene Teal Blue, Resene Bismark, Resene Planter and Resene Middle Earth.
 Step 3
Remove the tape as soon as you have finished the second coat.
 Step 4
Once the paint has cured overnight, use tape again to paint in the remaining stripes with Resene St Kilda, Resene Liberty, Resene Green Pea and Resene Untamed.
 Step 5
Cut out a stencil of a circle and a triangle. Fleur’s circle is 13cm in diameter and the base of the triangle is 22cm long. With a small piece of foam, dab paint into the stencil. Fleur used Resene Castle Rock for the circles and Resene Black for the triangles.
Top tip: Apply Resene Clearcoat UVS as a protective topcoat to help protect bright colours from fading.
Styling and images by Fleur Thorpe. Jul 2022.
Habitat bright ideas
Need to add colour, pattern or a little creativity to your place? Check out these easy step by step DIY project ideas created in collaboration with Fleur Thorpe. We hope you enjoy making and painting these bright ideas and bringing colour to your home inside or out.
![]() Get inspired ! Subscribe
Get inspired ! Subscribe ![]() Get saving ! Apply for a DIY card
Get saving ! Apply for a DIY card
![]()
Can't find what you're looking for? Ask us!
Company profile | Terms | Privacy policy | Quality and environmental policy | Health and safety policy
Colours shown on this website are a representation only. Please refer to the actual paint or product sample. Resene colour charts, testpots and samples are available for ordering online. See measurements/conversions for more details on how electronic colour values are achieved.
What's new | Specifiers | Painters | DIYers | Artists | Kids | Sitemap | Home | TOP ⇧


