Habitat bright ideas with Fleur Thorpe – DIY projects
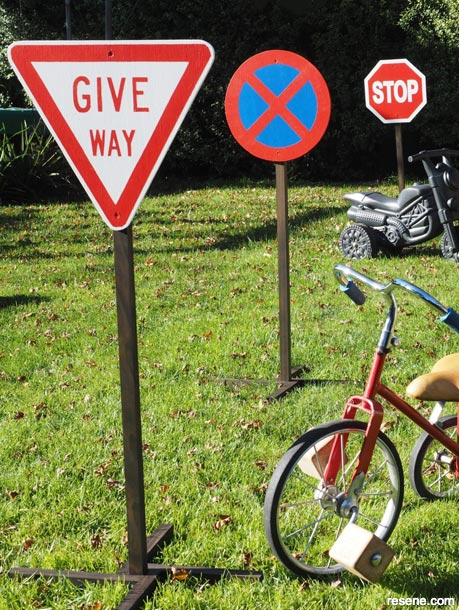
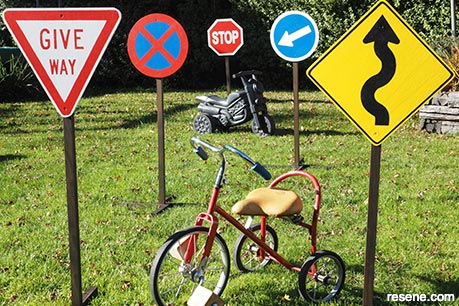
Teaching children how to be safe on the roads is an important part of learning how to ride a bike. Why not set up an obstacle course complete with mini road signs for bikes, scooters and skateboards to help teach them road safety.
Get your children involved with the painting using colours like Resene Wet N Wild and Resene Flash Point for a fun weekend project. While the signs are very mini scale compared to normal street signs, make sure you keep the signs in backyards or areas well away from streets to ensure they don’t confuse anyone.
How to create DIY bike signs for the kids this school holidays:
 Step 1
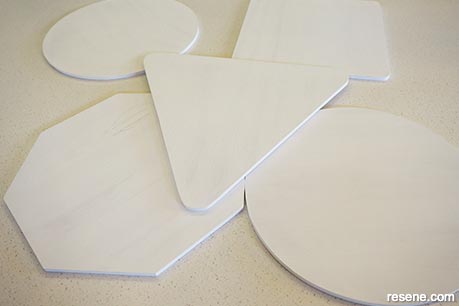
Start by cutting out your sign shapes from the plywood with a band saw or jig saw. Fleur’s signs are about 28-30cm across. Cut out a circle for the No Stopping and Keep Left arrow sign; a triangle for the Give Way sign; a square for the Windy Road sign and an octagon for the Stop sign. Sand any rough edges smooth and apply one coat of Resene Quick Dry. Once this is dry, give it a light sand with sandpaper.
 Step 2
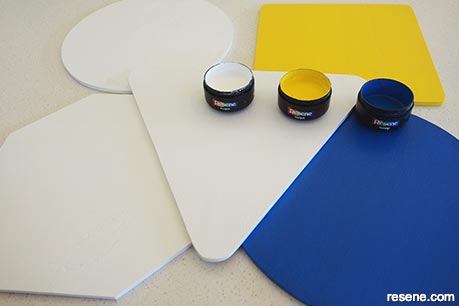
Paint the base colour for each sign. Fleur used Resene White for the Keep Left arrow, the Stop sign and the Give Way sign, Resene Turbo for the Windy Road sign, and Resene Wet N Wild for the No Stopping sign. Apply two coats, allowing for the first coat to dry before applying the second coat.
 Step 3
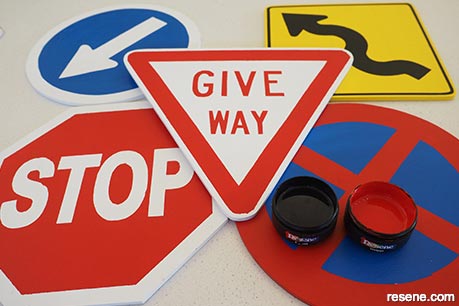
Finish the sign by applying the last top colour. Fleur printed out the arrows and words and cut these out to use either as a stencil, which she applied paint to with a small piece of foam or she traced around them with a pencil and then painted the shape on. To get the straight crisp lines on some of the borders, use painter masking tape to tape off borders you don’t want painted. Fleur used Resene Wet N Wild for the Keep Left arrow, Resene Black for the Windy Road arrow and Resene Flashpoint for the Stop, Give Way and No Stopping signs.
 Step 4
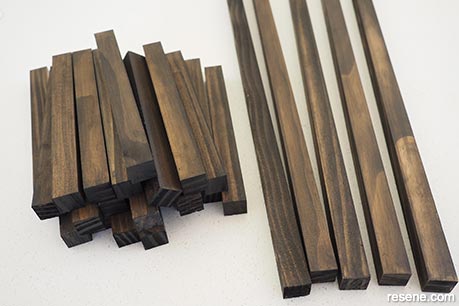
While the paint is drying, start work on the stands. Fleur bought 10 posts, each 900mm long. She cut 5 of them in to 4 equal lengths, then stained these and the remaining 5 long lengths with Resene Ebony wood stain. Fleur applied one coat, as she liked the way the wood grain showed through, but if you want a darker, blacker finish, apply another coat.
 Step 5
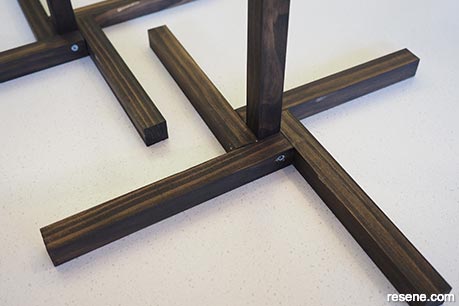
Once the stain is dry, use wood glue to attach four of the short post lengths to the bottom of a long length. Then secure these with a screw into each short length.
 Step 6
Finish by screwing the sign face to the top of the post. Fleur screwed through the front of the sign face and then dabbed a bit of paint over the screw head to hide it.
Top tip: For an easy way to change your obstacle course, use a nail and hole to hold each sign in place. Paint some extra signs with Resene testpots and then change the course using the extra signs. This will help remind children they always need to be on the lookout for new signs.
Styling and images by Fleur Thorpe. May 2022.
Habitat bright ideas
Need to add colour, pattern or a little creativity to your place? Check out these easy step by step DIY project ideas created in collaboration with Fleur Thorpe. We hope you enjoy making and painting these bright ideas and bringing colour to your home inside or out.
![]() Get inspired ! Subscribe
Get inspired ! Subscribe ![]() Get saving ! Apply for a DIY card
Get saving ! Apply for a DIY card
![]()
Can't find what you're looking for? Ask us!
Company profile | Terms | Privacy policy | Quality and environmental policy | Health and safety policy
Colours shown on this website are a representation only. Please refer to the actual paint or product sample. Resene colour charts, testpots and samples are available for ordering online. See measurements/conversions for more details on how electronic colour values are achieved.
What's new | Specifiers | Painters | DIYers | Artists | Kids | Sitemap | Home | TOP ⇧


