Get a two-for-one deal with this easy-to-make seed tray that can also double as a mini propagator.
![]()
Materials:
Resene products:
Tools:
*Note: actual size of dressed decking timber is 90mm x 30mm
To get the look: Mark painted the background glasshouse woodwork with Resene Lustacryl tinted to Resene Quarter Alabaster.
How to build a double-duty seed tray:
 Step one
Measure, mark and cut the decking timber to the sizes specified.
 Step two
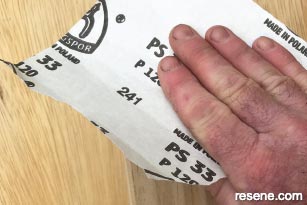
Smooth any rough edges with sandpaper.
 Step three
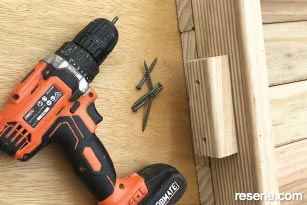
Assemble two of the 500mm lengths of timber and the two 290mm lengths to form a rectangular frame, as shown. Fix at each corner with 50mm screws, drilling pilot holes first to prevent the timber from splitting.
 Step four
Fix the base into position, as shown, using the remaining four 500mm lengths of timber. Again, use 50mm screws, drilling pilot holes first.
 Step five
Fix the remaining two pieces of timber into position on either side of the seed tray, as shown, to form handles. Once again, use 50mm screws, drilling pilot holes first.
 Step six
Drill a series of 10mm drainage holes into the base of the seed tray, as shown, and smooth any burred edges with sandpaper.
 Step seven
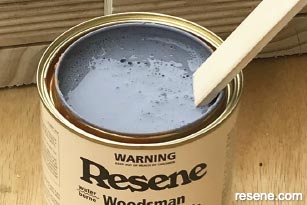
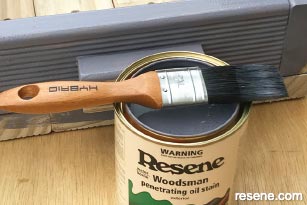
Carefully stir the Resene Waterborne Woodsman penetrating oil stain tinted to Resene Silvered Grey.
 Step eight
Apply two coats of the Resene Waterborne Woodsman penetrating oil stain tinted to Resene Silvered Grey to the seed tray, allowing two hours for each coat to dry.
 Step nine
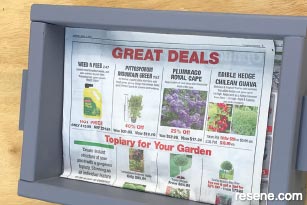
Place five or six layers of newspaper in the base of the seed tray – this will help retain moisture and stop the potting mix from washing through the drainage holes.
 Step ten
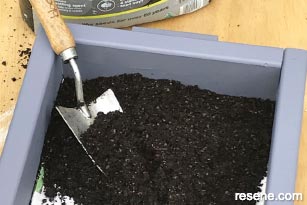
Fill the seed tray to approximately three quarters full with good quality potting mix and sow your preferred seeds.
 Step eleven
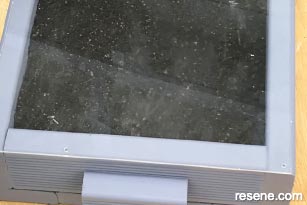
If seeds require additional warmth for germination or if you need to keep the potting mix from drying out, place the piece of clear acrylic or glass over the seed tray.
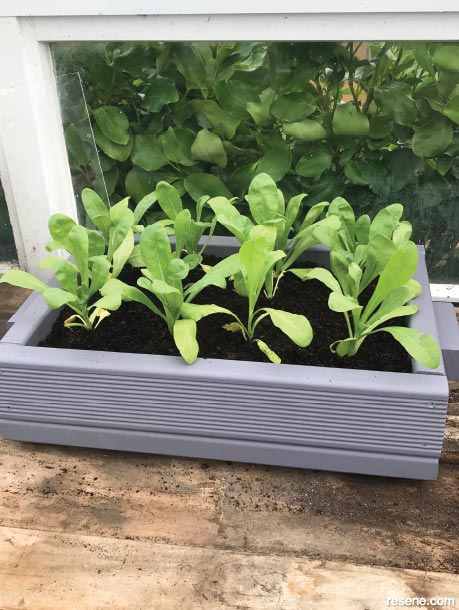
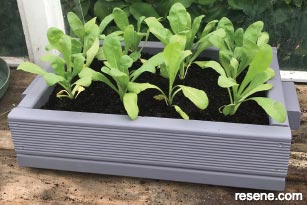 Finished project
![]() Get inspired ! Subscribe
Get inspired ! Subscribe ![]() Get saving ! Apply for a DIY card
Get saving ! Apply for a DIY card
![]()
Can't find what you're looking for? Ask us!
Company profile | Terms | Privacy policy | Quality and environmental policy | Health and safety policy
Colours shown on this website are a representation only. Please refer to the actual paint or product sample. Resene colour charts, testpots and samples are available for ordering online. See measurements/conversions for more details on how electronic colour values are achieved.
What's new | Specifiers | Painters | DIYers | Artists | Kids | Sitemap | Home | TOP ⇧

