Projects from Your Weekend magazine
It’s the new black in trends. Rose Hughes gives her take on colour blocking.
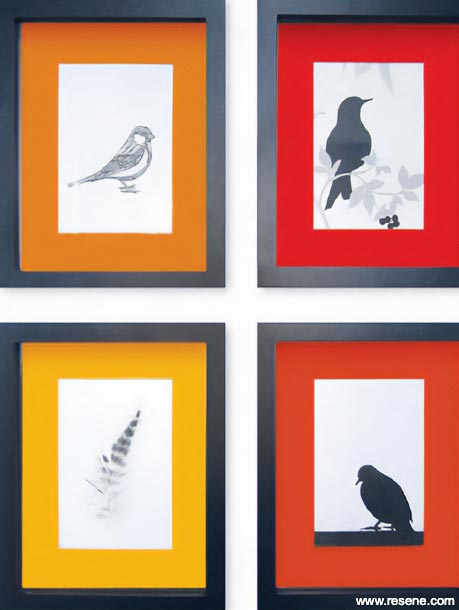
One of the recent trends to move from the fashion catwalk to our living spaces is a concept called ‘‘colour blocking’’. If you remember Mondrian you’ll know what I’m talking about but the idea is to use contrasting blocks of solid colour rather than stripes, textures or patterns, hence the name. It’s a great way to jazz up a couple of spaces in your home.

I had previously distressed an old table. It sits in the entranceway and though the colour of it relates to a wall in the adjacent office, the table always felt a little alone. An easy fix was to introduce some supporting colour to make the look more cohesive.

Step 1
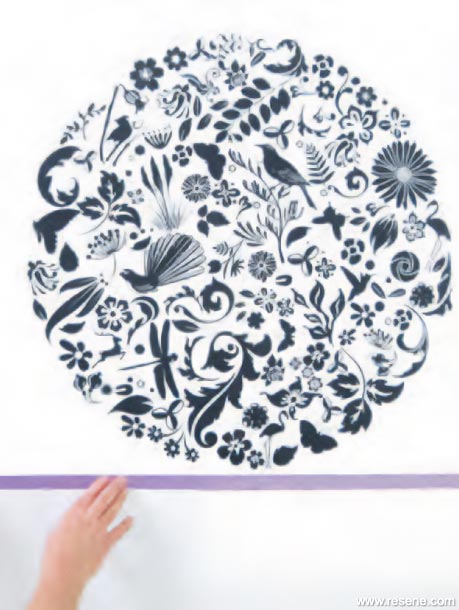
Step 2
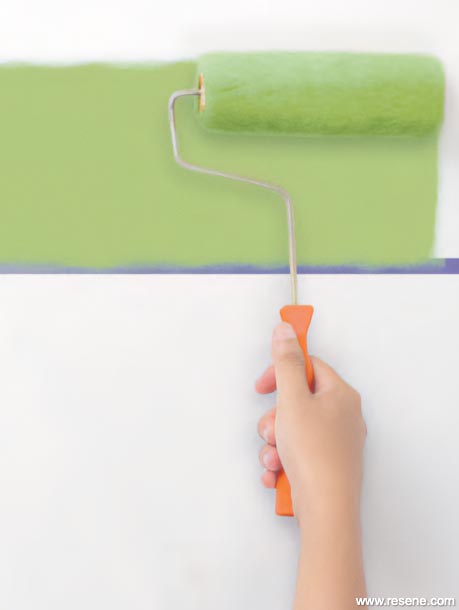
Step 3
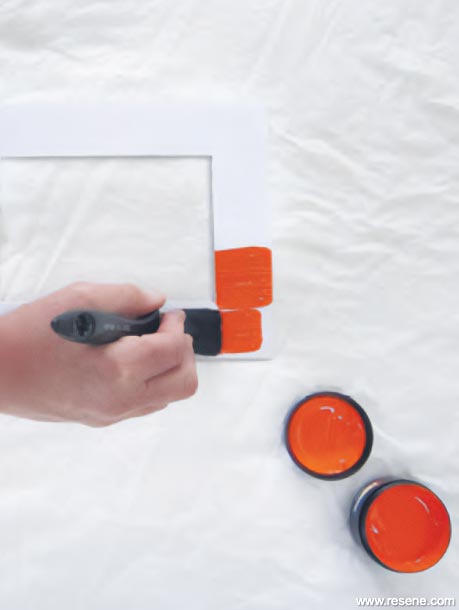
Step 4
Saturday, September 27, 2014.
▸ Download a PDF of this article
Projects from Your Weekend magazine
View more project ideas from Your Weekend magazine in the Resene weekend DIY projects section.
![]() Get inspired ! Subscribe
Get inspired ! Subscribe ![]() Get saving ! Apply for a DIY card
Get saving ! Apply for a DIY card
![]()
Can't find what you're looking for? Ask us!
Company profile | Terms | Privacy policy | Quality and environmental policy | Health and safety policy
Colours shown on this website are a representation only. Please refer to the actual paint or product sample. Resene colour charts, testpots and samples are available for ordering online. See measurements/conversions for more details on how electronic colour values are achieved.
What's new | Specifiers | Painters | DIYers | Artists | Kids | Sitemap | Home | TOP ⇧


