Whether constructing a new fence or putting in a screen, corrugated iron is the perfect choice for a contemporary look.
You will need:
![]()
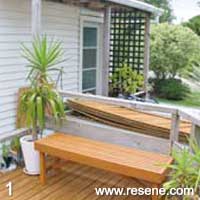
Step 1
To provide shelter from high winds and privacy from neighbours, a framed corrugated iron screen is just the thing.
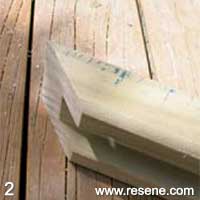
Step 2
To make the frames, measure the iron sheets then cut four corresponding lengths of fence capping for each panel (2 sides, 1 top and 1 bottom), cutting ends at a 45° angle.
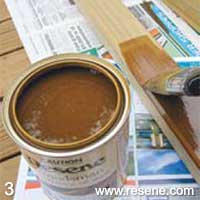
Step 3
Paint the fence capping with Resene Waterborne Woodsman penetrating stain before assembling. Allow 24 hours to dry before applying a second coat. Allow another 24 hours to dry.
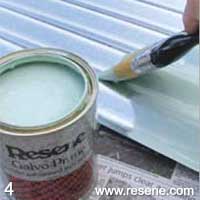
Step 4
Apply a coat of Resene Galvo-Prime to the iron panels. We've used new corrugated iron sheets. If using weathered sheets, prime with Resene Galvo One.
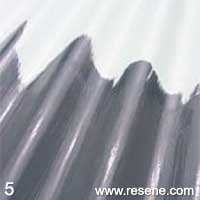
Step 5
When dry, apply two coats of Resene Lumbersider tinted to Resene Ebony Clay on both sides of the iron panels. Alternatively, use Resene Hi-Glo in Resene Ebony Clay for a glossy finish.
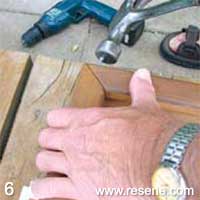
Step 6
When fence capping is dry, fix mitred corners with galvanised nails or screws. Leave one end of the frame open. Some adhesive on the mitred joints will make for a better connection.
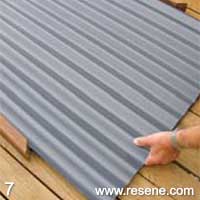
Step 7
Slide the iron panels into the three-sided frames, then fix the remaining sides to each frame.
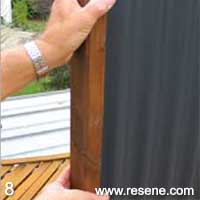
Step 8
Fix first panel in position, then fix remaining panels to one another with fence fastenings, one at the top and bottom of each panel.
![]() Get inspired ! Subscribe
Get inspired ! Subscribe ![]() Get saving ! Apply for a DIY card
Get saving ! Apply for a DIY card
![]()
Can't find what you're looking for? Ask us!
Company profile | Terms | Privacy policy | Quality and environmental policy | Health and safety policy
Colours shown on this website are a representation only. Please refer to the actual paint or product sample. Resene colour charts, testpots and samples are available for ordering online. See measurements/conversions for more details on how electronic colour values are achieved.
What's new | Specifiers | Painters | DIYers | Artists | Kids | Sitemap | Home | TOP ⇧


