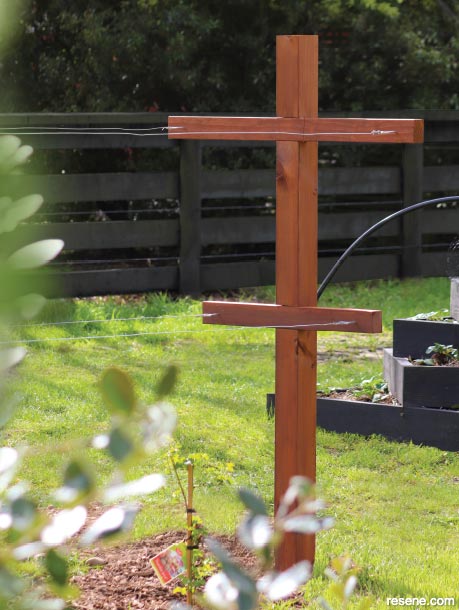
Give your berries room to grow and plenty of airflow with this helpful trellis. Keeping the canes off the ground means berries stay healthy and are easy to reach when ready to pick.
![]()
Materials:
Tools:
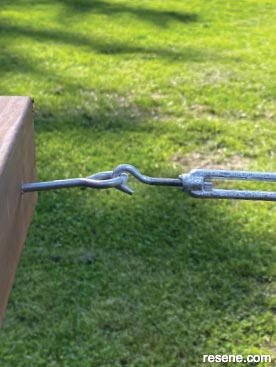
Top tip: Make sure you loosen the turnbuckle before attaching the wire so you are able to tighten it afterwards.
Here's another idea: Create a garden feature out of your berry trellis and finish it with Resene FX Faux Rust Effect – it will look like weathered steel at a fraction of the cost of the real thing.
How to build a berry trellis:
 Step one
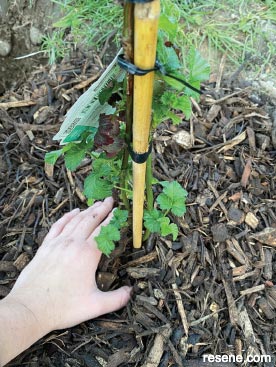
Tidy up your existing berry patch, pruning and adding mulch if needed. Or, if you are planting new berry bushes, get them in the ground now.
 Step two
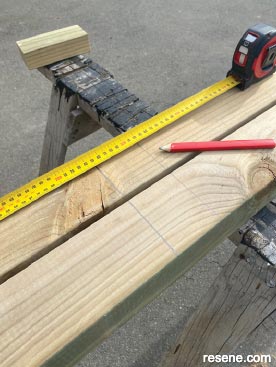
On your two posts, mark where the notches for the crossbeams will go. Mark the first notch 250mm down from the top of each post and the second notch 500mm below that. Each notch should be the height of your crossbeam timber so that they will slot snugly into the gaps.
 Step three
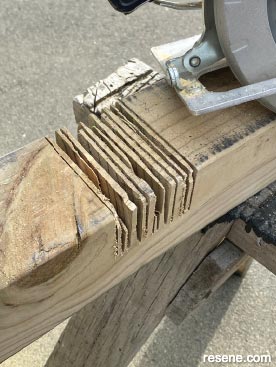
Using a circular saw set to the depth of the crossbeam timber, cut along one of the marked lines. Do the same with the second mark and then cut across the wood at approximately 5mm intervals, leaving wood slices between the two marks. Use a chisel to knock out the wood slices, creating a notch. Repeat for the remaining three notches.
 Step four
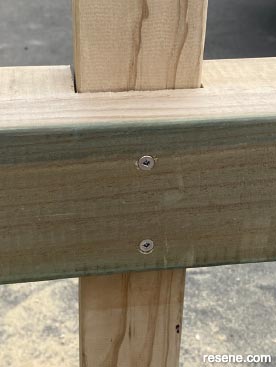
Screw the crossbeams into place with 85mm screws, with the longer lengths in the top notches.
 Step five
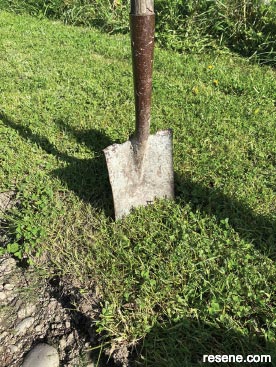
Mark the location for your post holes, one on each end of your row of berries. Add additional posts in the middle if your row is longer than 6m. Dig a hole about 600mm deep.
 Step six
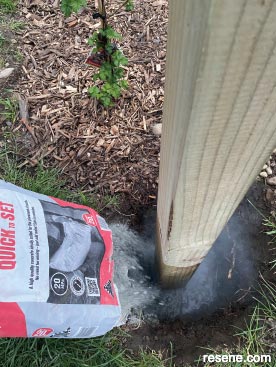
Place your posts in the ground. Pack the soil firmly back into the hole around each post, ensuring the post is level using the spirit level. Depending on your soil type, you may wish to support the post with quick-to-set concrete (pour it into the hole for stability).
 Step seven
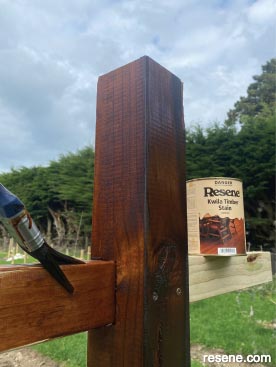
Stain both posts and the crossbeams with two coats of Resene Kwila Timber Stain, allowing to dry between coats.
 Step eight
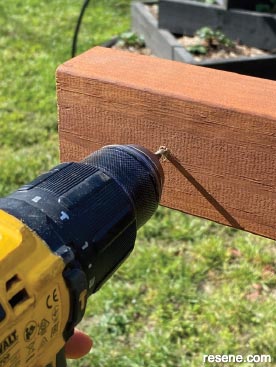
Pre-drill holes for the eight eye hooks, 80mm from each end of all four crossbeams.
 Step nine
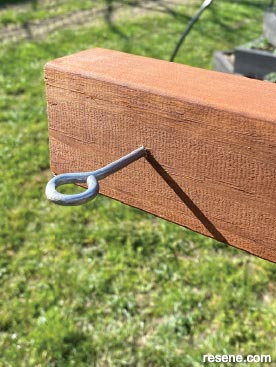
Using the holes as guides, screw in the eye hooks to each crossbeam, and hang a turnbuckle on the four hooks on one of the posts.
 Step ten
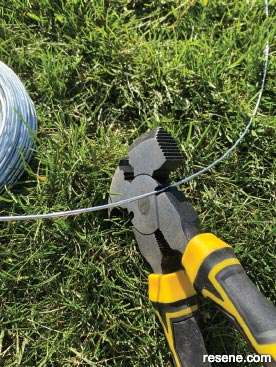
Measure the distance between the two posts, then cut four pieces of wire that are about a metre longer.
 Step eleven
Tie a length of wire to each eye hook on the post without turnbuckles, then attach it to the turnbuckle on the opposite post. Tighten each turnbuckle as needed to pull the wire tight.
 Step twelve
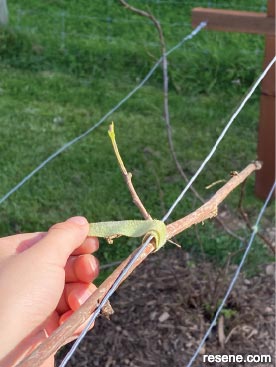
If your berry plants are tall enough, attach them to the wire supports. As the canes continue to grow, spread them along the trellis.
![]() Get inspired ! Subscribe
Get inspired ! Subscribe ![]() Get saving ! Apply for a DIY card
Get saving ! Apply for a DIY card
![]()
Can't find what you're looking for? Ask us!
Company profile | Terms | Privacy policy | Quality and environmental policy | Health and safety policy
Colours shown on this website are a representation only. Please refer to the actual paint or product sample. Resene colour charts, testpots and samples are available for ordering online. See measurements/conversions for more details on how electronic colour values are achieved.
What's new | Specifiers | Painters | DIYers | Artists | Kids | Sitemap | Home | TOP ⇧

