Creating garden edging is one of the easiest and most practical ways to keep your garden looking tidy.
![]()
Materials:
Tools:
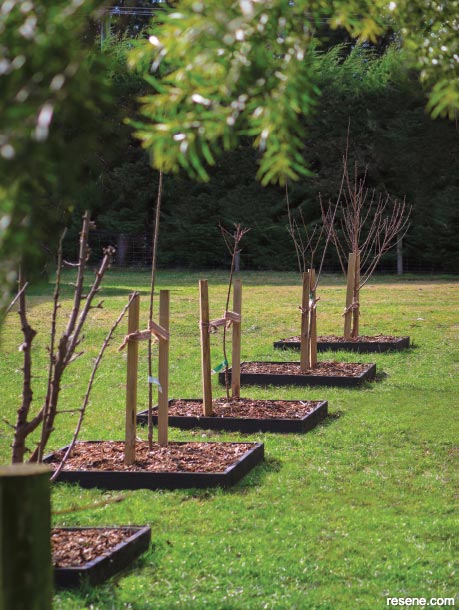
Before you begin: Work out how much timber you will need. We created edging boxes around our new fruit trees, but you can also use this edging around garden beds or to line the edge of your grass.
Get creative: Don’t limit yourself to square edging around trees – try creating a hexagon shape.
How to create garden edging:
 Step one
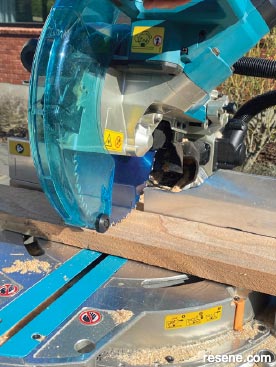
Cut your timber to size. For each box we cut two lengths at 1200mm and two lengths 25mm shorter (the thickness of our timber) so that when it’s assembled it makes a perfect square.
 Step two
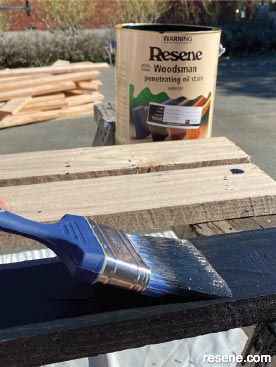
Stain each length of timber with two coats of Resene Waterborne Woodsman penetrating oil stain brought to you by in the colour of your choice, allowing each coat to dry.
 Step three
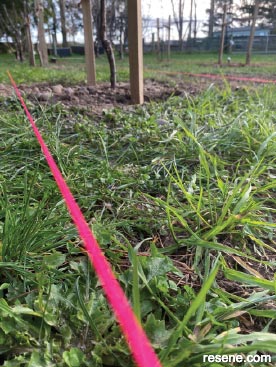
Use string (builder’s line) to mark out where your edging needs to go. Set the height of the string to the final height of the edging. As we were creating edging around trees, we used the string to keep our boxes in line with each other.
 Step four
Dig out any grass along your string lines to even out the ground and create a shallow trench.
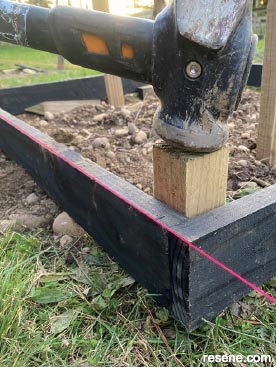 Step five
Put the timber in place with the top just touching the string line. Knock the pegs in where needed with one at each corner and each join (if you have any).
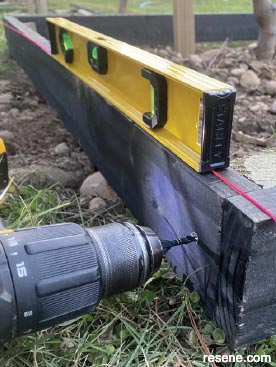 Step six
Screw the timber to your pegs, as shown. Use the spirit level to ensure your edging stays level. You may find a clamp or an extra pair of hands helpful.
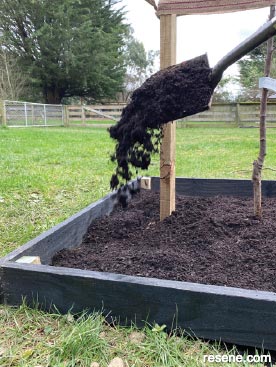 Step seven
Re-fill the trenches with soil, smoothing out any dug-up soil. Remove the string line.
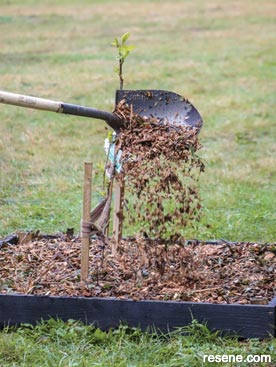 Step eight
To complete the look, add a layer of mulch around the plants. This will not only help them grow but will also make your DIY project look smart and professional.
![]() Get inspired ! Subscribe
Get inspired ! Subscribe ![]() Get saving ! Apply for a DIY card
Get saving ! Apply for a DIY card
![]()
Can't find what you're looking for? Ask us!
Company profile | Terms | Privacy policy | Quality and environmental policy | Health and safety policy
Colours shown on this website are a representation only. Please refer to the actual paint or product sample. Resene colour charts, testpots and samples are available for ordering online. See measurements/conversions for more details on how electronic colour values are achieved.
What's new | Specifiers | Painters | DIYers | Artists | Kids | Sitemap | Home | TOP ⇧

