Cascading planter box
Add colour to any garden setting with a planter that boasts movement and extra visual interest.
You will need: Eight 1.5m fence palings 150mm wide x 20mm thick, 3.6m of 45mm x 45mm treated timber, 60mm galvanised flathead nails, electric drill with a 60mm hole saw attachment, hammer, saw, pencil, square, paintbrush, paint stirrer, three 40 litre bags of potting mix and thirty six seedlings of your choice.
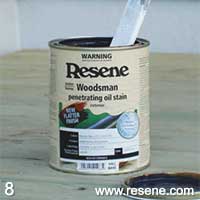
Resene Woodsman Penetrating Oil Stain tinted to Resene Woody Bay.
Hint: When staining timber a dark colour, ask for Resene CoolColour to reflect heat and prolong the life of your projects.
To get the look: We painted the background wall with Resene Sonyx 101 tinted to Resene Rakaia.

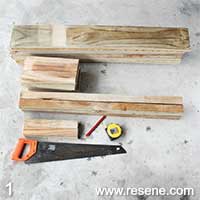 Step 1
Measure and cut the fence palings into six 1000mm lengths, six 300mm lengths, and two 960mm lengths. Measure and cut the 45mm x 45mm timber into four 750mm lengths and two 300mm lengths.
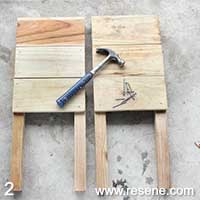 Step 2
Construct the ends of the planter box. Nail three of the 300mm length palings to two of the 45mm x 45mm legs, as shown. Repeat with the remaining 300mm palings and legs.
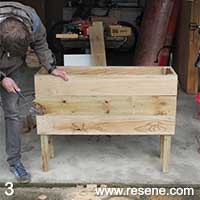 Step 3
Put the end sections on their sides, 1m apart, and attach three of the 1000mm-length palings, as shown. (You may need someone to hold the end sections for you while you’re nailing.) Turn over and repeat on the other side.
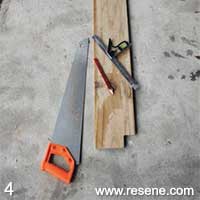 Step 4
Using a square, mark a 45mm x 45mm square at two corners of each of the 960mm length palings, as shown. Cut out each notch.
 Step 5
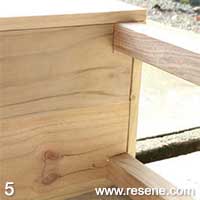
Insert the notched palings into the base of the planter, so they are flush with the bottom edge of the sides. Nail in place around the entire perimeter of the base with nails spaced approximately 150mm apart.
 Step 6
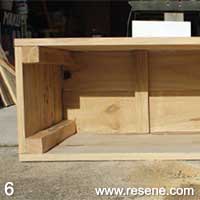
Insert the 300mm lengths of 45mm x 45mm timber into the bottom of the planter as shown, evenly spaced approximately one third of the length of the planter. Nail in place from the sides and underneath the box.
 Step 7
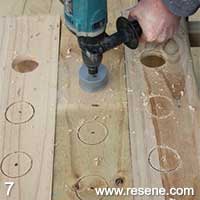
Measure and mark where the holes are to be drilled. Mark the centre of six holes, evenly spaced along the top and bottom horizontal boards of one long side of the planter. Mark seven holes along the middle board. On each short side of the planter, mark two holes each on the top and bottom boards, and one in the centre of the middle board. Using the electric drill with hole saw attachment, cut out the holes.
 Step 8
Carefully stir the Resene Woodsman CoolColour stain, tinted to Resene Woody Bay.
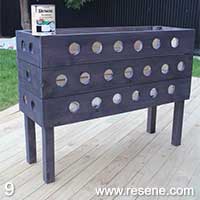 Step 9
Apply two coats of Resene Woodsman CoolColour stain to the planter according to instructions on the tin.
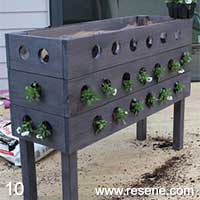 Step 10
Once the stain is dry, it's time to plant! Move the box to its final position. Tip potting mix into the bottom of the planter, so it’s level with the bottom of the lowest row of holes. Poke one seedling through each hole from the outside, covering with more soil as you go. Repeat until all the holes are filled with plants. Plant out the rest of the seedlings, evenly spaced, in the top of the box.
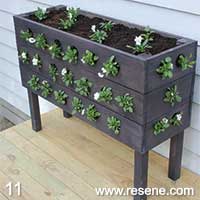 Step 11
Water and wait for the plants to grow and fill in the space. Tip:
if you don’t have a hole saw attachment, you can cut notches into the side panels where the palings join. 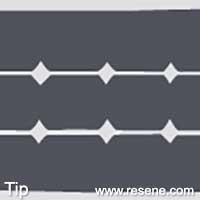 Tip:
Tip:
If you don't have a hole saw attachment, you can cut notches into the side panels where the palings join.
 Step 1
 Step 2
 Step 5
 Step 6
 Step 7
 Step 9
 Step 10