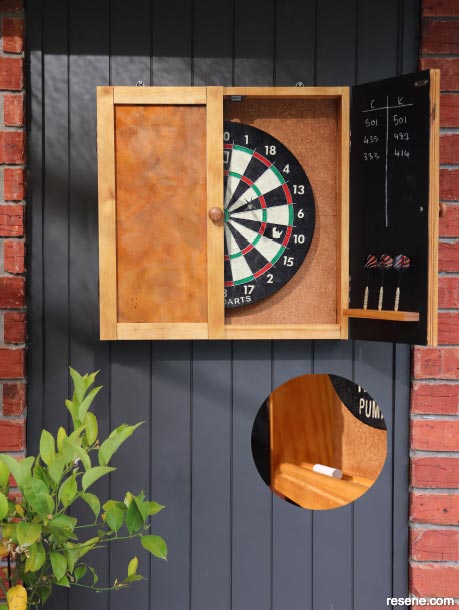
Impress your friends by building an easy-to-make dartboard cabinet that will transform your garden into a games room.
![]()
Materials:
Tools:
Resene products:
Top tip:
We hung our cabinet where it will be sheltered from the rain. If your cabinet will be exposed to the elements, consider using treated pine or hardwood.
How to build a dartboard cabinet:
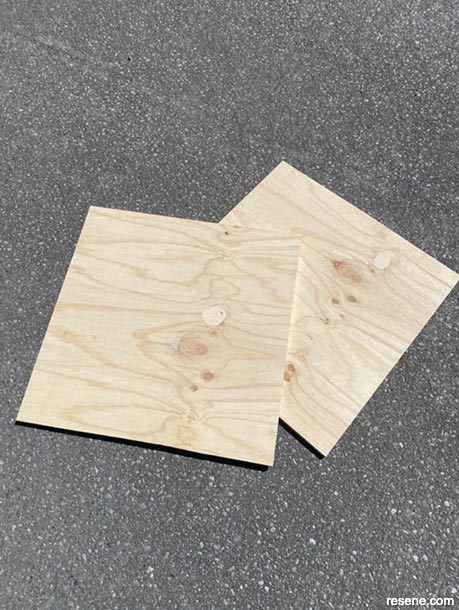 Step one
Cut your plywood in half, creating two 600 x 600mm squares.
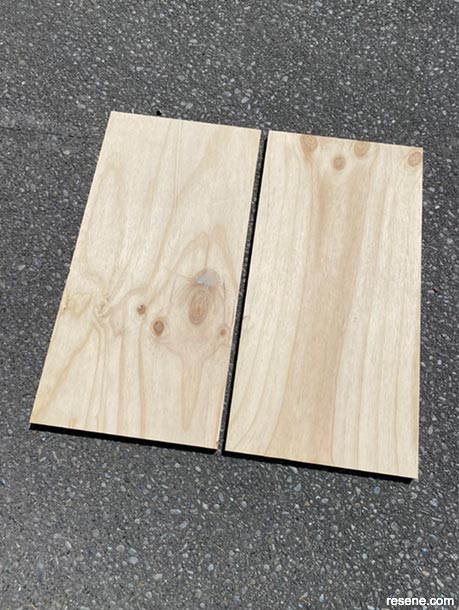 Step two
Cut one of these squares in half again to create the two doors.
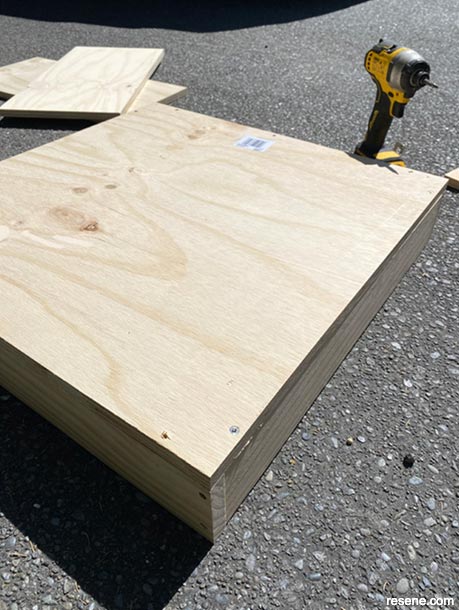 Step three
Screw the 90 x 18mm pine for the sides to the edges of the 600 x 600mm plywood backboard.
 Step four
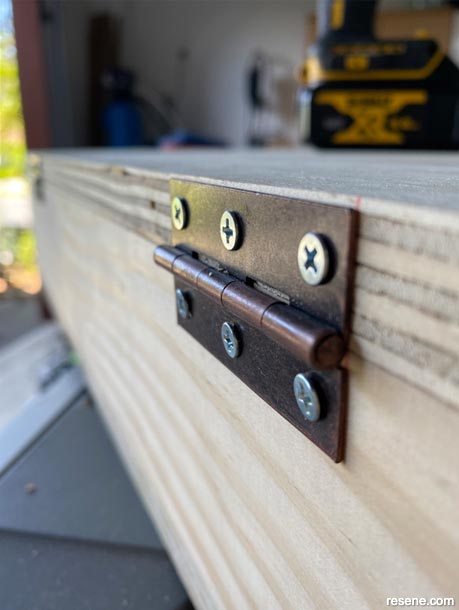
Lay the cabinet on its back and place the doors on top, carefully aligning each edge. Screw two hinges into position on each outside edge.
 Step five
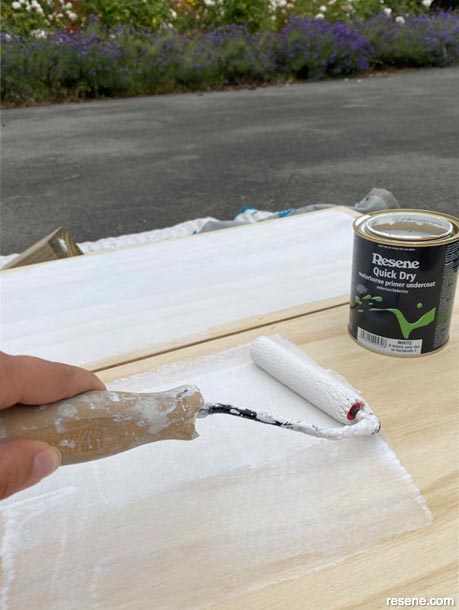
Apply Resene Quick Dry waterborne primer undercoat to the front of both doors (you don’t need to paint right to the edge as this will be covered by the trim).
 Step six
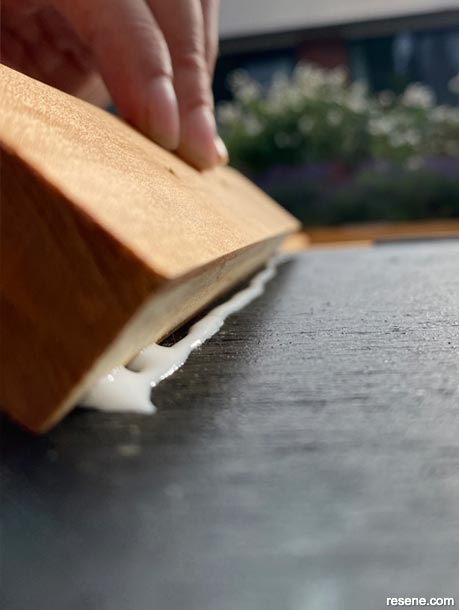
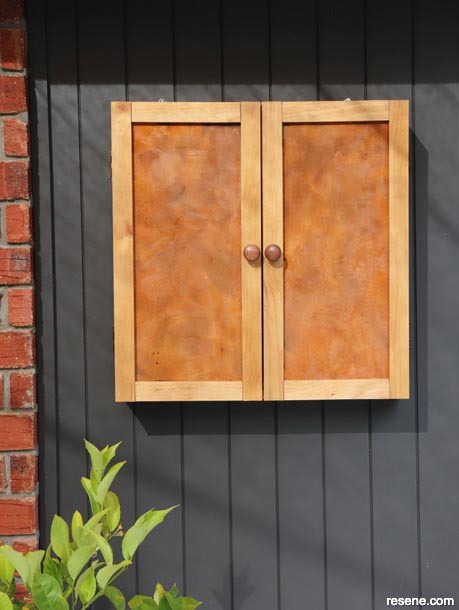
Once the primer has dried, apply two coats of Resene FX Faux Rust Effect Basecoat using a wide brush and random direction brushstrokes. Allow at least four hours to dry between coats. The final rust patterns will vary with your application method and technique. It is important to use a consistent technique and to not cut in at the edges.
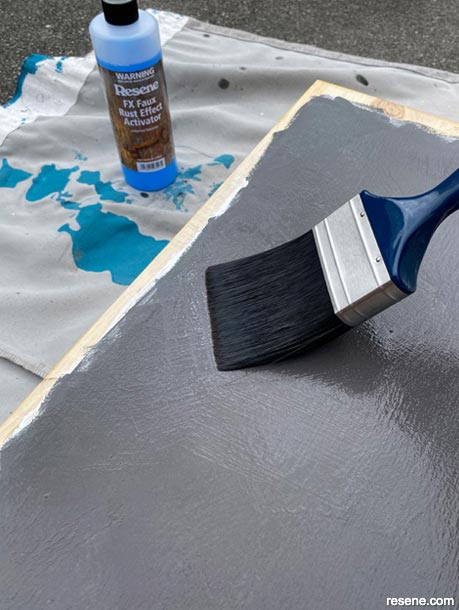 Step seven
Once the second coat of the Resene FX Faux Rust Effect Basecoat is tacky or touch dry, apply a coat of Resene FX Faux Rust Effect Activator. Apply the second coat of the Activator as soon as the first coat is dry (dry time is typically less than one hour). Apply the Resene FX Faux Rust Effect Activator solution using random direction brushstrokes to completely cover the Basecoat (any missed areas will not develop the rust effect). The effect will begin to be visible after an hour and will continue to develop over the next 24 hours.
 Step eight
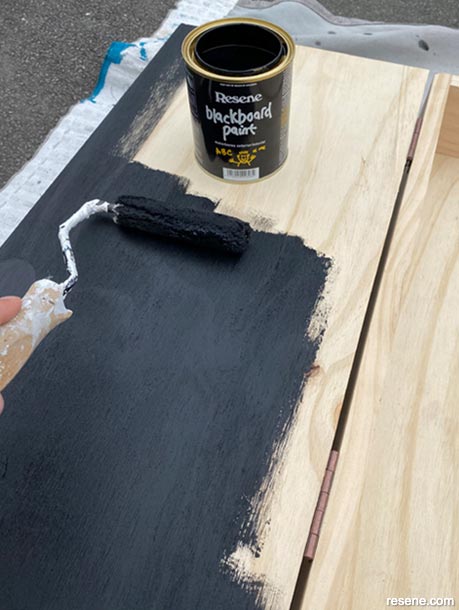
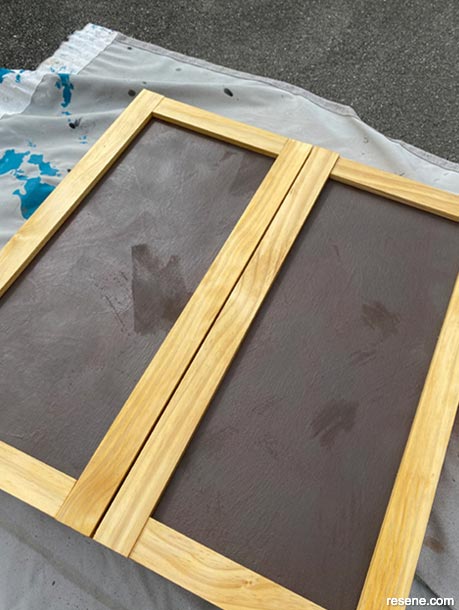
Apply two coats of Resene FX Blackboard Paint to interior of both doors. Allow at least two hours for each coat to dry.
 Step nine
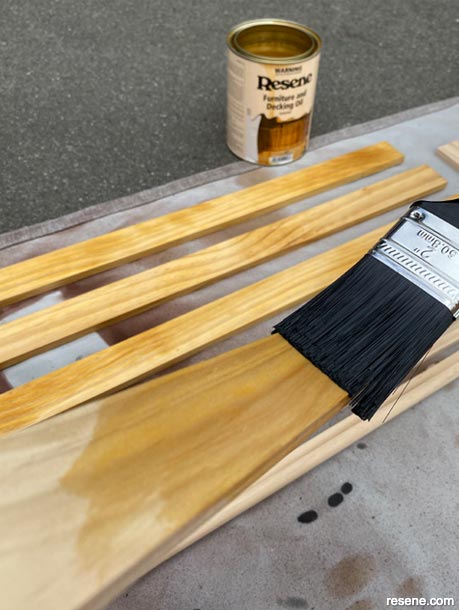
Apply two coats of Resene Furniture and Decking Oil to the rest of the cabinet and the remaining lengths of timber. Allow each coat to dry, which may take a day per coat.
 Step ten
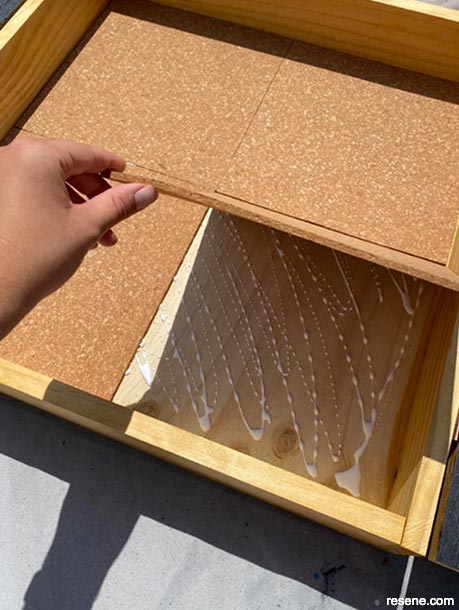
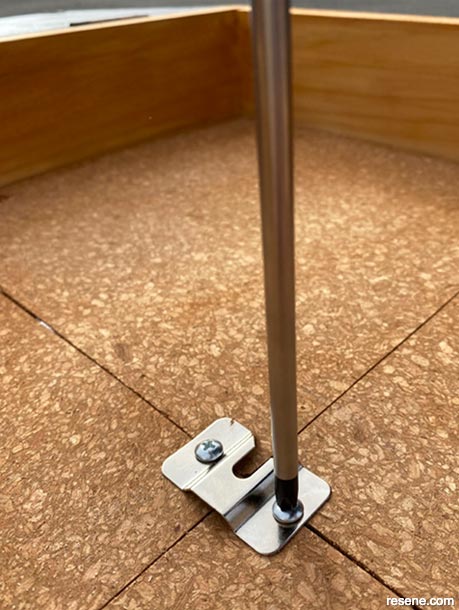
Trim the four cork tiles down to the size required and glue them to the inside of the cabinet.
 Step eleven
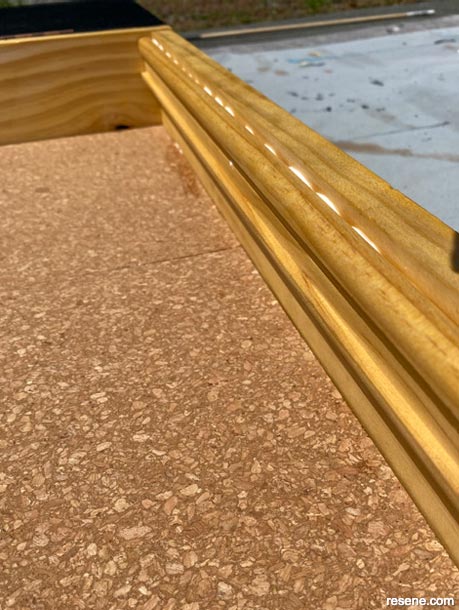
Glue the two picture frame trim lengths to the cabinet’s base so they face each other, creating a chalk holder. Clamp the trim in place while the glue dries.
 Step twelve
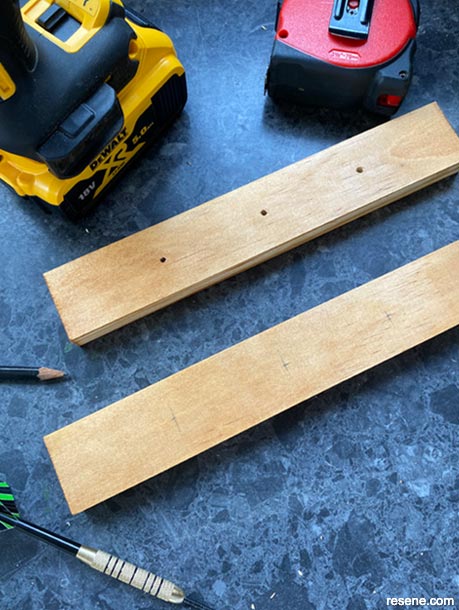
Mark three points, one centred and the others 60mm to each side, on the two 240mm lengths of timber. Use a 3mm drill bit to drill a hole at each point. Check if your darts fit and drill a larger hole if necessary.
 Step thirteen
Glue the two dart holders on the inside of each door, centred and 100mm up from the bottom.
 Step fourteen
Glue the 40mm x 10mm pine trim pieces to the front of each door as shown, aligning each edge. Clamp in place until dry.
 Step fifteen
Attach a cabinet knob to the front of each door using the supplied screw.
 Step sixteen
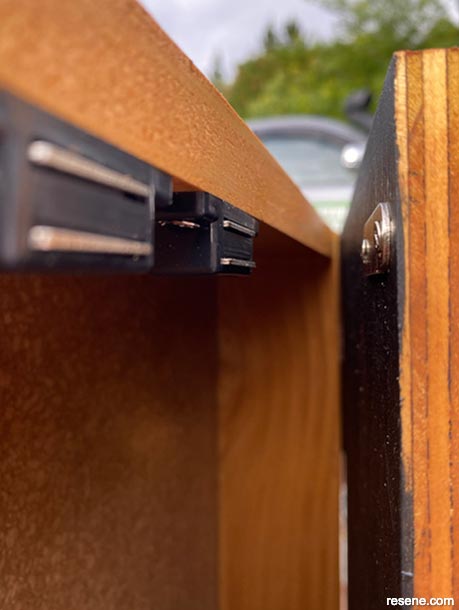
Attach magnet catches to the insides of the cabinet (where the top inside corner of each door touches) and their corresponding magnet plates to the insides of the doors to keep them closed.
 Step seventeen
Hang your dartboard inside the cabinet (using the supplied hardware to hang it), ensuring it’s centred.
 Step eighteen
Hang your dartboard cabinet so that the bullseye is 173cm from the floor. We screwed D-rings to the back of the cabinet and hung these off two screws on our wall.
![]() Get inspired ! Subscribe
Get inspired ! Subscribe ![]() Get saving ! Apply for a DIY card
Get saving ! Apply for a DIY card
![]()
Can't find what you're looking for? Ask us!
Company profile | Terms | Privacy policy | Quality and environmental policy | Health and safety policy
Colours shown on this website are a representation only. Please refer to the actual paint or product sample. Resene colour charts, testpots and samples are available for ordering online. See measurements/conversions for more details on how electronic colour values are achieved.
What's new | Specifiers | Painters | DIYers | Artists | Kids | Sitemap | Home | TOP ⇧

