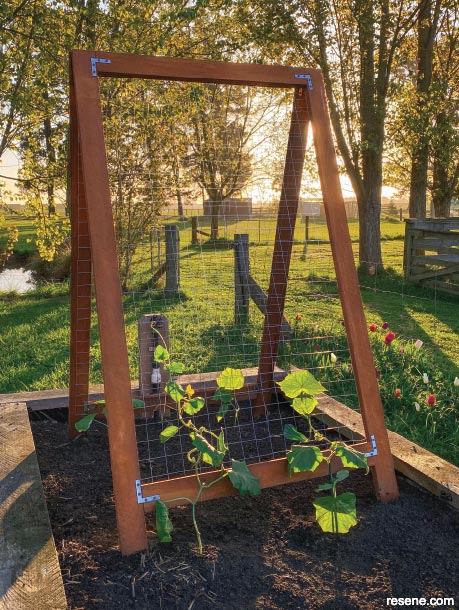
This sturdy A-frame is the perfect support for climbing crops. It’s easy to move around for crop rotation and is a great way to make the most of your gardening space.
![]()
Materials:
Top tip: If you prefer to use a waterborne finish, apply two coats of Resene Waterborne Woodsman to your frame. When opting for a darker colour, use the Resene CoolColour version of the colour to help reflect more of the sun’s heat.
How to build a vertical growing frame:
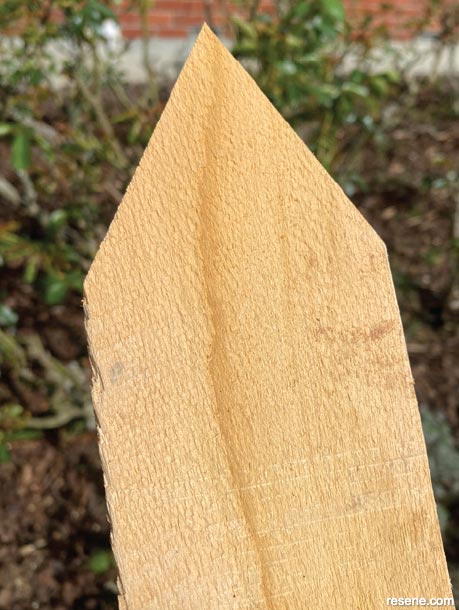 Step one
Cut one end of each of the 2m timber lengths into a point, as shown.
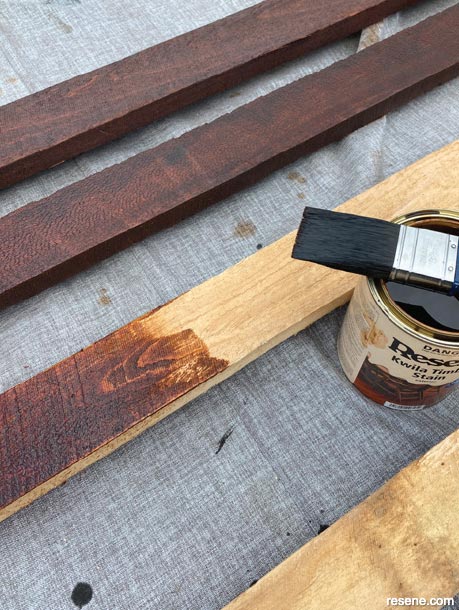 Step two
Apply one coat of Resene Kwila Timber Stain to all lengths of timber, and allow to dry. Then apply a second coat, allowing it to dry.
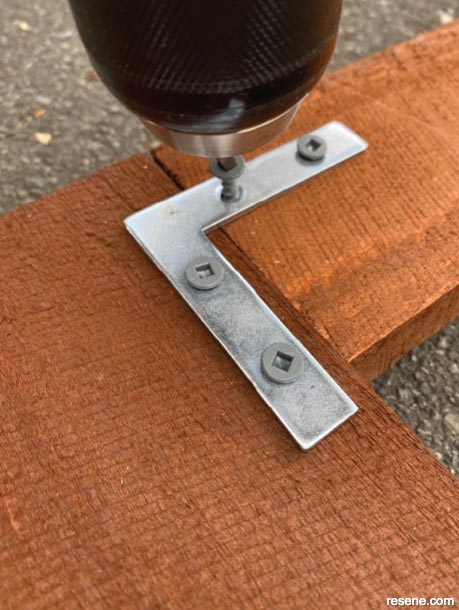 Step three
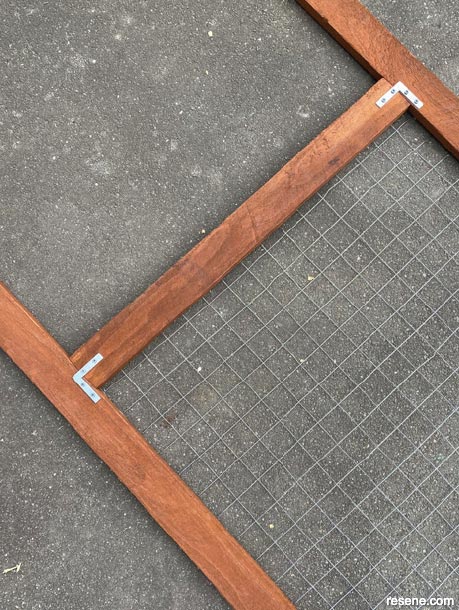
Create your first frame by aligning one 800mm length with the flat top of two of the 2m lengths (so the bottom points down). Position the lower horizontal 800mm length 500mm up from the pointed end of the 2m lengths to create a rectangular frame. Join the frame together using the corner brackets, drilling pilot holes first. Once all the four corners are securely fastened, flip the frame over and repeat on the other side, being careful not to allow the screws to collide as you secure each corner bracket.
 Step four
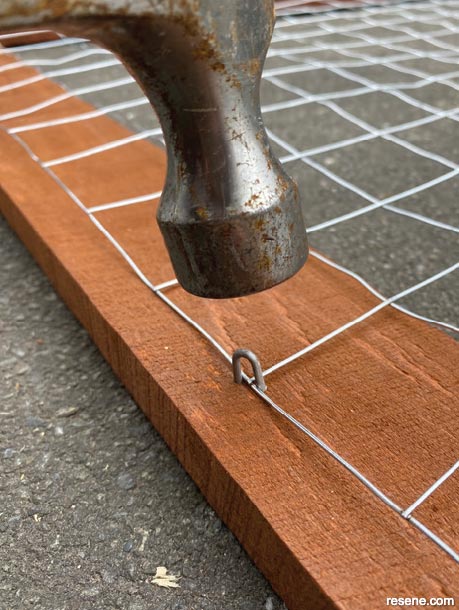
Lay one 1500mm-length section of wire flower mesh over the frame and secure in place with U-nails.
 Step five
Repeat steps 3 and 4 to make a second frame.
 Step six
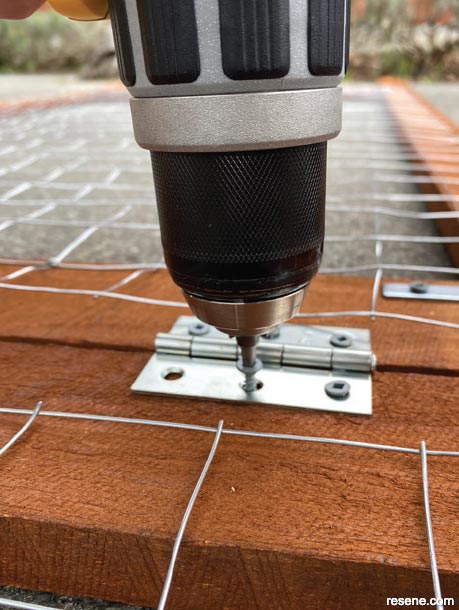
Lay the two frames down, wire side up, with the short top ends touching. Connect the frames with two hinges, drilling pilot holes first.
Step 7: Place the frame into your garden with the wire flower mesh on the inside of the frame, pushing its pointed feet into the ground to secure it in place, and plant your choice of veges.
![]() Get inspired ! Subscribe
Get inspired ! Subscribe ![]() Get saving ! Apply for a DIY card
Get saving ! Apply for a DIY card
![]()
Can't find what you're looking for? Ask us!
Company profile | Terms | Privacy policy | Quality and environmental policy | Health and safety policy
Colours shown on this website are a representation only. Please refer to the actual paint or product sample. Resene colour charts, testpots and samples are available for ordering online. See measurements/conversions for more details on how electronic colour values are achieved.
What's new | Specifiers | Painters | DIYers | Artists | Kids | Sitemap | Home | TOP ⇧

