DIY project from NZ Gardener magazine
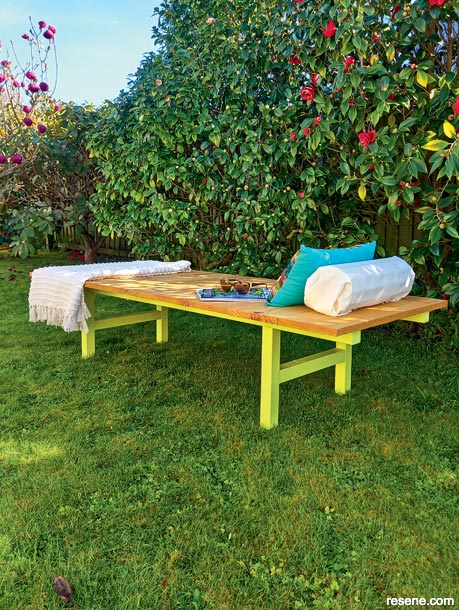
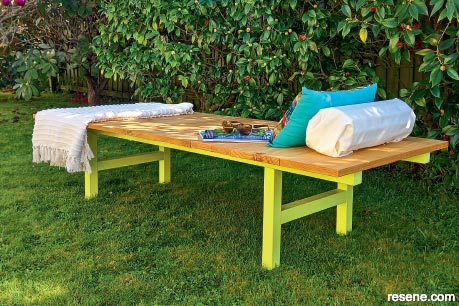
This project is a perfect addition to any outdoor seating arrangement or relaxation zone.
Materials:
Cut list:
Tools:
Resene products:
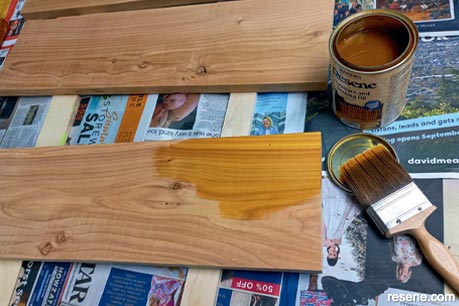
Cost: $110 for timber and fixings (excludes Resene products.) The timber slats were finished in Resene Woodman Penetrating Oil Stain in clear.
Learn how to make a day bed:
 Step 1
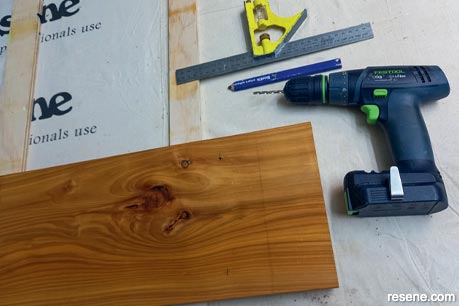
Measure up and cut your timbers to size, using a drop saw or handsaw, and sand edges.
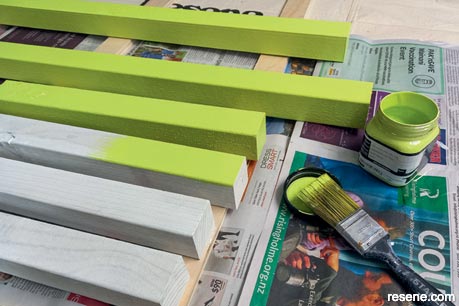 Step 2
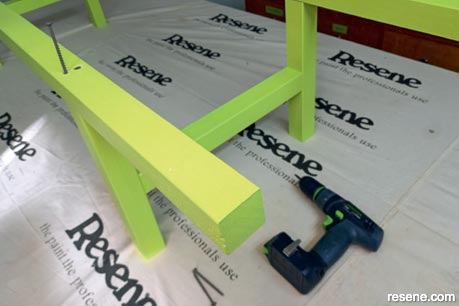
Prime and paint the timber for the frame. Resene experts always recommend priming timber before top coating. I used Resene Quick Dry Waterborne Primer Undercoat and Resene Lumbersider in Wild Willow for the top coats.
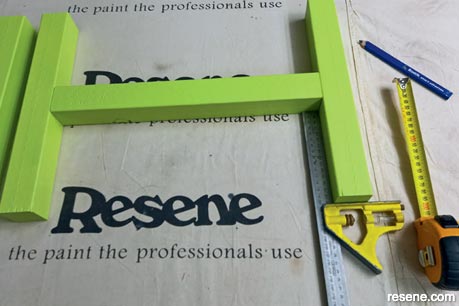 Step 3
Measure to the centre of the 350mm timber and mark out for 2 screws, and pre-drill.
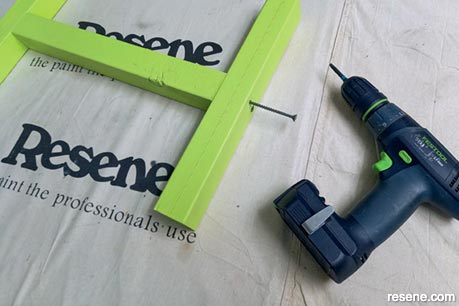 Step 4
Screw together the H-frames using the 75mm screws. Fill the screw holes with exterior wood filler if required. Once dry, sand and paint.
 Step 5
Measure 300mm from each end of the 1800mm timbers, mark out and pre-drill for two screws. Install the timbers on top of the H-frames with the 75mm screws.
 Step 6
Oil the timber slats on all sides.
 Step 7
Measure 125mm from the short edge of the slats, and 30mm in from each side and mark up for two screws. Pre-drill ready for the screws.
 Step 8
Starting from the centre of the frame screw the slats to the frame with the 50mm screws, with a 100mm clearance from the side of the frame to the edge of the slats.
 Close-up
A close-up of the finished daybed.
Project by: Jane Horne
Jane Horne and partner Simon Bartholomew design and develop projects from their studio in Christchurch, managing projects throughout the South Island.
![]() Get inspired ! Subscribe
Get inspired ! Subscribe ![]() Get saving ! Apply for a DIY card
Get saving ! Apply for a DIY card
![]()
Can't find what you're looking for? Ask us!
Company profile | Terms | Privacy policy | Quality and environmental policy | Health and safety policy
Colours shown on this website are a representation only. Please refer to the actual paint or product sample. Resene colour charts, testpots and samples are available for ordering online. See measurements/conversions for more details on how electronic colour values are achieved.
What's new | Specifiers | Painters | DIYers | Artists | Kids | Sitemap | Home | TOP ⇧

