DIY project from NZ Gardener magazine
A great project for your outdoor deck, patio or balcony.

Add potting mix, stones and ornaments to the garden section, and fill the pond with water, and add aquatic plants
Materials:
Tools:
Cut list:
Cost: $60 for timber, pond sealant and fixings. This excludes Resene products. I used Resene Furniture And Decking Oil Exterior.
Health & Safety: When using power tools, always wear goggles and ear defenders, and ensure all jewellery is tucked away, hair tied back and don’t wear loose clothing that may get tangled. When handling potting mix, wear a dust mask and well fitting, suitable gloves.
Learn how to make a mini water feature:
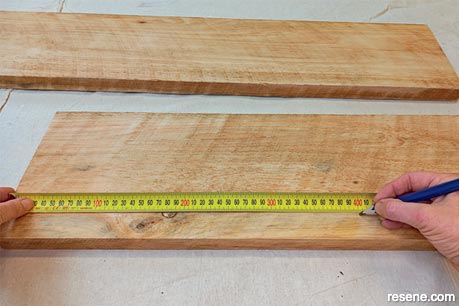 Step 1
Measure up your timber and cut to size.
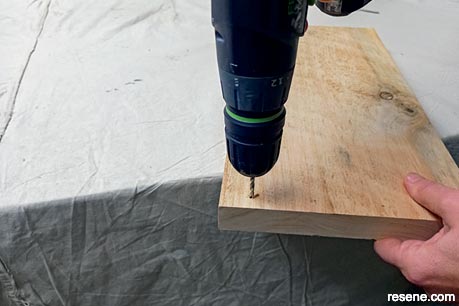 Step 2
Measure 12.5mm in from each edge and mark up where each fixing will be. Pre-drill the holes to assemble the box frame and screw together.
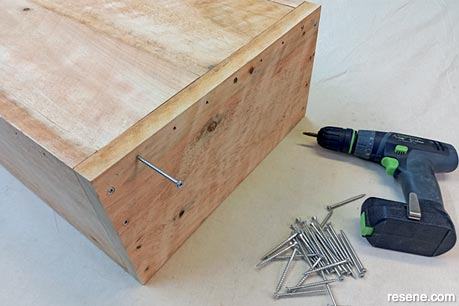 Step 3
Fit the bottom pieces in to place, pre-drill and screw together.
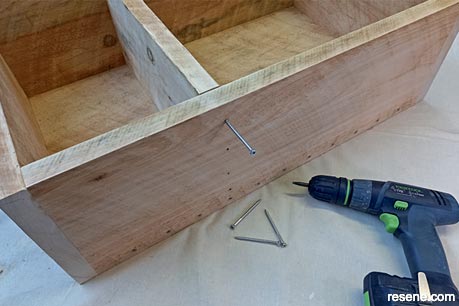 Step 4 (a)
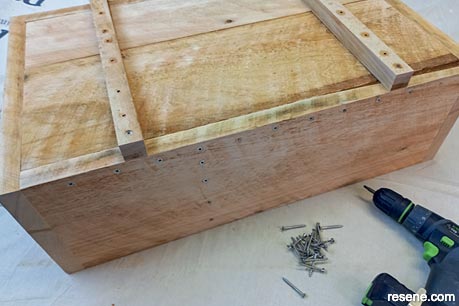
Measure up for the middle section, pre-drill and screw into place. Now, you can safely add the underneath straps.
 Step 4 (b)
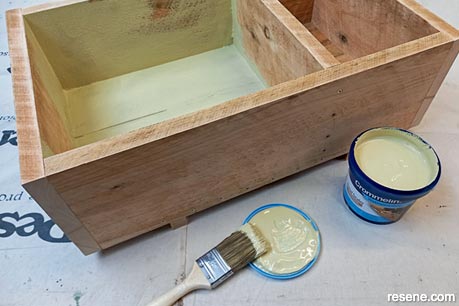
Brush pond sealer in both sections, as per the manufacturer’s instructions.
 Step 5
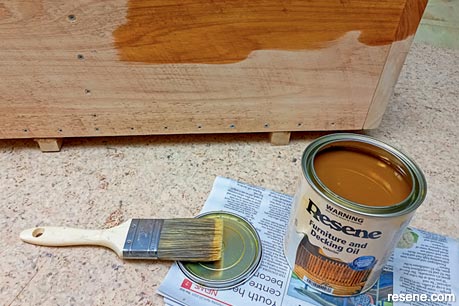
Apply your Resene exterior finish of choice. I have used Resene Furniture And Decking Oil Exterior to show off the timber.
 Step 6
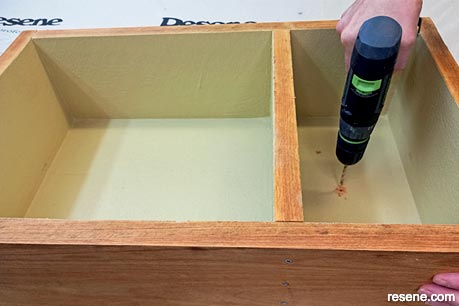
Drill holes for drainage on the smaller garden section.
 Step 7
Place in the desired area. Add potting mix, stones and ornaments to the garden section, and fill the pond with water, and add aquatic plants.
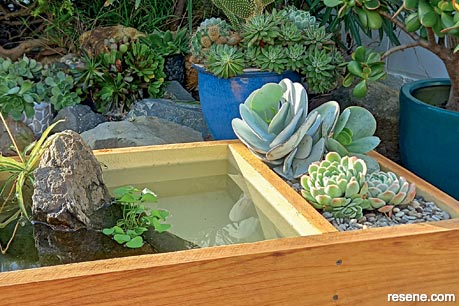 Finished project
A great project for your outdoor deck, patio or balcony.
Project by: Jane Horne
Jane Horne and partner Simon Bartholomew design and develop projects from their studio in Christchurch, managing projects throughout the South Island.
![]() Get inspired ! Subscribe
Get inspired ! Subscribe ![]() Get saving ! Apply for a DIY card
Get saving ! Apply for a DIY card
![]()
Can't find what you're looking for? Ask us!
Company profile | Terms | Privacy policy | Quality and environmental policy | Health and safety policy
Colours shown on this website are a representation only. Please refer to the actual paint or product sample. Resene colour charts, testpots and samples are available for ordering online. See measurements/conversions for more details on how electronic colour values are achieved.
What's new | Specifiers | Painters | DIYers | Artists | Kids | Sitemap | Home | TOP ⇧

