DIY project from NZ Gardener magazine
This is an inside project for these colder winter months. These hangers can be for inside or outside use.
Materials:
Paint colours:
Health & Safety: When using power tools always wear goggles and ear defenders, and ensure all jewellery is tucked away, hair tied back and don’t wear loose clothing that may get tangled.
Cost: $30. This excludes Resene products. I used Resene Koru and Resene Woodland, and top coated with Resene Altex Timbercote Exterior Varnish.
Top tip: Get growing with colour at your place. Paint terracotta pots with Resene Aquapel & Terracotta Sealer and Resene testpots to add extra colour to your garden.
Learn how to make hanging circle planters for your garden:
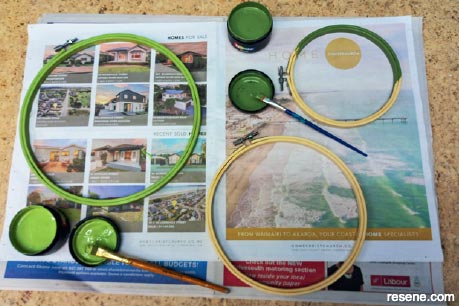 Step 1
Paint each ring with your Resene colour choice. I have used Resene Koru and Woodland, and left one ring natural. Once dry, top coat with Resene Altex Timbercote Exterior Varnish as per the manufacturer’s instructions.
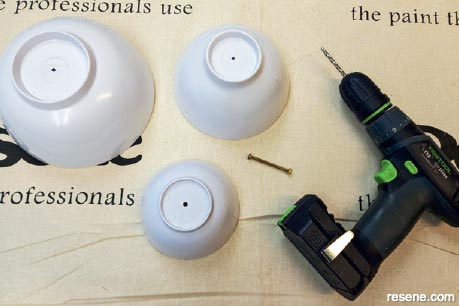 Step 2
Drill a hole in the centre of each bowl with a 4mm drill bit, to enable the bolt to fit through with ease.
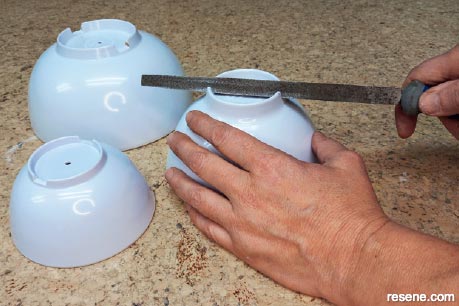 Step 3
File straight across the bottom of the bowl, if required, to make a groove for the embroidery ring to sit in for better stability.
 Step 4
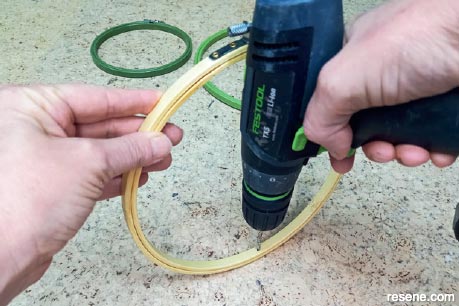
Measure straight down from top to bottom of each embroidery ring, and make a mark at the bottom of each ring where the bolt hole will go. Drill a 4mm hole through the bottom of the ring.
 Step 5
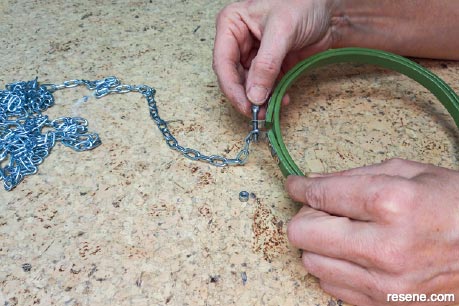
Undo the fixing at the top of the embroidery ring and attached the metal chain, and tighten back up. Cut the chain to the required length with pliers.
 Step 6
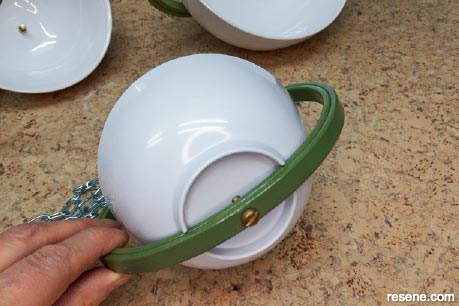
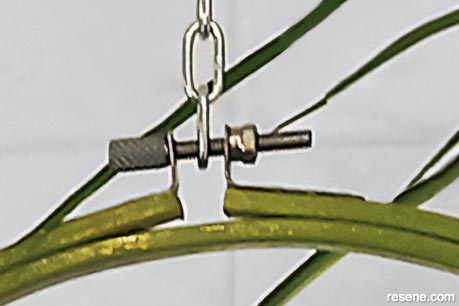
Thread the bolt through the bottom of the ring and into the bowl. Add the nut and tighten to suit.
 Step 7
I used Oasis floral foam in my bowls as it is lightweight. Put in your plants or flowers. Make sure your hooks have a good fixing in the ceiling before hanging your planters.
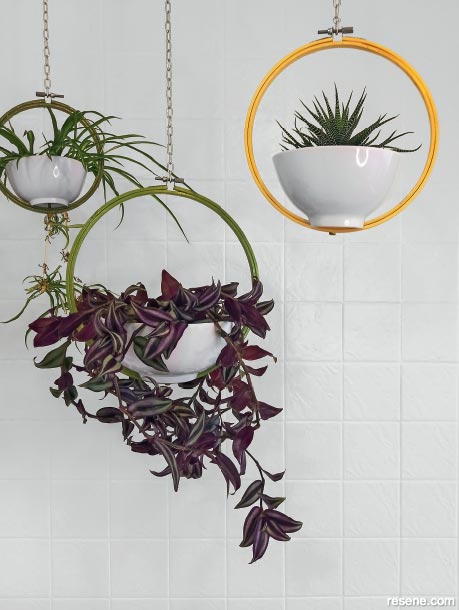
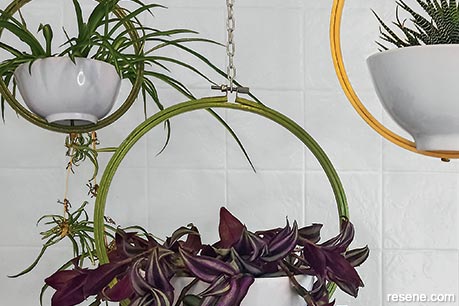 Finished project
A close-up of the finished project.
Project by: Jane Horne
Jane Horne and partner Simon Bartholomew design and develop projects from their studio in Christchurch, managing projects throughout the South Island.
![]() Get inspired ! Subscribe
Get inspired ! Subscribe ![]() Get saving ! Apply for a DIY card
Get saving ! Apply for a DIY card
![]()
Can't find what you're looking for? Ask us!
Company profile | Terms | Privacy policy | Quality and environmental policy | Health and safety policy
Colours shown on this website are a representation only. Please refer to the actual paint or product sample. Resene colour charts, testpots and samples are available for ordering online. See measurements/conversions for more details on how electronic colour values are achieved.
What's new | Specifiers | Painters | DIYers | Artists | Kids | Sitemap | Home | TOP ⇧

