DIY projects from Your Home and Garden
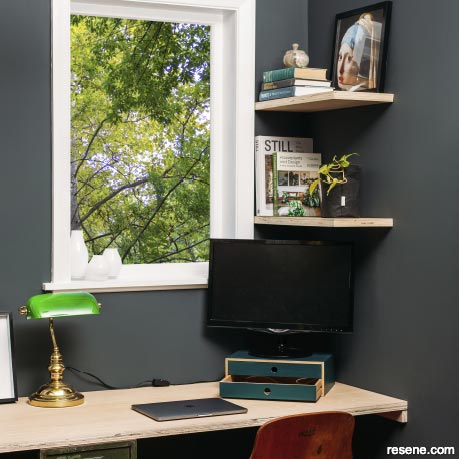
Creating an office out of a small room by utilising built-in furniture, floating shelves and a tidy charging station makes space-saving sense.
The word custom always sounds expensive to me, but it doesn't have to be
The word custom always sounds expensive to me, but it doesn’t have to be. Maximising a small space with built-in or custom furniture is a no-brainer. It could be a desk, floating shelves or charging station to use at home in a small bedroom, unused hall cupboard, nook or wardrobe.
Before building, ensure the walls and ceiling are painted or papered ahead of adding a built-in desk and installing any shelves. I painted the wall in Resene SpaceCote Flat in Resene Mine Shaft and the ceiling is papered in Resene Wallpaper Collection 91273.
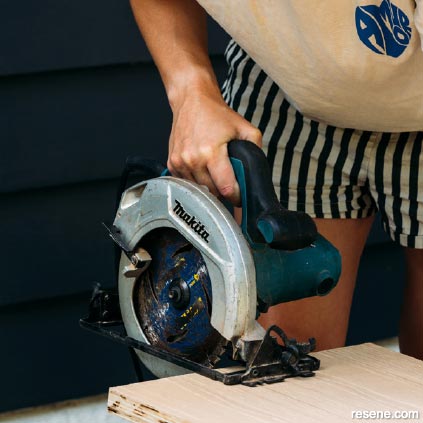
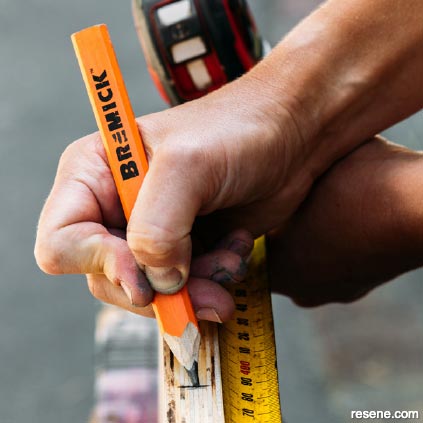
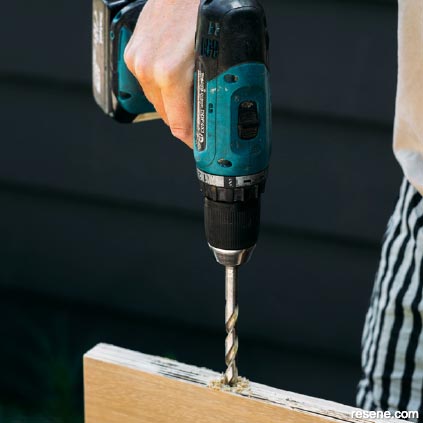
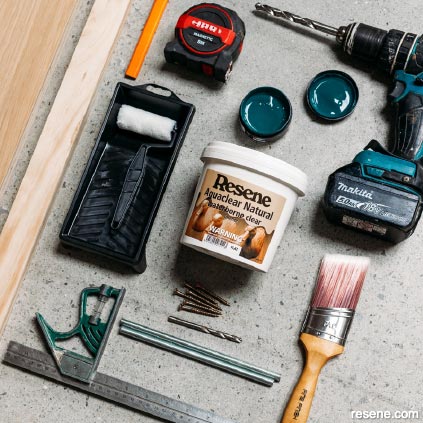 You will need
A close-up of the tools and materials you will need.
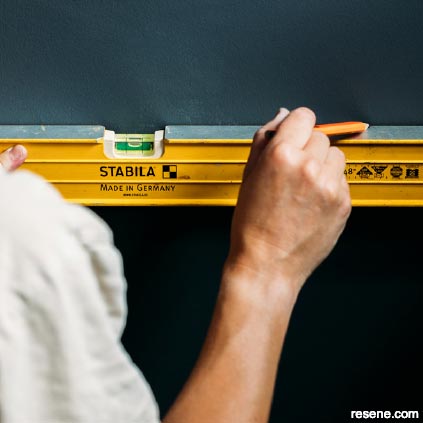 Step 1
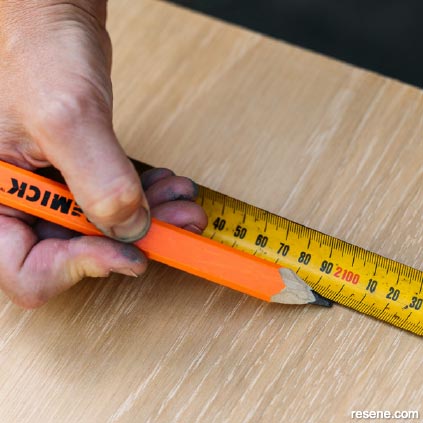
Measure the area where you want the desk and shelves to be, marking the studs and drawing level lines.
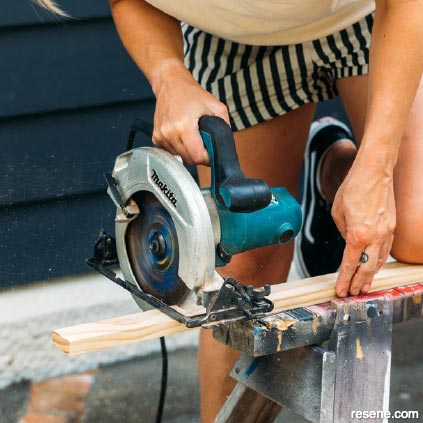 Step 2
Measure the width and depth of the space and cut the 20mm x 40mm batten to fit across the back and down the sides.
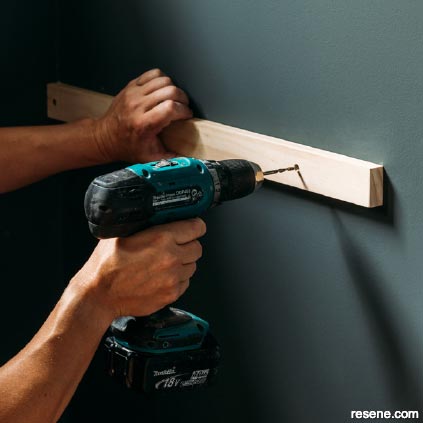 Step 3
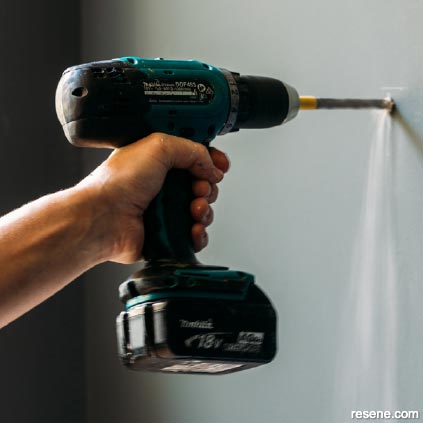
Install the batten along your level lines. Use a drill bit to pre-drill the holes, then a large wood screw to hold in place.
 Step 4
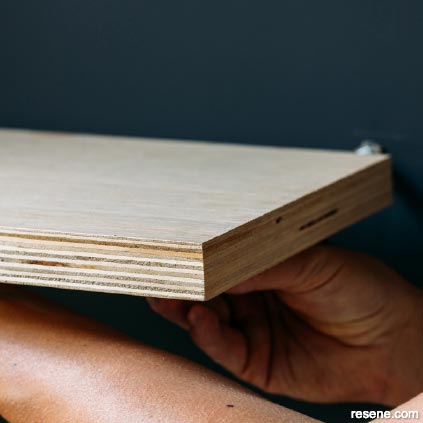
Measure and cut the panel for the desktop to length.
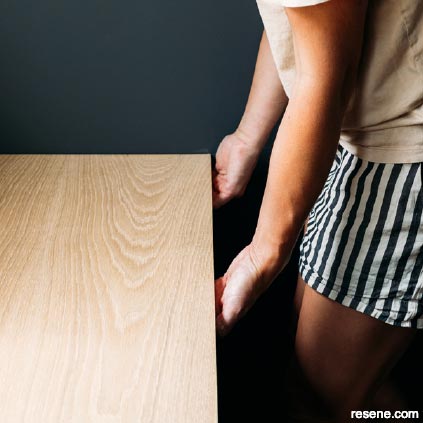 Step 5
Place this onto your batten and screw down from underneath if desired. You can also use a large hole saw bit and fit a cord tidy, if desired. Cord tidy units are available from most office supply stores.
 Step 6
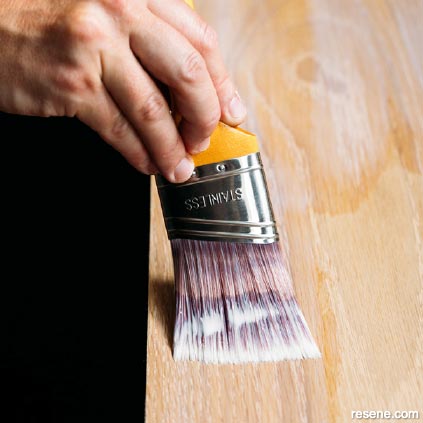
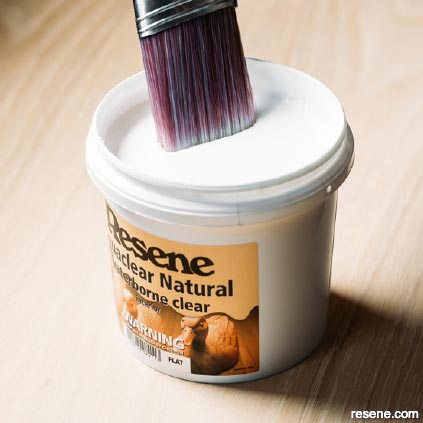
Lightly sand and finish desktop with three coats of Resene Aquaclear clear waterborne sealer.
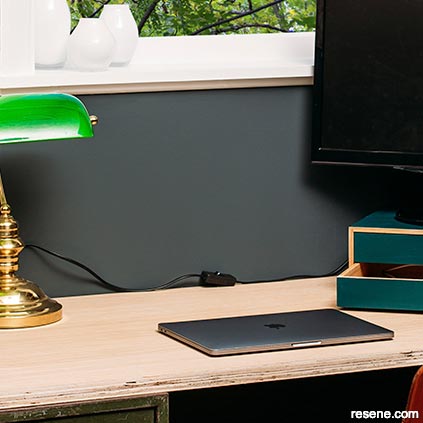 Finished desk
 Step 1
Using your panel offcuts from the desktop, measure, mark and cut floating shelves. These need to be long enough to span across at least two studs to get secure fixing.
 Step 2
Using the measurements of the studs marked earlier, mark the backs of each shelf. You want this to be nice and centre over the thickness of the shelf.
 Step 3
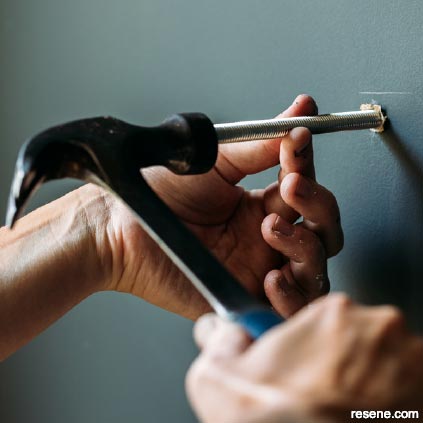
Starting first with a small drill bit, drill a hole as deep as you can, then repeat this with a long 10mm drill bit (or the same diameter as your threaded rod). The deeper the rod can go in, the better.
 Step 4
Repeat this process on the wall/ studs being sure to only go as deep as the wall is thick. I have put a piece of tape around the drill bit at 90mm as a guide to stop me going too deep.
 Step 5
Put a small amount of glue in each hole and press the rods in.
 Step 6
Repeat this process with the holes in your shelves, pressing your shelf onto the rods in the wall. You may need to use a block of timber and hammer to hit it in if it is a bit tight.
 Step 7
Lightly sand and finish shelves with three coats of Resene Aquaclear clear waterborne sealer.
 Finished shelves
 Step 1
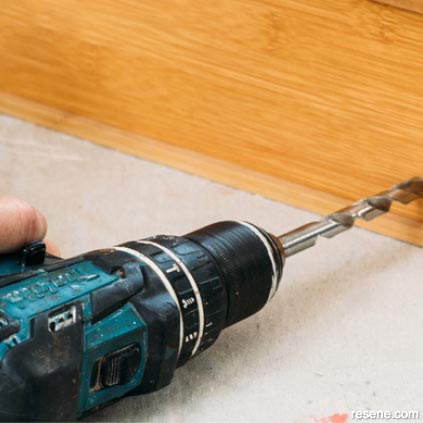
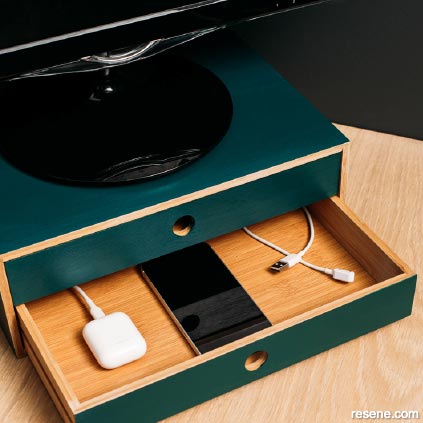
Drill a hole in the back of the drawers big enough to feed your charging cables through.
 Step 2
Lightly sand the drawers.
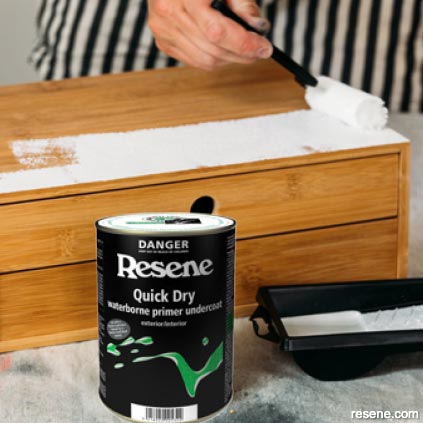 Step 3
Wipe dust off and prime with Resene Quick Dry waterborne primer undercoat.
 Step 4
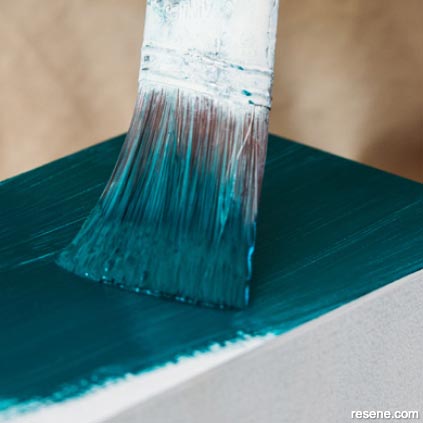
Allow to dry and apply two topcoats of your desired Resene paint colour, allowing paint to dry in between each coat. I used Resene Enamacryl in Resene Atlas.
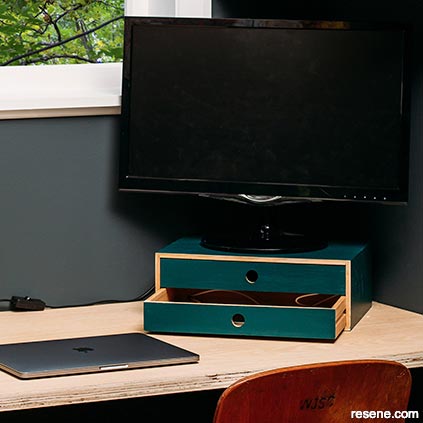
Step 5
Place on desk and feed cords through the back hole, plug in devices as required and shut the draw to hide all those messy cords. This doubles as a screen riser.
Project colours...
More Resene colours to try...


Project: Nikki Kettle. Photography: Anna Briggs. May 2023.
▸ Download a PDF of this article
Projects from Your Home and Garden
Our resident DIY expert, Nikki Kettle, shares the latest tips and DIY projects.
![]() Get inspired ! Subscribe
Get inspired ! Subscribe ![]() Get saving ! Apply for a DIY card
Get saving ! Apply for a DIY card
![]()
Can't find what you're looking for? Ask us!
Company profile | Terms | Privacy policy | Quality and environmental policy | Health and safety policy
Colours shown on this website are a representation only. Please refer to the actual paint or product sample. Resene colour charts, testpots and samples are available for ordering online. See measurements/conversions for more details on how electronic colour values are achieved.
What's new | Specifiers | Painters | DIYers | Artists | Kids | Sitemap | Home | TOP ⇧


