DIY projects from Your Home and Garden
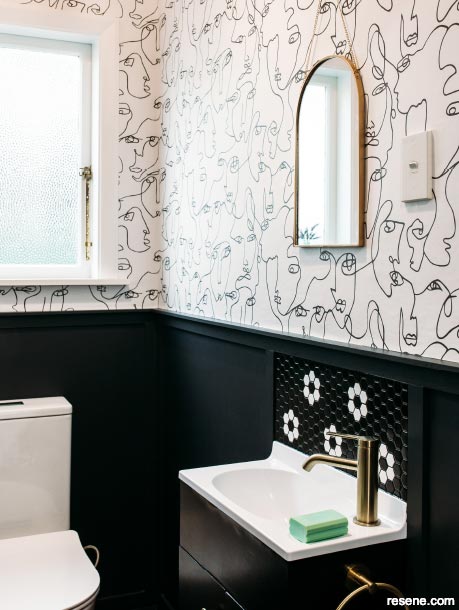
Get on a roll and make your powder room pop with personality using our DIY expert’s step-by-step guide.
Tip: Always allow your Resene wallpaper to dry naturally after hanging. Don’t hurry the process by using a heater, as force drying can cause the joins to open during the drying process. In cold, damp, unventilated conditions, this could take up to a week.
There’s a bit of prep to be done before wallpapering, such as painting your ceiling and trims. This means there is far less cutting in and no chance of getting any paint on your fresh wallpaper. I used Resene Lustacryl in Resene Alabaster for trims, Resene Lustacryl in Resene Black for the door and Resene Foundry for the bottom half of the walls. I also prepared the walls by washing with Resene Interior Paintwork Cleaner and rinsing with water. When dry, sand the surface to give a good grip for the size and paste to stick to. Dust the surface, then brush the wall with size.
Measure the distance from the skirting to ceiling and add 5cm to the top and bottom for trimming. Draw a level line approximately 20cm from a corner to line the edge of your first drop of wallpaper up with. Cut the first drop and use this as a template for the rest of the wallpaper to be matched and cut to, make sure you identify the top using a pencil. This should be the way the wallpaper unrolls from the uncut roll. Use your first strip to match and cut the second strip and don’t forget to number it. Pre-cut all your wallpaper this way.
Mix the wallpaper glue as per the instructions on the box. I used a pre-mixed one so I only had to add water. Using a paste brush, apply the paste to the back of the wallpaper on the first length of wallpaper laid out on a flat surface. I pasted one drop at time, plus an extra 50mm so I didn’t have to come too close to my wallpaper on the next drop. Leave to relax for about 10 minutes before hanging.
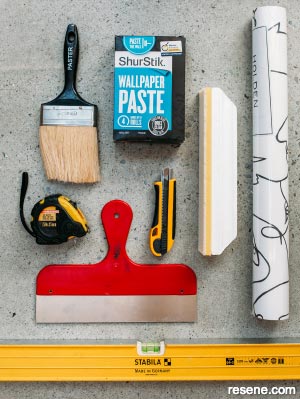
Supplies used
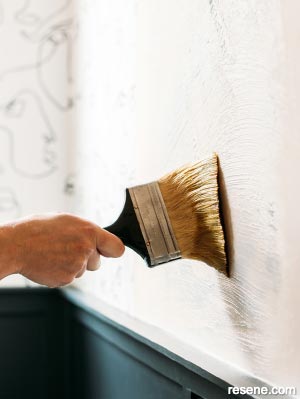
Photo (1)
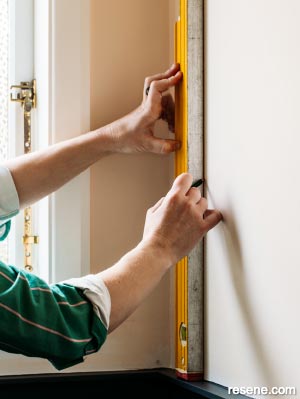
Photo (2)
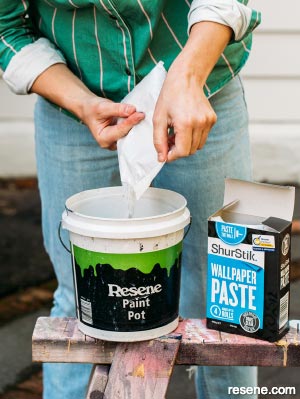
Photo (3)
To hang your Resene wallpaper, use a plumbline to ensure the drop is straight and I’d suggest starting near the main source of light and working away to finish in the least conspicuous corner. Once you’re happy with the hang, use the wallpaper smoother and/or sponge to get it as smooth and well-adhered as possible.
Use a cutting tool and knife to push up to the ceiling first, then cut off the excess wallpaper. Smooth on the way down and repeat with the cutting tool and knife at the bottom, making sure you push the wallpaper in tight to the bottom edge.
After the first drop is complete, repeat with the next drop. Remember to be careful to line up the pattern on each drop. This wallpaper has a 26cm pattern repeat so you end up having to cut at least 26cm off the top on each drop.
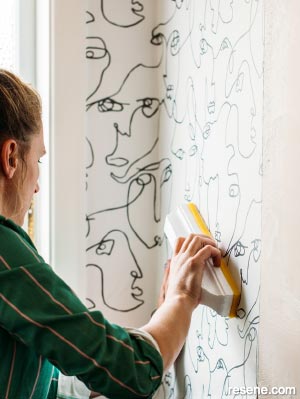
Photo (4)
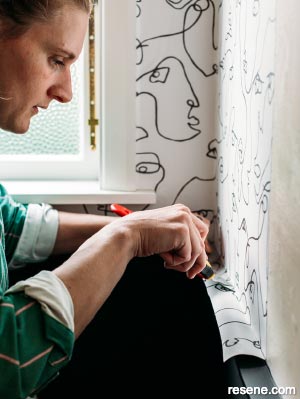
Photo (5)
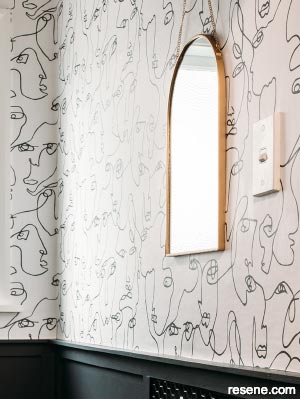
Photo (6)
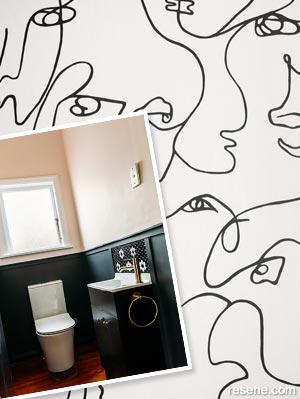
Before photo over wallpaper pattern used
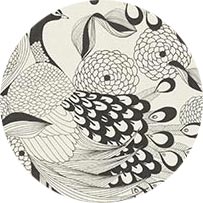
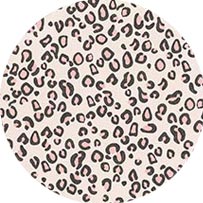
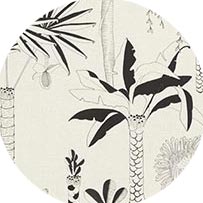
More Resene wallpapers to try:
Resene colours used:
Project: Nikki Kettle. Photography: Anna Briggs. February 2023.
▸ Download a PDF of this article
Projects from Your Home and Garden
Our resident DIY expert, Nikki Kettle, shares the latest tips and DIY projects.
![]() Get inspired ! Subscribe
Get inspired ! Subscribe ![]() Get saving ! Apply for a DIY card
Get saving ! Apply for a DIY card
![]()
Can't find what you're looking for? Ask us!
Company profile | Terms | Privacy policy | Quality and environmental policy | Health and safety policy
Colours shown on this website are a representation only. Please refer to the actual paint or product sample. Resene colour charts, testpots and samples are available for ordering online. See measurements/conversions for more details on how electronic colour values are achieved.
What's new | Specifiers | Painters | DIYers | Artists | Kids | Sitemap | Home | TOP ⇧


