From Designer DIY and DIY hacks - ideas and inspiration
Refresh and restore a beautiful old rocking chair with a simple but stylish new look.
This rocking chair was old and painted in a bold combination of blue and green, but structurally it was sound and a very impressive chair! Sometimes this type of furniture item can seem overwhelmingly difficult to make over, but in reality, the steps are quite simple. You don’t always need to add decorative effects; it can be equally effective to stick with a block colour in a fabulous finish.
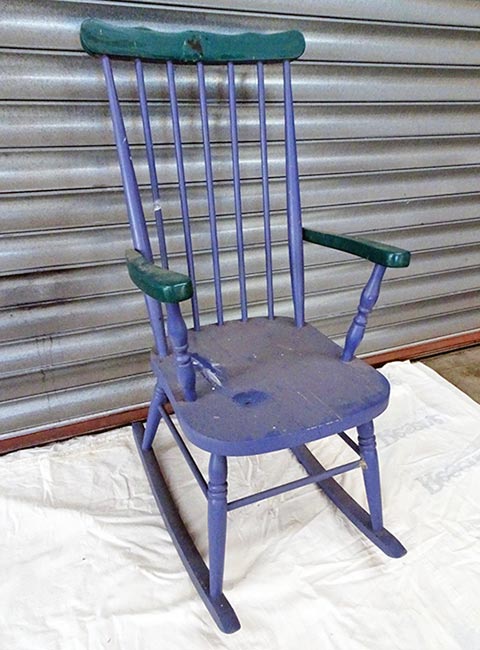
Chair - before refinishing

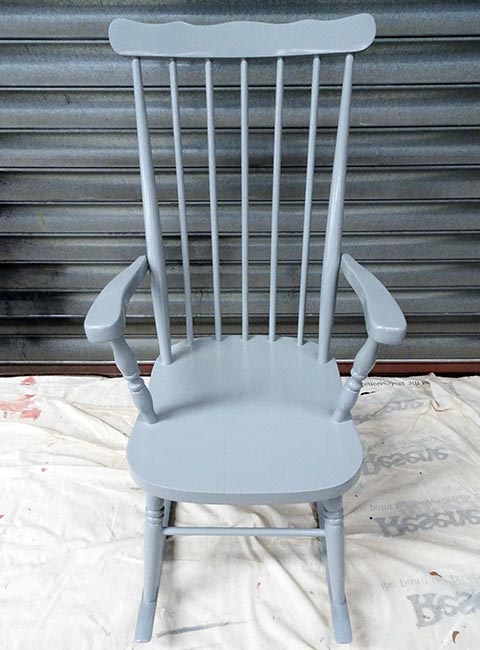
Restored rocking chair
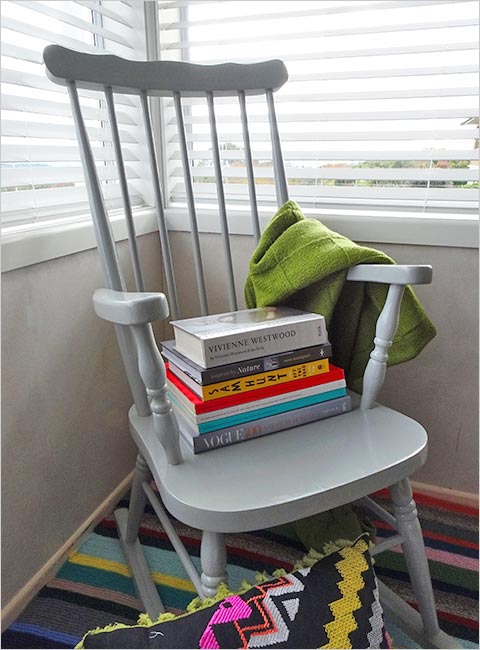
Restored rocking chair
You will need
Instructions
Learn how to prime and paint a wooden rocking chair:
Step 1
Step 2
Step 3a
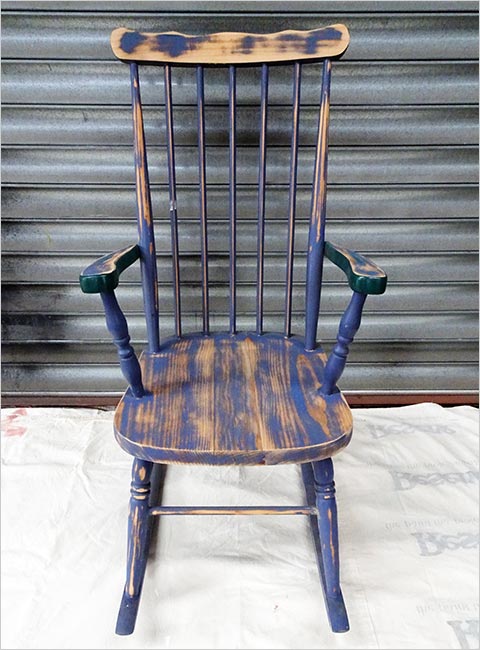
Step 1: Clean the chair thoroughly and then sand back the old layers of paint. It’s fair to say that sanding is not the most fun part of renovating furniture, but it is really important to prepare your surfaces correctly. Sarah used sandpaper for the small areas and an electric sander for the larger surfaces. Clean the chair again to remove all the sanding dust.
Or if the surface is smooth and in good condition, you can clean it and then apply Resene Waterborne Smooth Surface which will provide a surface for the topcoats to grip onto.
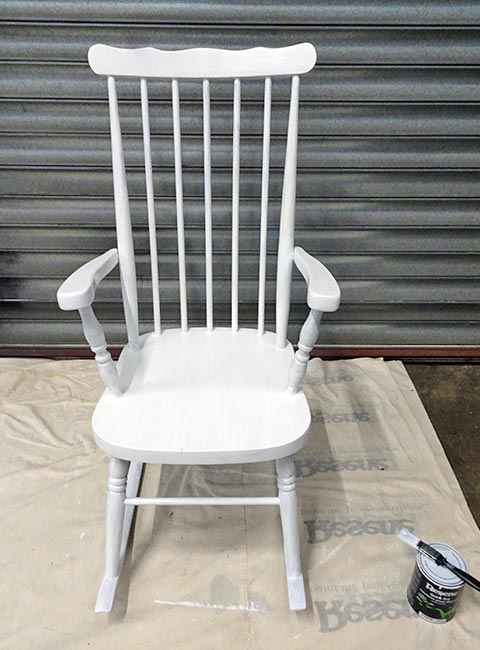
Step 2: Apply one coat of Resene Quick Dry waterborne primer undercoat to the entire chair using a testpot brush. When painting tricky areas like the dowelled back rest, be careful not to overload your brush with paint or it will run and leave drip marks. A smooth undercoat is good preparation for your topcoats. Allow to dry.
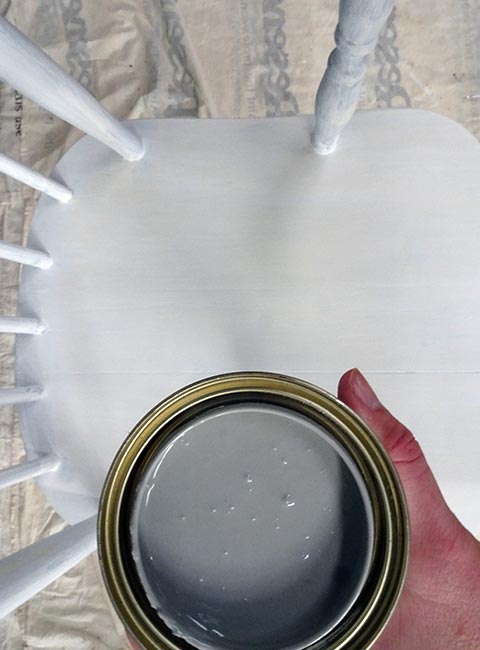
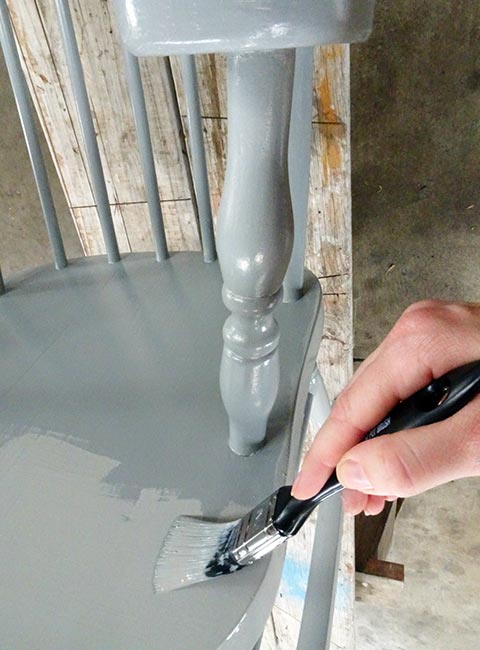
Step 3: Using a testpot brush, apply two coats of your chosen paint Resene Enamacryl tinted to your chosen colour – Sarah used Resene Stack. Allow dry time between coats. Sarah chose this colour and paint finish combination because she wanted to freshen up the chair with a whole new industrial look, in an ultra-glossy, concrete grey.
Step 3b
Step 3c
Step 4
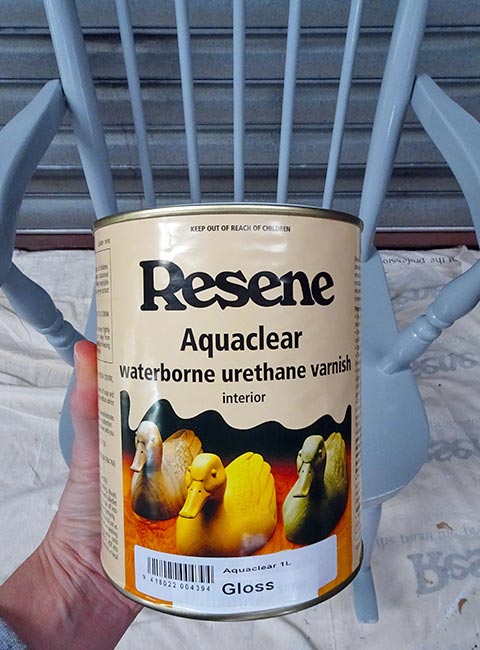
Step 4: To complete the makeover, apply three coats of Resene Aquaclear Gloss, to give the chair an extra sleek and shiny finish. Sarah used a testpot brush to apply each coat but you might prefer to use a speed brush. Make sure you wait for each coat to dry completely before applying the next.
What was previously an old and unwanted chair, now has a cool new look that wouldn’t be out of place in a modern interior setting. All you need now is a stack of good books, a cosy blanket and a sunny spot! Give it a try with a chair of your own.
Top tip: For an added dose of colour, pick out a few areas of the chair in contrasting or complementary Resene colours.
Project and photography by Sarah Herring. 2020
Designer DIY and DIY hacks from Resene
View more DIY project ideas ideas and inspiration from local designers.
![]() Get inspired ! Subscribe
Get inspired ! Subscribe ![]() Get saving ! Apply for a DIY card
Get saving ! Apply for a DIY card
![]()
Can't find what you're looking for? Ask us!
Company profile | Terms | Privacy policy | Quality and environmental policy | Health and safety policy
Colours shown on this website are a representation only. Please refer to the actual paint or product sample. Resene colour charts, testpots and samples are available for ordering online. See measurements/conversions for more details on how electronic colour values are achieved.
What's new | Specifiers | Painters | DIYers | Artists | Kids | Sitemap | Home | TOP ⇧

