Projects from Your Weekend magazine
This quick DIY job will give your kitchen a touch of Nordic cool, says Sarah Withell.
If you’re looking to update your home decor with a few new trends, social media sites such as Facebook and Instagram can provide inspiration. For example, the Scandi (or Scandinavian) look is hugely popular online right now, and kind of hard to miss. It involves a lot of black and white, natural blonde timber and clean lines. While some can commit to this palette enthusiastically throughout the home, I just wanted to add a touch of it to mine.
This month I grabbed two old bar stools from an op shop and gave them a Scandi-style makeover. But you could apply this look to any piece of furniture you like.
For this project you will need
 Step one
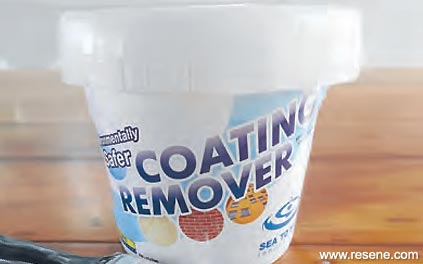
In order to achieve the look I wanted, I first needed to strip the paint off the stools. You could manage this with a bit of sandpaper and some elbow grease, depending on how much paint you want to remove. But in my case there was a lot of old paint to remove, and so I used XXX paint stripper from Resene. It’s a water-based product, so much more pleasant to work with than the scary paint-strippers of the past. Simply follow the instructions on the packaging and remove the paint with a metal scraper.
 Step two
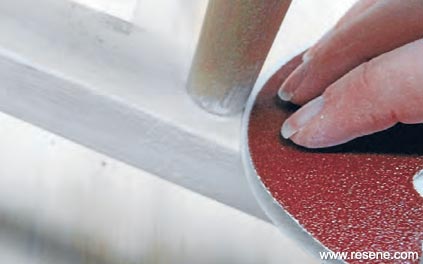
After rinsing off the remains of the Coating Remover, use a coarse sandpaper to sand away any final bits of paint that the scraper didn’t pick up.
 Step three
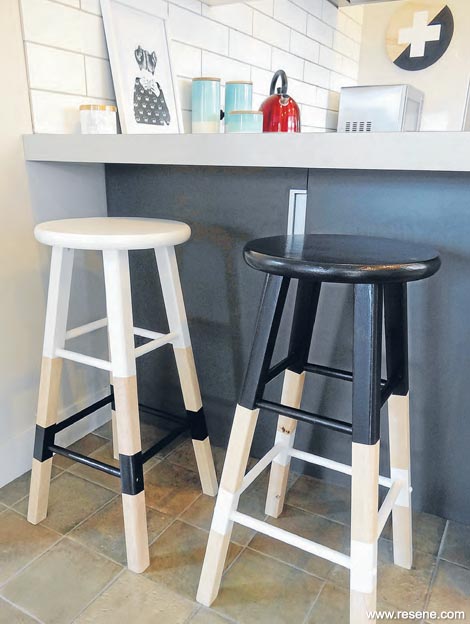
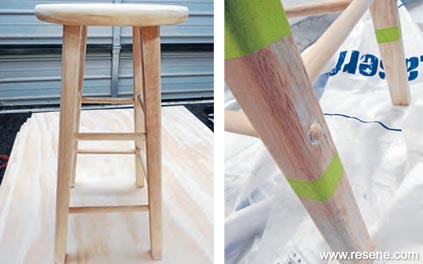
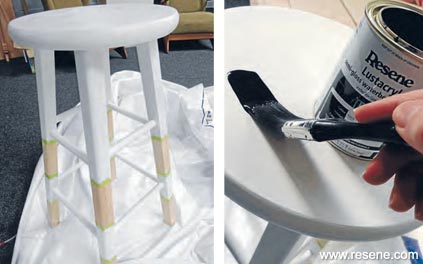
Once you have finishing sanding, choose the areas you wish to paint and those where you want to leave the timber exposed. Mask these off with painter’s tape. I chose to paint the top third of each stool, and then a small segment again near the bottom of the legs, with the timber exposed elsewhere.
 Step four
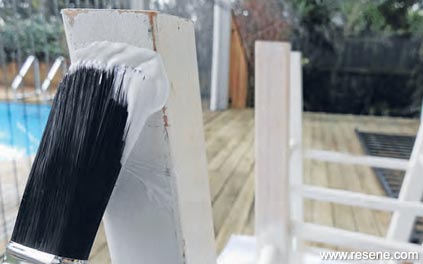
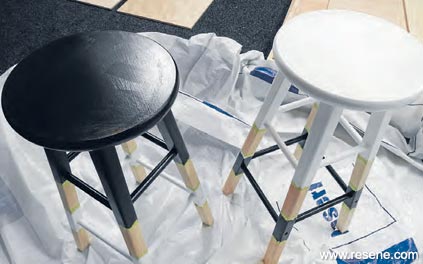
Apply a primer to each area that is to be painted, and then two coats of colour, making sure each coat dries thoroughly. I used Resene Black and Resene Half Black White in a semi-gloss finish, and swapped the black and white placement on each stool for a bit of a contrast.
 Step five
Once your final coat is dry, remove your masking tape. You may like to finish off by applying a coat of Resene Aquaclear urethane varnish.
 Handy hint:
When refurbishing furniture it’s important to prepare the surface correctly for painting so that you get a good-quality and long-lasting result. If you don’t strip the paint all the way back to the timber, at least give it a good sand to prepare it for a new coat of paint.
Words and pictures by Sarah Withell. 2015
▸ Download a PDF of this article
Projects from Your Weekend magazine
View more project ideas from Your Weekend magazine in the Resene weekend DIY projects section.
![]() Get inspired ! Subscribe
Get inspired ! Subscribe ![]() Get saving ! Apply for a DIY card
Get saving ! Apply for a DIY card
![]()
Can't find what you're looking for? Ask us!
Company profile | Terms | Privacy policy | Quality and environmental policy | Health and safety policy
Colours shown on this website are a representation only. Please refer to the actual paint or product sample. Resene colour charts, testpots and samples are available for ordering online. See measurements/conversions for more details on how electronic colour values are achieved.
What's new | Specifiers | Painters | DIYers | Artists | Kids | Sitemap | Home | TOP ⇧

