Projects from Your Weekend magazine
Sarah Withell demonstrates how to make wall art with some affordable, on-trend materials.
Plywood, pastels and metallics are all having a bit of a "moment" in home decorating right now, from upholstery to plant pots and everything in between.
This month, I show you how to combine all three trends and create some simple but effective wall art for your home. Hanging art is by far the easiest way to update a room; it's less expensive than furniture and when you DIY, you can create something really personal. I must add that this was my first time using metallic paint, and I loved it.
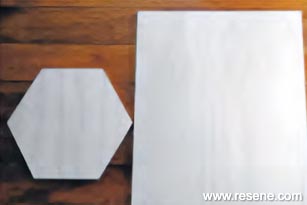
Cut your plywood to the shape of your choice (or ask your hardware store to do this for you) and then give it a good sand. This is important so you have a smooth, splinter-free surface to work with. I chose to cut one large rectangle piece for the lounge and two small hexagon shapes to hang in our kitchen. Choose the project that you prefer, or try both.
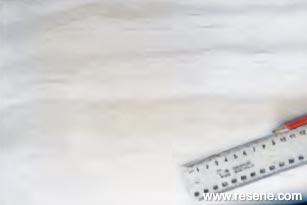
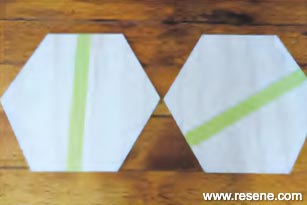
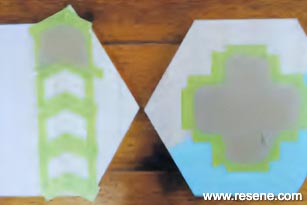
Map out your pattern of choice. Use a pencil and ruler, to mark out the design you wish to paint, then carefully mask out the shapes to be painted. Press the masking tape down firmly and erase any pencil guidelines you have made. Apply your colours one at a time (not too much paint on the brush) and wait until each painted area is completely dry before removing your masking tape and starting your next section.
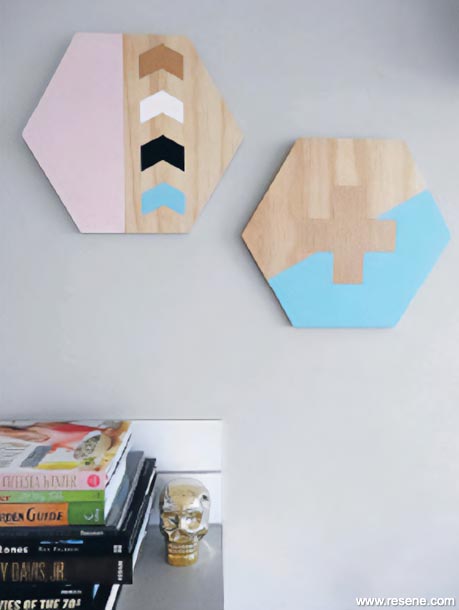
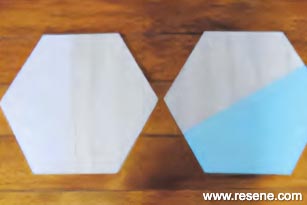
For the hexagons, I started by marking out a section that I wanted to paint in block colour and then added shapes of my choice. Simple, geometric patterns are easy to paint but look very effective.
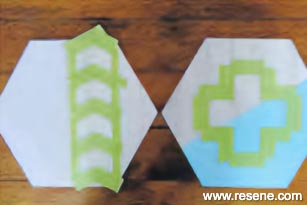
I painted a large segment in Resene Pink Lace. To complement the pink I masked out and painted some arrow shapes using Resene White, Resene All Black, Resene Aqua and metallic Resene Goldmine. On the second hexagon I used Resene Aqua as my feature colour, then measured and masked out a cross shape that I painted with Resene Goldmine. I intentionally kept the same colour scheme going so the two pieces work together as a pair.
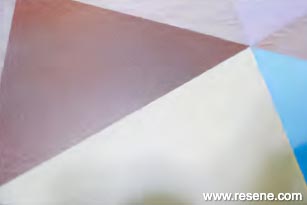
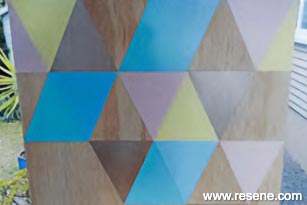
For the large rectangle piece, I measured out an evenly spaced triangle design, selected and painted all my metallic segments with Resene FX Metallic in Resene Goldmine. Metallic paint really pops next to pastel colours, and Resene has a large range of exciting shades for you to choose from. Following this, I applied each of my chosen pastel colours in turn until I was happy with the placement of them all and felt the piece was complete. I purposely left some bare ply spaces within the pattern as a feature. The additional colours I chose were Resene Aqua, Resene Pink Lace, Resene Charlotte and Resene Milan.
Once your pieces are completely dry, use the screw eyes and twine to prepare them for hanging. Alternatively, art like this looks cool leaning against a wall or on a shelf. Great if you are renting and don't want to put holes in the walls.
Handy hint: Apply your metallic paint in one direction so the reflective flakes will sit smoothly and give a better finish. I learnt this tip from my local Resene ColourShop staff.
February 28, 2015.
▸ Download a PDF of this article
Projects from Your Weekend magazine
View more project ideas from Your Weekend magazine in the Resene weekend DIY projects section.
![]() Get inspired ! Subscribe
Get inspired ! Subscribe ![]() Get saving ! Apply for a DIY card
Get saving ! Apply for a DIY card
![]()
Can't find what you're looking for? Ask us!
Company profile | Terms | Privacy policy | Quality and environmental policy | Health and safety policy
Colours shown on this website are a representation only. Please refer to the actual paint or product sample. Resene colour charts, testpots and samples are available for ordering online. See measurements/conversions for more details on how electronic colour values are achieved.
What's new | Specifiers | Painters | DIYers | Artists | Kids | Sitemap | Home | TOP ⇧