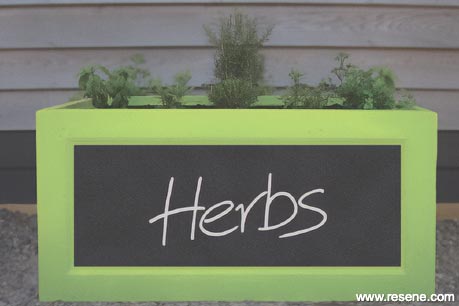
Despite the changeable weather, my vegetable patch is flourishing. The subsequent lack of space turned my mind to a dedicated herb bed that I can put close to the kitchen and from which I can grab a handful of parsley, french tarragon or marjoram.
I found a wonderful fibre cement planter at our local garden centre. It measures 1m x 50cm and stands 50cm high. Fibre cement is a lightweight alternative to concrete and is robust in all weather. It’s also perfect for apartment balconies.
I thought it would be fun to paint it in an eye-catching design, but it would be just as striking in a plain colour or even a textured paint. These ideas would also work just as well on a terracotta pot or a concrete planter.
Bear in mind that once painted and in position a container this size will need a large amount of potting mix. One way around this is to fill the bottom half with stones (even pumice if you’re concerned about the weight) and then filling with potting mix.
What you'll need
- A suitable planter or pot
- Sandpaper or wire brush
- Drop cloth
- Crate or box
- Concrete primer, I used Resene Concrete Primer
- A durable, outdoor paint in your choice of colour. I used Resene Lumbersider, with Resene Impromptu for the base coat and Resene Black and Resene White for highlights. This paint is available in test pots – perfect for small projects.
- Stencil and masking tape
- Brushes/rollers/stencil brush
- Liquid chalk pen
- A protective coating, such as Resene Multishield+
- Potting mix and plants
Step-by-step instructions
Step one:
- Ensure the container’s surface has no loose or flaking areas. A wire brush for concrete, or sandpaper for fibre cement, will solve this.
- Put the planter on a small crate on a drop cloth.
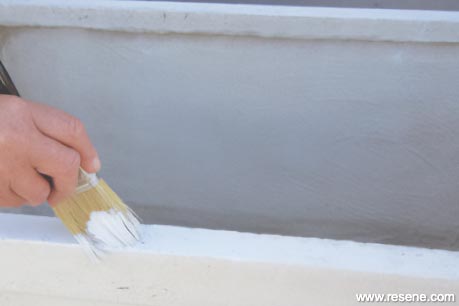
- Because we are working with a porous material, it is wise to seal the inside of the container. This will stop moisture seeping through to the outside and damaging the exterior painted surface. I used Resene Concrete Primer. Allow 2 hours for this to dry before applying the top coat.
Step two:
- Now this is the fun bit – go wild with a design or keep it simple with a single colour. I have shown two options that are easy to do.
- Because this is an outdoor project, consider the Resene CoolColour range. This paint doesn’t absorb heat the way standard paint does, so you can use dark colours for a project like this where a planter is sitting outside in the heat of the day.
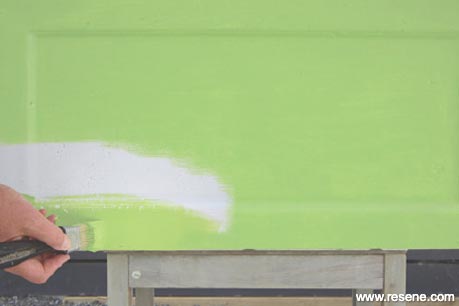
- I used Resene Lumbersider – you will need three test pots for a planter this size in your choice of colour. Paint the exterior and top edge of the planter and down approximately 5cm from the top edge on the inside.
Step three:
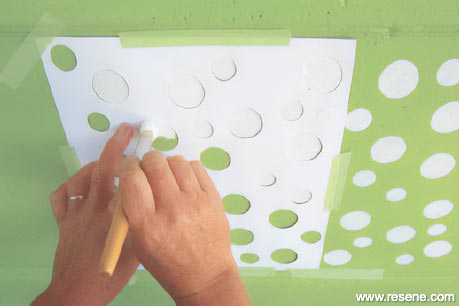
- Option A: Once dry (allow 2 hours), attach your stencil (you can buy these online, at craft shops – or make your own) with masking tape and apply a coat of white over the stencil.
- Option B: Use masking tape to define a central area and paint it with a black test pot. Once dry, I used a white liquid chalk pen with a fat nib to write on the black area.
- Option C: Resene also do a range of metallic paints, which give a different effect and would look amazing in the right situation. This should be applied carefully with a brush or roller.
Step four:
- I followed my two options with two coats of Resene Multishield+ (I used satin, but this product also comes in gloss and matt) to give the paint protection from the weather.
Step five:
- Once the paint is dry and the pot is in position, fill with potting mix and plant up.
- How’s that for a fun, practical and easy project? Enjoy.
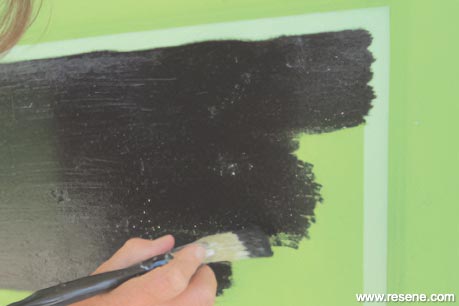
Step 3
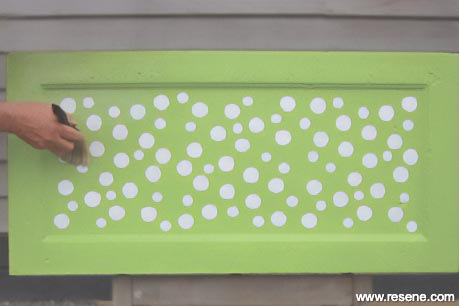
Step 4
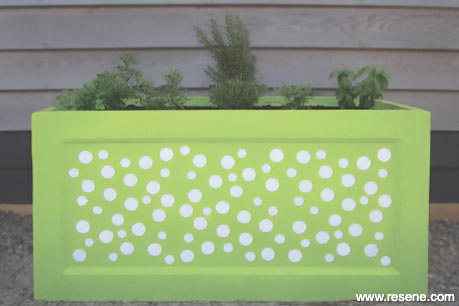
Finished herb planter
