Craft with Resene, from the Australian Women's Weekly
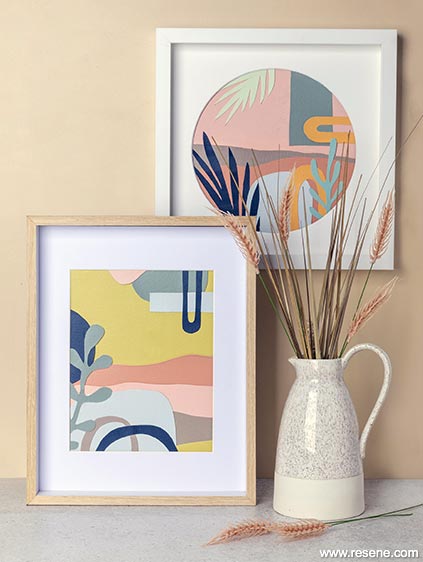
Create one-of-a-kind artwork that’s inexpensive, eye-catching and easily made with simple painted shapes.
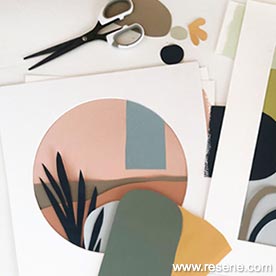
Preparation and experimentation is key when making an artwork, but most importantly have fun with it! Have plenty of colours and extra pieces of paper painted in advance, as you may use more pieces than you expect.
Keep it simple and organic. Don’t worry about making perfectly formed shapes. It’s more interesting and easier to work with pieces that can be used in any way and on a variety of angles.
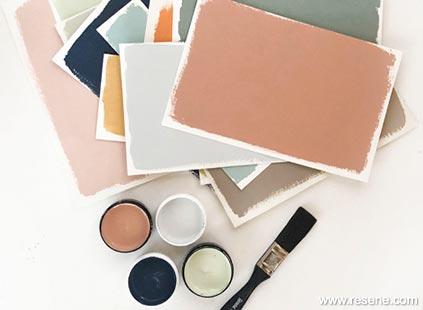
Use a palette that goes well together. Whether you are going for pastels, autumnal or wintry shades, make sure they all work to complement each other. Use our chosen Resene shades, or Resene ColorShop experts can point you in the right direction when it comes to colours that work together. Get inspiration from Resene colour swatches, magazines and your own home decor.
Use art paper that’s not too flimsy, so it will hold its shape when painted and cut into smaller pieces, and glue won’t show through.
When you’re planning, think big first, then consider smaller elements. First, decide on your main colours, as these will be the larger pieces that create the base for your art.
Tips: Take a photo of your work before you move pieces to glue, so you have a reference if you forget where things go. Don't forget your image will be cropped by the overlaid mat board, so while you are creating your work it is a good idea to keep trying the mat board over the top of your work to see what will be covered and where the edges are.
Once you’ve thought things through, create a clean, dust-free surface to paint all the pieces of paper and allow to dry thoroughly.
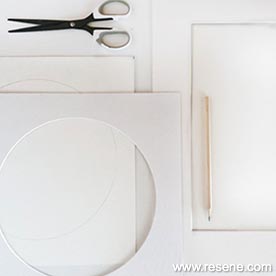
Use a base piece of paper the same size as your frame insert to glue the cut-out pieces of paper on. A frame normally comes with a backing sheet, so you can use this if you like. Just take into consideration the mat board which will crop your image (A). If you want a circular mount, a local framer should be able to cut this for you.
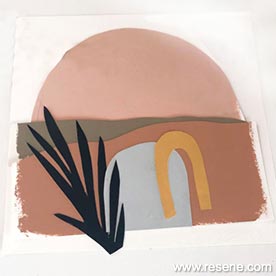
Either sketch some shapes with a pencil first onto the coloured paper or free-style your cut-outs. We were inspired by landscape curves and leafy shapes for these artworks. Start with a couple of hero colours that will work well as the base of your art. Make sure these shapes are the largest. For example the circle image uses Resene Shilo, Resene Karen Walker Jetsam Brown and Resene Just Dance as the base. They are shaped and layered like a landscape, creating the backdrop for other pieces (B). Lay them out so they are overlapping and there are no gaps.
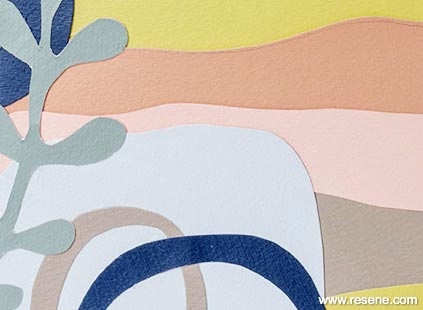
Now start playing with other smaller shapes that overlap the larger pieces (C). For example the circle image uses some plant-like leaf shapes and some arches. We kept building these up until we felt there was enough balance. A splash of a darker shade, in this case Resene Karen Walker Shadowy Blue in a leaf shape, can create a focal point and give your work some depth. Again, experimentation is key. There is no right or wrong, it’s just about finding what you like. Take your time to add more, swap out shapes and take some away.
Don’t start gluing until you have laid out all the pieces. It’s nice to have the flexibility to change things around and experiment with different shapes and colours before permanently sticking all the pieces to the base paper (see tips). Once you have glued all the shapes down, put your mat board over the top and place in the frame.
Project by Marsha Smith, April 2020
Projects from the Australian Women's Weekly
View more project ideas from The Australian Women's Weekly magazine in the Resene weekend craft projects section.
![]() Get inspired ! Subscribe
Get inspired ! Subscribe ![]() Get saving ! Apply for a DIY card
Get saving ! Apply for a DIY card
![]()
Can't find what you're looking for? Ask us!
Company profile | Terms | Privacy policy | Quality and environmental policy | Health and safety policy
Colours shown on this website are a representation only. Please refer to the actual paint or product sample. Resene colour charts, testpots and samples are available for ordering online. See measurements/conversions for more details on how electronic colour values are achieved.
What's new | Specifiers | Painters | DIYers | Artists | Kids | Sitemap | Home | TOP ⇧


