DIY: Projects by category | by magazine. Videos: How to | habitat magazine | Colour class
Room for improvement with Mark Rayner – Project 07
Bring light and warmth into a small front porch using a soft cream and white and contrast this with a bold dark door.
Difficulty level: Moderate
| Room: | Front porch |
| Condition: | Excellent |
| Ceiling: | Previously painted with white waterborne ceiling paint |
| Woodwork: | Previously varnished and painted wood in good condition |
| Walls: | Previously painted with waterborne low sheen paint |
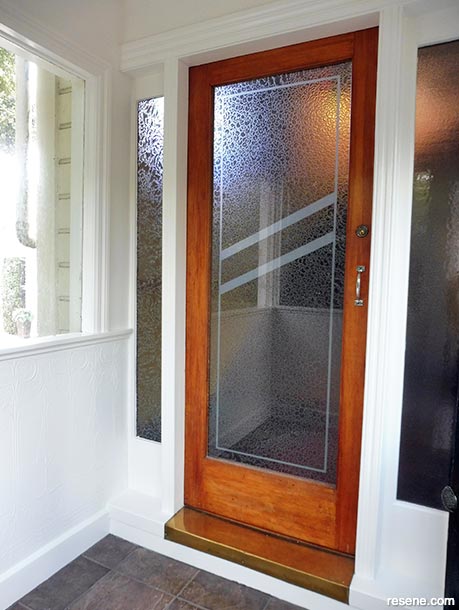
Front door – before
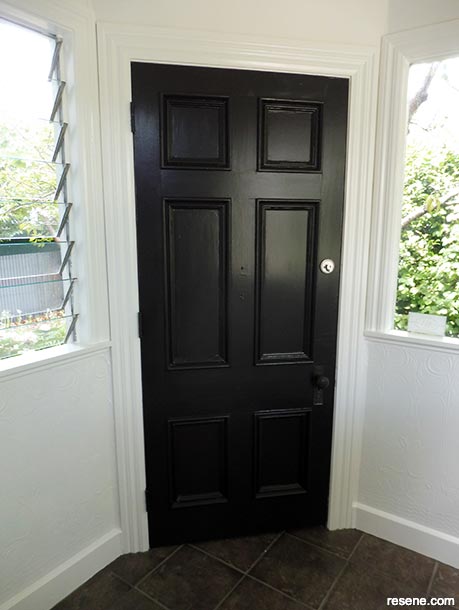
Front door – after
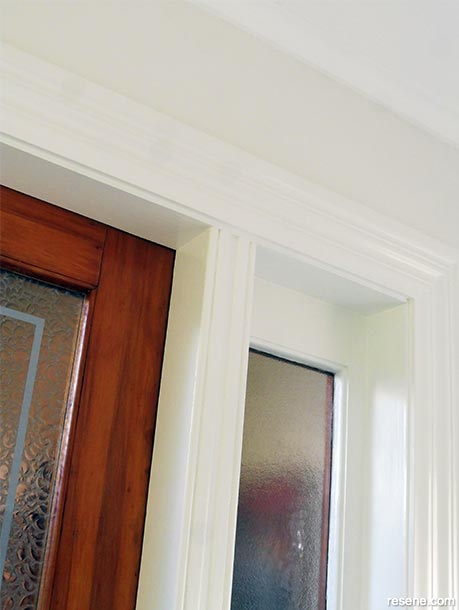
Coving/ceiling – before
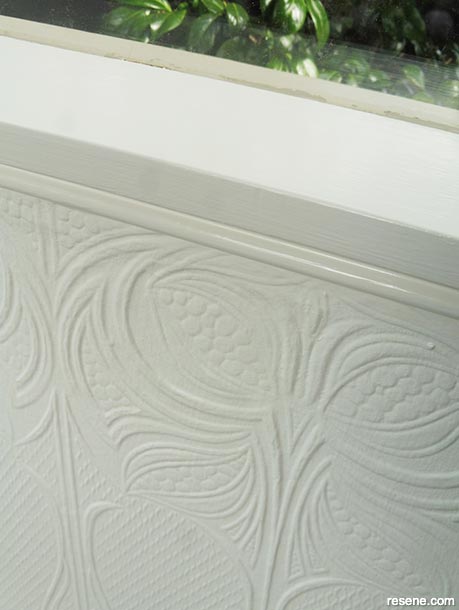
Coving/ceiling – after
 Step one
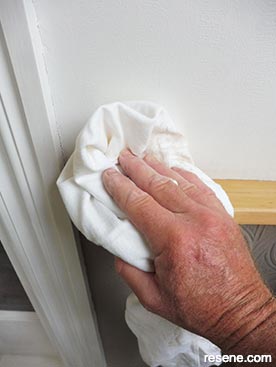
Wearing rubber gloves, carefully wash the ceiling, walls and woodwork with Resene Interior Paintwork Cleaner, wiping off any excess with a clean dry cloth. Allow to dry.
 Step two
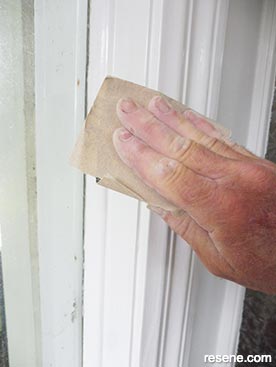
Lightly sand any previously painted woodwork to ‘key’ the surface.
 Step three
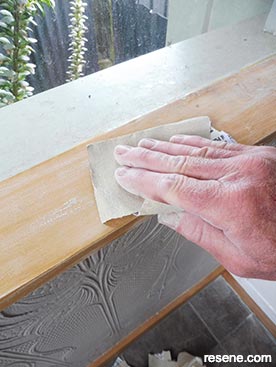
Lightly sand any previously varnished woodwork to ‘key’ the surface.
 Step four
Wipe off any sanding residue with a clean dry cloth.
 Step five
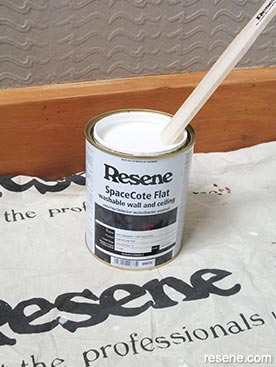
Carefully stir the Resene SpaceCote Flat tinted to Resene Half Alabaster.
 Step six
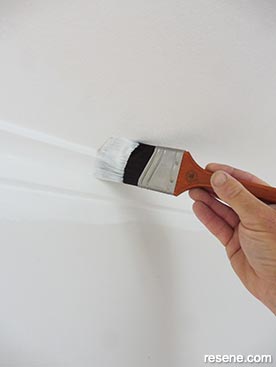
Apply one coat of Resene SpaceCote Flat tinted to Resene Half Alabaster to the coving and cut in around the ceiling edges.
 Step seven
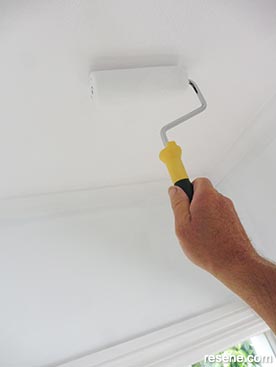
Using the roller, apply one coat of Resene SpaceCote Flat tinted to Resene Half Alabaster to the ceiling. Once dry, apply a second coat of Resene SpaceCote Flat tinted to Resene Half Alabaster to the coving and ceiling.
 Step eight
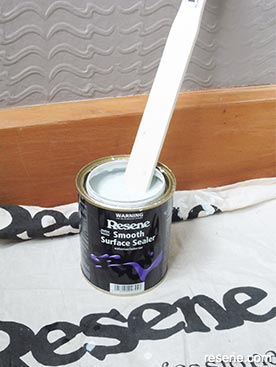
Carefully stir the Resene Waterborrne Smooth Surface Sealer.
 Step nine
Apply one coat of Resene Waterborrne Smooth Surface sealer to the previously varnished woodwork and allow to dry.
 Step ten
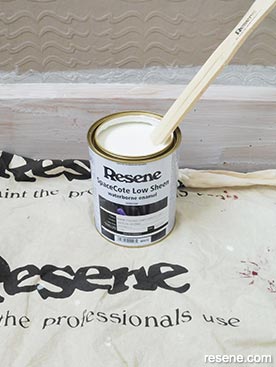
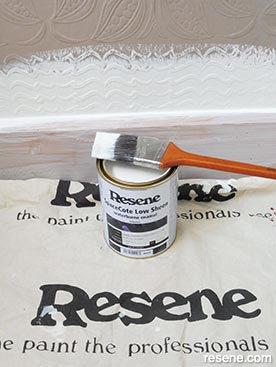
Carefully stir the Resene SpaceCote Low Sheen tinted to Resene Quarter Thorndon Cream.
 Step eleven
Cut in around all the woodwork, coving and corners with Resene SpaceCote Low Sheen tinted to Resene Quarter Thorndon Cream.
 Step twelve
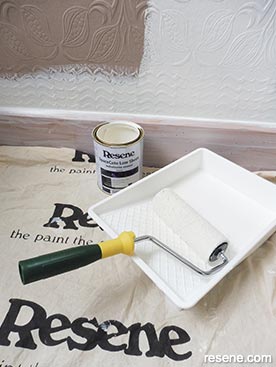
Roller the remainder of the walls with Resene SpaceCote Low Sheen tinted to Resene Quarter Thorndon Cream and allow to dry. Repeat steps eleven and twelve.
 Step thirteen
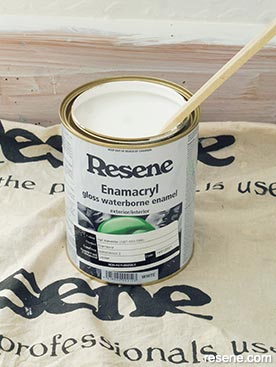
Carefully stir the Resene Enamacryl tinted to Resene Half Alabaster.
 Step fourteen
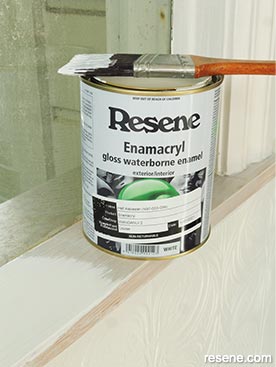
Apply two coats of Resene Enamacryl tinted to Resene Half Alabaster to the window woodwork, door frames and skirting boards. Allow two hours for each coat to dry.
 Step fifteen
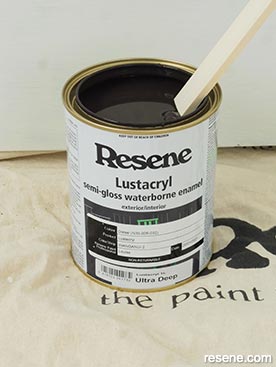
Carefully stir the Resene Lustacryl tinted to Resene Diesel.
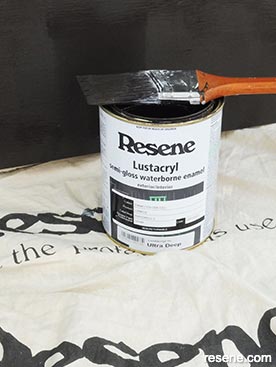 Step sixteen
Apply two coats of Resene Lustacryl tinted to Resene Diesel to the front door, allowing two hours for each coat to dry.
![]() Get inspired ! Subscribe
Get inspired ! Subscribe ![]() Get saving ! Apply for a DIY card
Get saving ! Apply for a DIY card
![]()
Can't find what you're looking for? Ask us!
Company profile | Terms | Privacy policy | Quality and environmental policy | Health and safety policy
Colours shown on this website are a representation only. Please refer to the actual paint or product sample. Resene colour charts, testpots and samples are available for ordering online. See measurements/conversions for more details on how electronic colour values are achieved.
What's new | Specifiers | Painters | DIYers | Artists | Kids | Sitemap | Home | TOP ⇧

