| Room: |
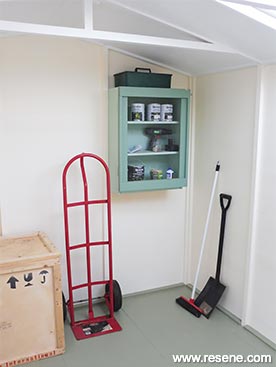
Shed interior |
| Condition: |
Poor |
| Ceiling: |
Fixed battening with corrugated iron over builder paper |
| Woodwork: |
Bare timber with moderate water staining |
| Walls: |
Rotted particleboard |
You will need
- 7mm plywood panels cut to fit between ceiling rafters
- 50mm galvanised nails
- 75mm decking nails
- 20mm screws
- 25mm x 50mm battening cut to fit around edges of floor
- 2.4m fence palings
- Clean cloth
- Hammer
Instructions
- Handy hints: Always ensure paints and primers are stirred well immediately before using. If necessary, treat any areas of mould with Resene Moss & Mould Killer. For any old stained or natural timber wash with a solution of Resene Timber and Deck Wash to provide a clean surface ready for painting.
- Top tip: Rough sawn timber makes for very cost effective shed flooring but is prone to potential splinters. We recommend painting or staining it. If it is particularly rough it may need sanding first to remove splinters.
- To get the look: Mark previously painted the wall cupboard with Resene Lustacryl tinted to Resene Gum Leaf and Resene Cascade.
- Other ideas: Instead of painting the floor, it could also have been stained with Resene Colorwood interior wood stain and finished with Resene Qristal ClearFloor.
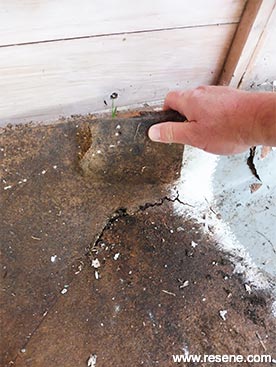 Step one
Remove rotten flooring and any old nails or screws.
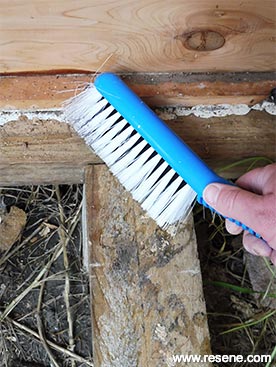 Step two
Brush down and clean all woodwork to remove any dust and dirt.
 Step three
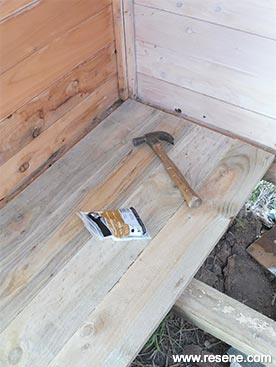
Lay the fence palings across floor joists, as shown, fixing with decking nails and cutting where necessary. Continue until the floor is complete. Fix pieces of battening around the outer edges of the floor using 50mm nails.
 Step four
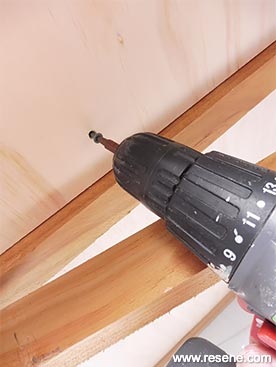
Attach the plywood panels to the ceiling battens with screws
 Step five
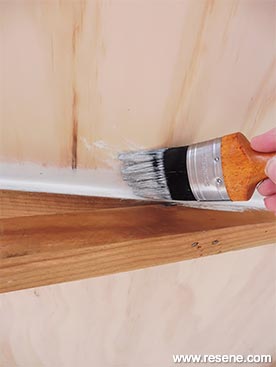
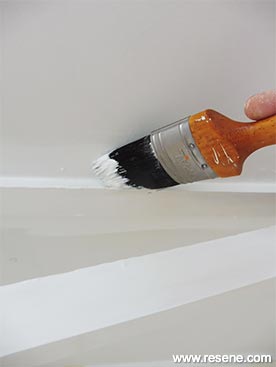
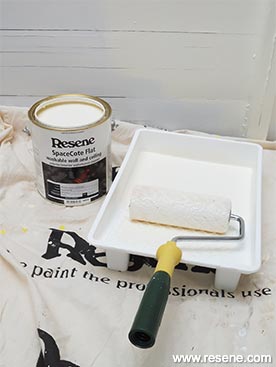
Apply one coat of
Resene Quick Dry to the edges of the ceiling and rafters using a brush.
 Step six
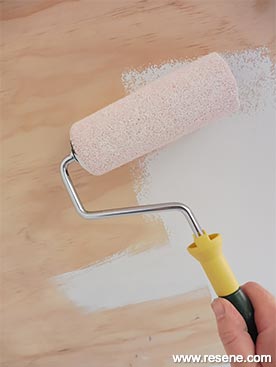
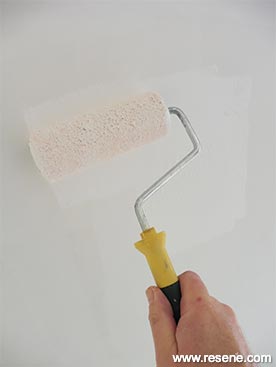
Apply one coat of
Resene Quick Dry to the ceiling panels with a roller. Allow to dry.
 Step seven
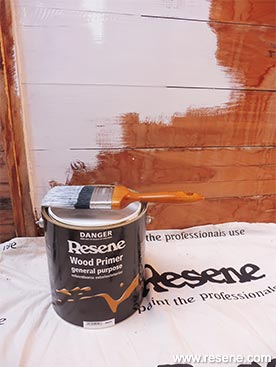
Apply one coat of
Resene Wood Primer to the shed walls and door and allow to dry. Wash brush in mineral turps.
 Step eight
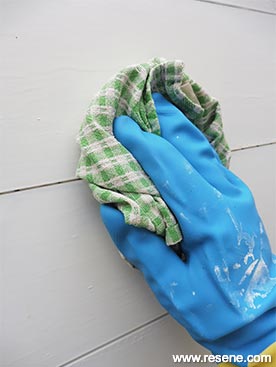
If painting under marginal conditions oil based primers can cure with an oily surface layer, which can cause cissing of waterborne topcoats. If this occurs, wipe the primer surface with Resene Thinner No.2.
 Step nine
Apply one coat of
Resene Alabaster to the edges of the ceiling and rafters using a brush.
 Step ten
Apply one coat of
Resene Alabaster to the ceiling panels with a roller. Once dry, apply a second coat of Resene Alabaster to the rafters and ceiling and allow to dry.
 Step twelve
Paint the walls and door with
Resene Half Dutch White using a roller and allow to dry. Apply a second coat of Resene Dutch White to the walls and door and allow to dry.
 Step fourteen
Apply one coat of
Resene Quick Dry to the floor using a roller and allow to dry.
 Step fifteen
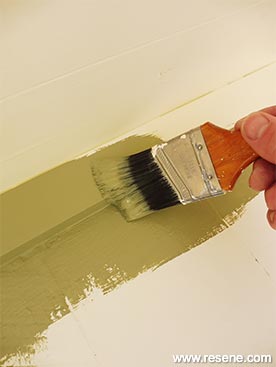
Cut in around the edges of the floor with
Resene Flax.
 Step sixteen
Apply one coat of
Resene Flax to the floor using a roller and allow to dry. Apply a second coat of Resene Flax to the floor and allow to dry.