Resene DIY project #12
How to paint like a professional - training videos and project sheets
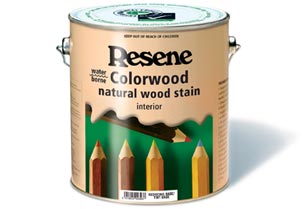
Applying Resene Colorwood natural wood stain
Resene Colorwood (see Data Sheet D50a) is a waterborne interior penetrating wood stain that is ideal for rejuvenating and enhancing timber, plywood, MDF and most flooring. Resene Colorwood is sometimes referred to as a wiping stain or dye. It is usually overcoated with Resene Aquaclear (see Data Sheet D59), Resene Qristal Polyurethane (see Data Sheet D53) or Resene Qristal ClearFloor 1K or 2K (see Data Sheet D506 and D506a). Rough sawn interior timber, such as beams, can be stained with Resene Colorwood without clear finishing or polyurethaning.
| View video |
Remove hardware such as handles etc. This makes sanding, staining and clear finishing easier. Doors can be coated without taking them off their hinges. Many professional painters adopt this approach, but do still remove the door hardware.
Sand new timber to remove any surface imperfections. As Resene Colorwood is transparent any residual marks or blemishes on the surface will be apparent in the finished job. Different grades of sandpaper may be needed depending on the severity and nature of the imperfections. In our example we have used 220 grit Zinc Stearate sandpaper. This is ideal for timber in good condition.
Remember to always sand with the grain of the timber.
Resene Colorwood will not absorb through old clear finishes, wax films and surface contaminents, so care needs to be taken when refurbishing old timber to ensure these are completely removed.
Use a dusting brush and possibly a vacuum cleaner to remove sanding dust before a final wipe with a tack cloth.
Warning tack cloths and rags impregnated with solvents, including turps, can spontaneously combust. After use unfold and leave outside on an inflammable surface, such as concrete, until the solvents evaporate.
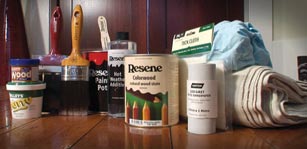
Shake well. Each pack contains a small marble to help with mixing. Stir well and decant into a manageable sized container, such as a Resene 2 litre paint pot. It is important to continue to stir regularly during use to avoid any settling.
Use a good quality brush, such as a PAL Legend brush, in a size that suits the user, and wear painters’ gloves.
On warm days add Resene Hot Weather Additive. If the substrate is very absorbent add up to 5% clean water.
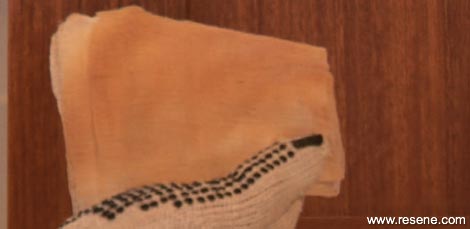
Use a lint free cloth, such as an old cotton t-shirt, to wipe the stain. Have additional cloths ready to replace saturated cloths as you progress. This is very important for large areas such as floors, sheets of plywood and MDF.
Carefully plan the staining sequence. It is important to avoid letting the stain dry before wiping.
Fill holes after staining with a coloured putty matched to the stain. We recommend the Red Enz eeZee Wood Filler. Professional woodworkers will often use several intermixes of coloured synthetic putty to match the different shades of the timber.
Carefully sand the door.
Dust it down, then wipe with a tack cloth.
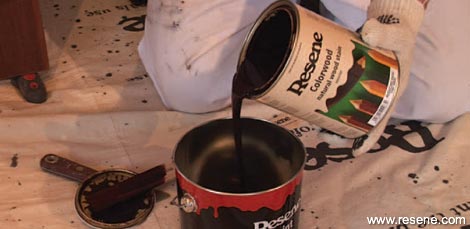
Shake the can thoroughly and after removing the lid, stir carefully to reincorporate any residual stain from the bottom of the can.
Carefully decant a quarter to half a litre into a paint pot.
Using your brush wipe away excess stain and replace the lid.
Work the brush into the stain. In our example a PAL Legend 63mm brush is being used.

It is very important that Resene Colorwood is wiped before it dries, so planning the staining sequence is essential.
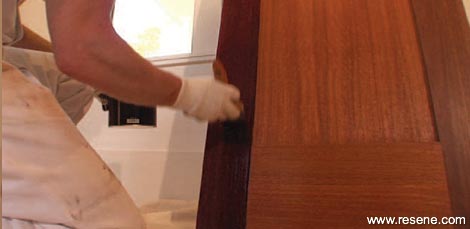
Complete the small reveals first before working around the rails of the door, using the joins of the frame as start and finish points.
Use the tip of the brush to apply the stain to the reveals. The Legend brush retains its shape more so than other brushes, making this possible with a comparatively large brush. As an alternative, a smaller cutting-in brush could be used for these or similar areas.
The longer the stain is left on the surface, the deeper the colour will be. It is better to build colour up with additional coats. This allows the applicator to control the look and intensity of the final colour and avoid patchiness. Additional coats and/or the use of Resene Colorwood Enhance will also deepen the stain’s colour.
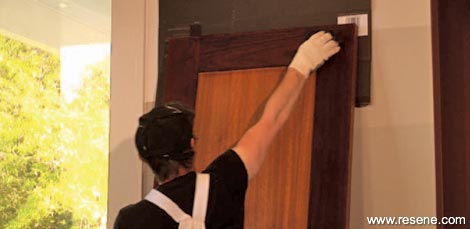
The stain is applied liberally before laying off-to ensure even coverage is achieved.
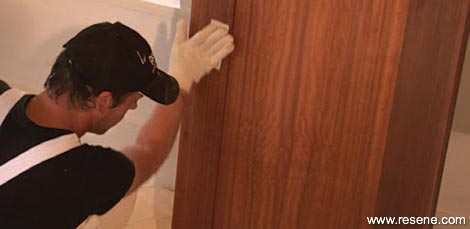
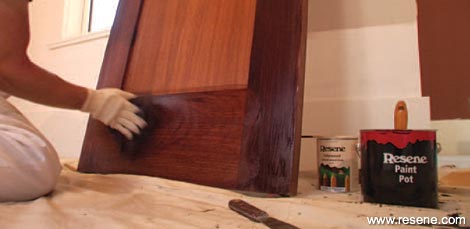
Once the face of the door has been completed, wipe the surface using a clean cloth to remove excess stain and ensure the stain is evenly applied to the timber.

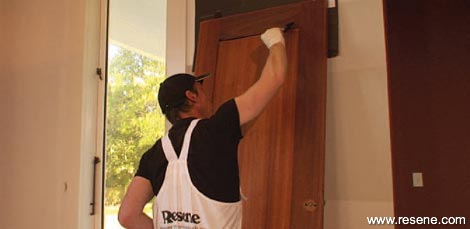
Once completed, start on the centre panel of the door.
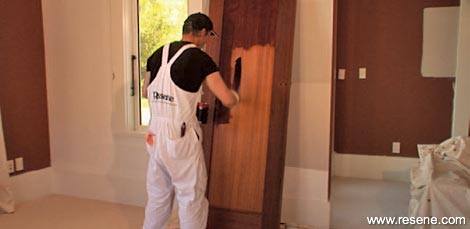
Start from the top and work down, working quickly to get the stain on the surface, laying-off with the brush as shown as you progress down the door.
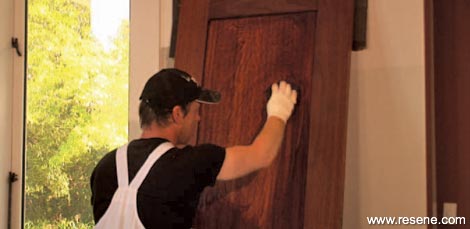
Once complete, wipe the door to remove the excess stain and to ensure an even coverage of the stain is achieved.
It is sensible to start on internal facings or less visible sections first in order to get a feel for the application and wiping process.
Once dry apply Resene Aquaclear or Resene Qristal Polyurethane. See the Resene Aquaclear project sheet and video on the Resene website.
For a deeper, more intense, colour apply an additional coat of Resene Colorwood using the techniques above or use Resene Colorwood Enhance added into Resene Aquaclear.
Staining with Resene Colorwood is an easy way to rejuvenate and beautify timber. The finished result can also be satisfying to achieve.
Please take the time to carefully read through the instructions on the label. More information including Data Sheets for the Resene products mentioned and Safety Data Sheet/s (SDS) can be found on the Resene website.
› Download this project sheet as a PDF
Training Videos and Project Sheets
Learn how to prepare surfaces and apply paint to get the best from your paint finish with these handy videos and project sheets.
![]() Get inspired ! Subscribe
Get inspired ! Subscribe ![]() Get saving ! Apply for a DIY card
Get saving ! Apply for a DIY card
![]()
Can't find what you're looking for? Ask us!
Company profile | Terms | Privacy policy | Quality and environmental policy | Health and safety policy
Colours shown on this website are a representation only. Please refer to the actual paint or product sample. Resene colour charts, testpots and samples are available for ordering online. See measurements/conversions for more details on how electronic colour values are achieved.
What's new | Specifiers | Painters | DIYers | Artists | Kids | Sitemap | Home | TOP ⇧

