Habitat bright ideas with Fleur Thorpe – DIY projects
Upcycle an old set of drawers with a geometric pattern and make new feet and drawer handles. Fleur Thorpe shows you how.
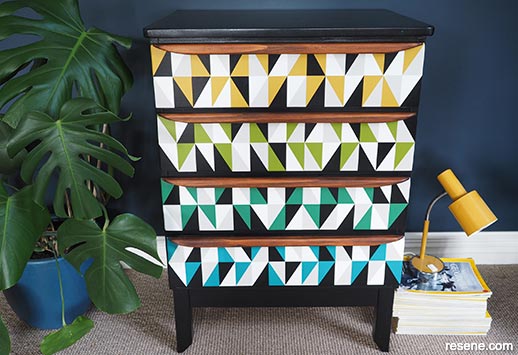
Wall - Resene Dark Knight
Skirting - Resene Half Rice Cake
Step 1: Start by removing the old handles and use filler to fill the holes and any other dents. Fleur removed the old base off the bottom of the drawers and kept it as she will use it later to rebuild a new base. (Photo 1).
Step 2: When the filler is dry, sand it down smooth, wipe away the dust with a soft dry cloth, and apply one coat of Resene Quick Dry. (Photo 2).
Step 3: When the primer is dry, lightly sand it down, wipe away any dust, and apply two coats of Resene Half Rice Cake, allowing the first coat to dry before applying the second coat. Next, use a ruler and pencil to mark out the grid for the triangle shapes. Fleur divided the height of each drawer in half and drew a line across. She then measured the width of the drawers and divided this by 14 to give a grid of 14 rectangles across and two down. Always use a pencil when drawing on measurements, as some pens bleed through paint. Fleur found it handy to make marks on her ruler with tape so that it sped up making the measurements. (Photo 3).
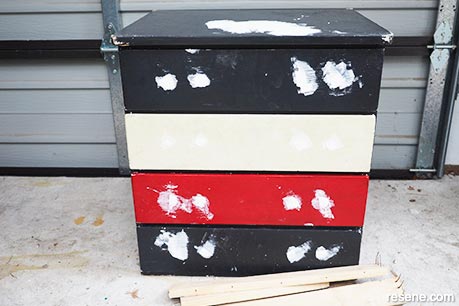
Photo one
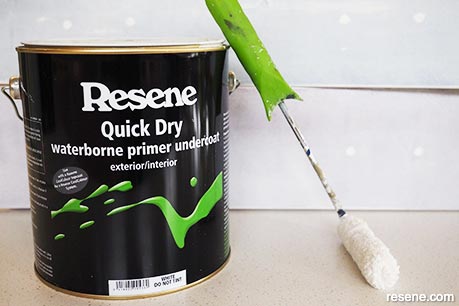
Photo two
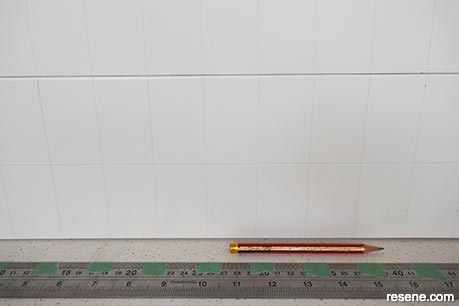
Photo three
Step 4: Use purple painter’s tape to make triangles within the rectangles. Fleur placed these randomly but tried to make sure that they were evenly spread across the drawer front. Rub the tape down firmly so that paint won’t bleed under it. (Photo 4).
Step 5: Paint on two coats of Resene Lustacryl in your choice of colour, allowing dry time between coats. Fleur used Resene Truffle. Peel the tape away as soon as you have finished the second coat and before it dries. (Photo 5).
Step 6: Allow the paint to dry for an hour or two and then repeat the process but this time paint in some gaps with Resene Black. (Photo 6).
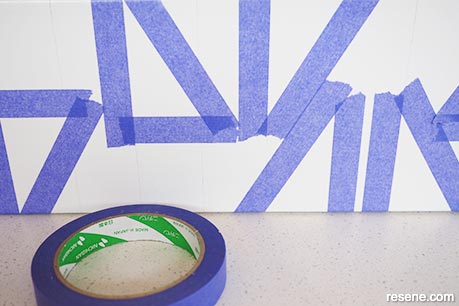
Photo four
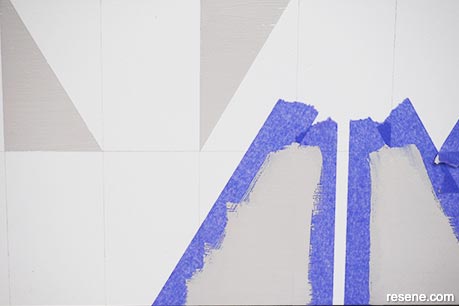
Photo five
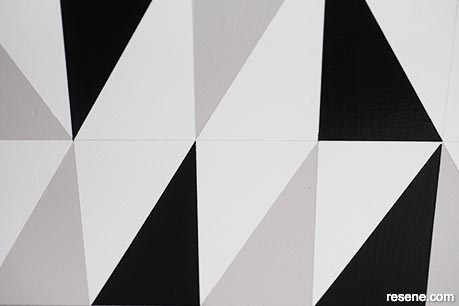
Photo six
Step 7: Paint in some more gaps with Resene Influential. (Photo 7).
Step 8: Paint the body of the drawers in Resene Lustacryl. Fleur used Resene Black.
Step 9: For the handles, cut a 2.4m length of 16mm exterior angle trim into four lengths the same width as the drawers. Sand down both ends. (Photo 8).
Step 10: Use a soft cloth to wipe on Resene Colorwood Natural Wood Stain in Resene Teak on to the handles. Leave to dry for several hours and then use another cloth to apply two or three coats of Resene Danska Teak Oil. Wipe on the oil, leave it to sit for about an hour and then wipe away any excess. (Photo 9).
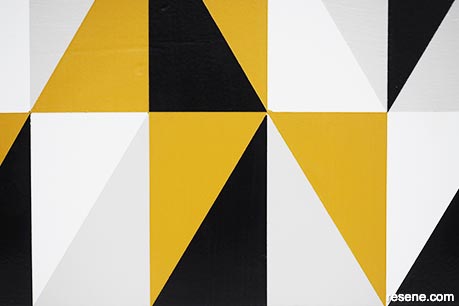
Photo seven
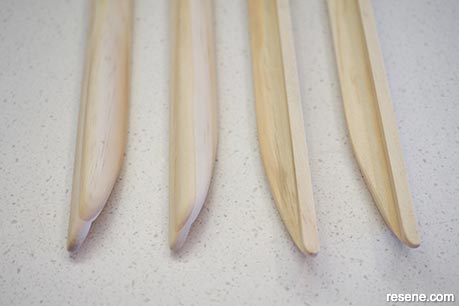
Photo eight
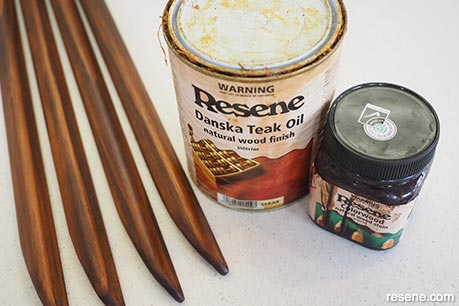
Photo nine
Step 11: Once the oil is dry, attach the handles to the top of the drawers by screwing small screws in through the back of the drawer.
Step 12: For the legs, cut the 40mm x 40mm pine wood into four lengths of 200mm. Fleur cut the bottom of the legs at 45 degrees and sanded the edges smooth. Fleur re-used the old base by cutting each of the four lengths shorter, to allow for the legs, and sanded them smooth. (Photo 10).
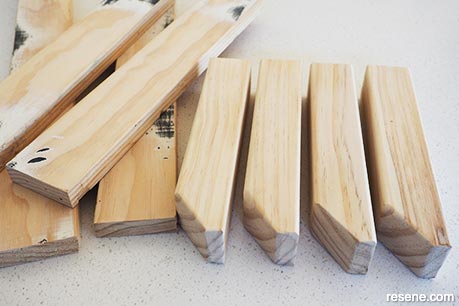
Photo ten
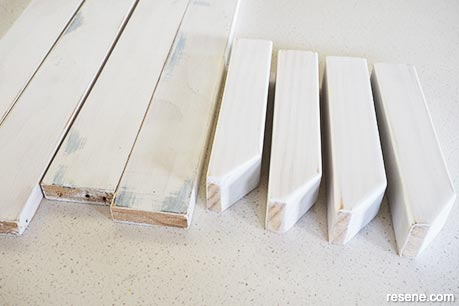
Photo eleven
Feet detail
Step 13: Prime the base lengths and the legs with Resene Quick Dry. (Photo 11). Fleur gave this a light sand and then painted it with two coats of Resene Black. Once this was dry Fleur screwed the base and legs together, and then screwed it to the bottom of the drawers.
Top tip: If you prefer a higher sheen finish, use Resene Enamacryl gloss waterborne enamel in place of Resene Lustacryl. This will give a glossier look and will be even easier to wipe clean. Or for a more matte finish use Karen Walker Chalk Colour paint in more weathered colour tones.

Project and images by Fleur Thorpe. September 2021.
Habitat bright ideas
Need to add colour, pattern or a little creativity to your place? Check out these easy step by step DIY project ideas created in collaboration with Fleur Thorpe. We hope you enjoy making and painting these bright ideas and bringing colour to your home inside or out.
![]() Get inspired ! Subscribe
Get inspired ! Subscribe ![]() Get saving ! Apply for a DIY card
Get saving ! Apply for a DIY card
![]()
Can't find what you're looking for? Ask us!
Company profile | Terms | Privacy policy | Quality and environmental policy | Health and safety policy
Colours shown on this website are a representation only. Please refer to the actual paint or product sample. Resene colour charts, testpots and samples are available for ordering online. See measurements/conversions for more details on how electronic colour values are achieved.
What's new | Specifiers | Painters | DIYers | Artists | Kids | Sitemap | Home | TOP ⇧


