Habitat bright ideas with Fleur Thorpe – DIY projects
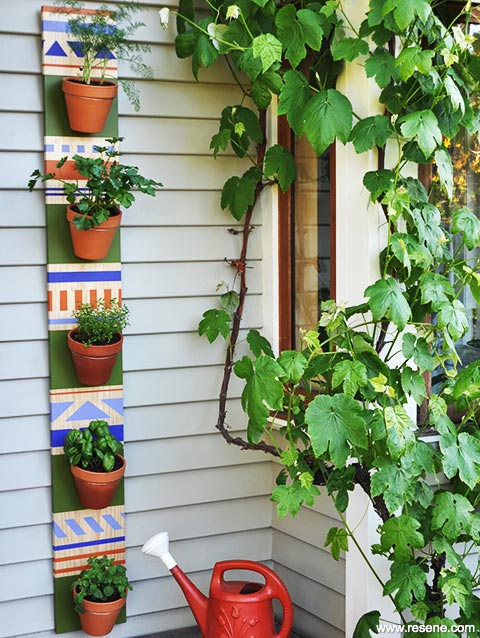
Make this stylish and handy planter board to display planted terracotta pots. Paint the pots to match the board, or leave them as is.
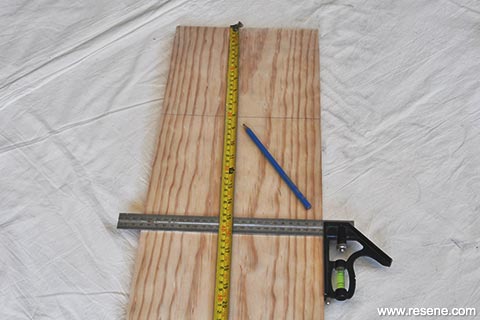
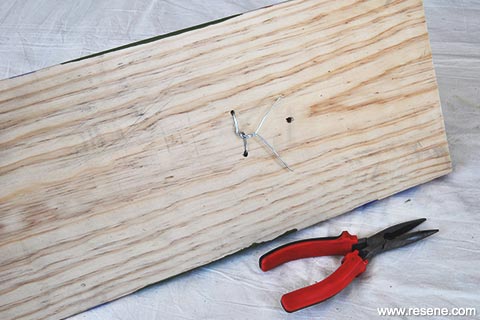
Step 1: Measure your board and divide it into 5 equal parts (or fewer if you have fewer pots) Use a set-square to draw horizontal lines for each of the 5 divisions.
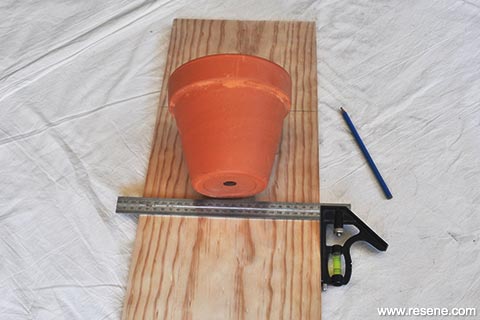
Step 2: Place a pot near the bottom of one of the divisions and measure and mark with a pencil where the wire would go through the board to hold the pot in place. These holes will sit behind the pot just under the lip. Use an electric drill to make two holes about 5cm apart; drill them on an angle so it’s easier to thread in the wire later. If you are going to hang your finished board up with a nail, drill a hole for that. Repeat this down the length of the board for each of the five sections. The holes may need a light sand with a medium grit sandpaper.
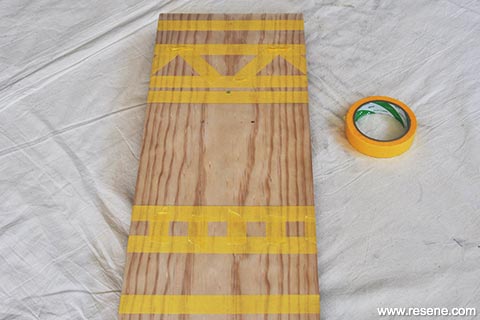
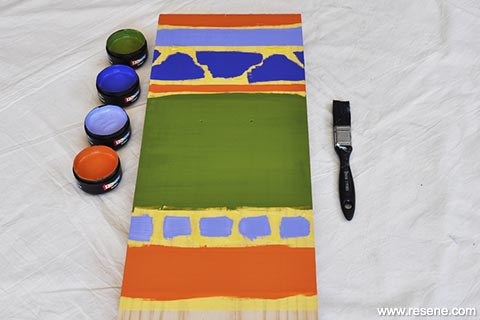
Step 3: Mask bands across the board where you want to paint. Have fun making stripes of different thicknesses and other patterns.
 Step one
 Step two
 Step three
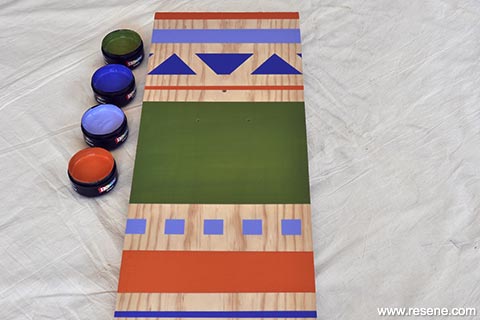
Step 4: Apply two coats of your chosen Resene paint colours and remove the tape while the second layer is still wet.
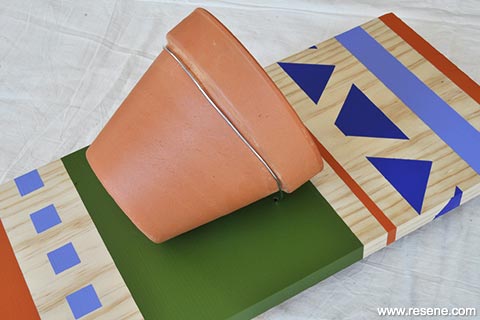
Step 5: When the paint is dry, place a pot where you drilled the two holes, then thread the wire through from the back, around the pot and back through the other hole. Use pliers to twist the wire ends together. Repeat this for all the pots. Seal the inside and outside of the pots with Resene Aquapel & Terracotta Sealer to help retain moisture then fill your pots with good quality potting mix and herb plants.
Top tip: Paint your plant pots to add extra colour using Resene testpots. Or use Resene FX Blackboard Paint and you can use chalk to write on each pot which plant it contains.
 Step four
 Step four contd.
 Step five
 Step five contd.
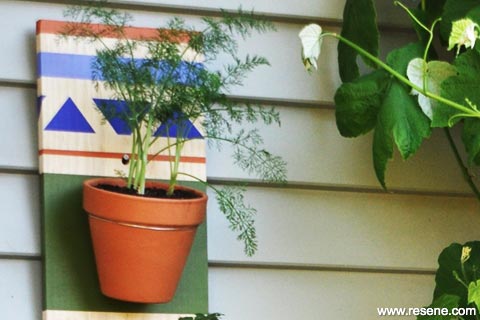 Painted board detail


Styling and images by Fleur Thorpe, 2018.
Habitat bright ideas
Need to add colour, pattern or a little creativity to your place? Check out these easy step by step DIY project ideas created in collaboration with Fleur Thorpe. We hope you enjoy making and painting these bright ideas and bringing colour to your home inside or out.
![]() Get inspired ! Subscribe
Get inspired ! Subscribe ![]() Get saving ! Apply for a DIY card
Get saving ! Apply for a DIY card
![]()
Can't find what you're looking for? Ask us!
Company profile | Terms | Privacy policy | Quality and environmental policy | Health and safety policy
Colours shown on this website are a representation only. Please refer to the actual paint or product sample. Resene colour charts, testpots and samples are available for ordering online. See measurements/conversions for more details on how electronic colour values are achieved.
What's new | Specifiers | Painters | DIYers | Artists | Kids | Sitemap | Home | TOP ⇧

