Habitat bright ideas with Fleur Thorpe – DIY projects
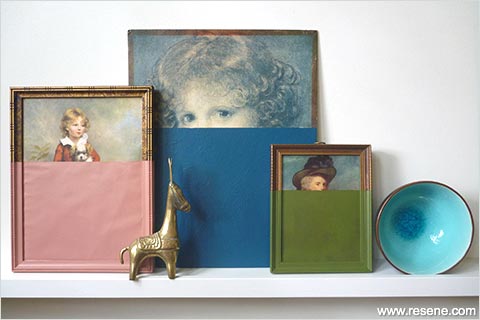
Make custom artwork with accents of your favourite Resene colours from your op shop finds.
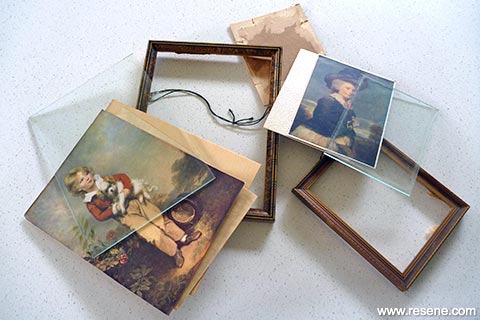
Step 1: Disassemble your art pieces and the glass behind the picture. Reassemble them.
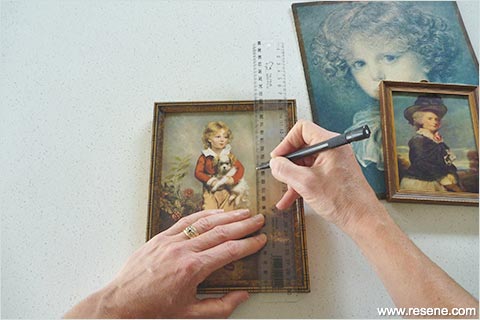
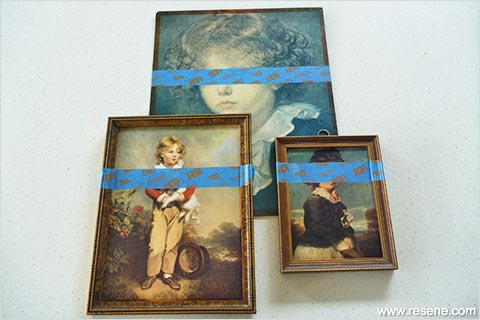
Step 2: Using a ruler and pencil, measure and mark along the front of your picture where you want the paint to start.
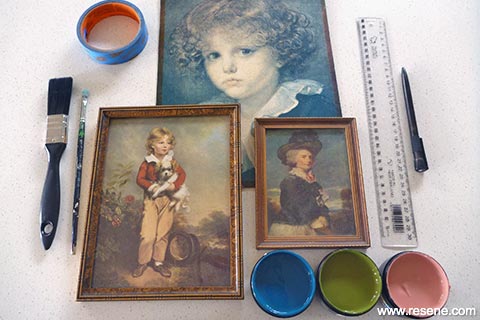 Equipment
 Step one
 Step two
Step 3: Using painters’ tape, tape off the area that you don’t want to paint. Make sure you push the tape firmly into the sides and creases of the frame to stop painting leaking behind the tape.
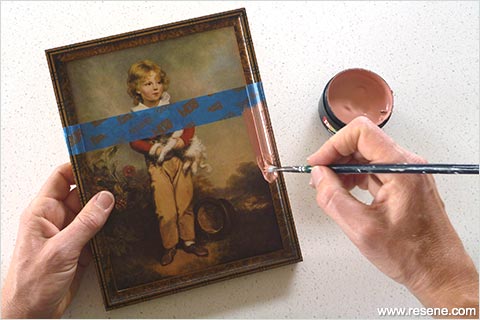
Step 4: Using a small paint brush, paint along the frame with your chosen Resene colour, making sure to get paint into all the creases of the frame.
 Step three
 Step four
 Step five
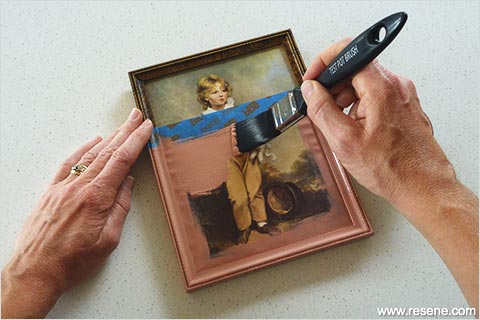
Step 5: With a larger paint brush, paint over the whole picture. Once the first paint layer is dry, repeat with a second layer.
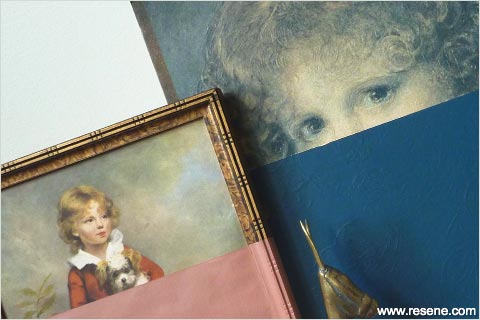
Step 6: Remove the tape while the second layer is still wet.
 Step six
 Project detail
Styling and images by Fleur Thorpe, 2017.
Habitat bright ideas
Need to add colour, pattern or a little creativity to your place? Check out these easy step by step DIY project ideas created in collaboration with Fleur Thorpe. We hope you enjoy making and painting these bright ideas and bringing colour to your home inside or out.
![]() Get inspired ! Subscribe
Get inspired ! Subscribe ![]() Get saving ! Apply for a DIY card
Get saving ! Apply for a DIY card
![]()
Can't find what you're looking for? Ask us!
Company profile | Terms | Privacy policy | Quality and environmental policy | Health and safety policy
Colours shown on this website are a representation only. Please refer to the actual paint or product sample. Resene colour charts, testpots and samples are available for ordering online. See measurements/conversions for more details on how electronic colour values are achieved.
What's new | Specifiers | Painters | DIYers | Artists | Kids | Sitemap | Home | TOP ⇧


