From Habitat magazine - issue 22
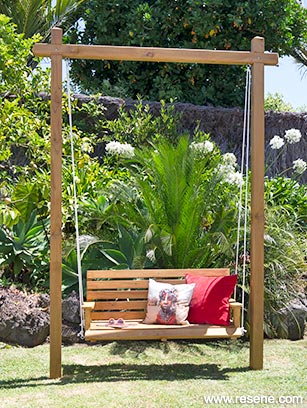
Learn how to build a swing seat with these step-by-step instructions.
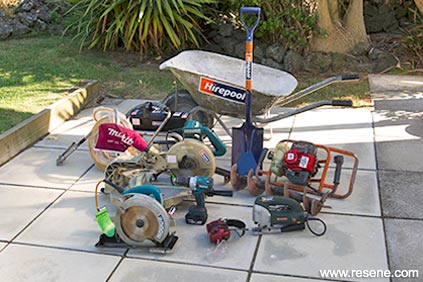
Tools and equipment: drop saw, power drill, skill saw, jigsaw, post-hole borer, wheelbarrow, spade, chisel, clamps, mallet, airless spray unit and/or 75mm paint brush, safety glasses and ear-muffs.
Materials: Dressed 100mm x 100mm pine for frame H5 treated (2200mm for top beam, 2 x 2800mm for side posts which includes 600mm to concrete into the ground), 11 colonial fence pickets for seat slats (ours are cut to 1290mm long), 6m of 75mm x 50mm treated pine for seat frame, 1m of 125mm x 25mm dressed pine for arm rests, 10m of 10mm rope, stainless steel or exterior grade screws, 4 x 7.3 diameter screw eyes 2 eye bolts, 2 coach bolts gorilla or exterior grade glue 120-grit sandpaper, Resene Waterborne Woodsman stain in Resene Natural.
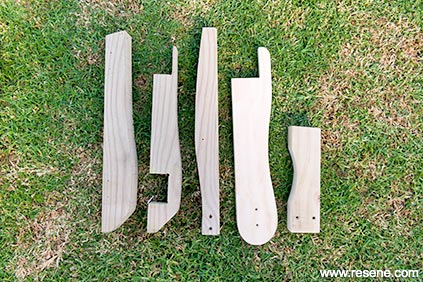
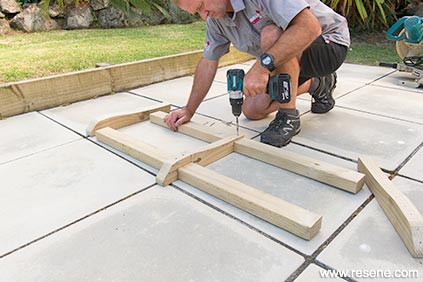
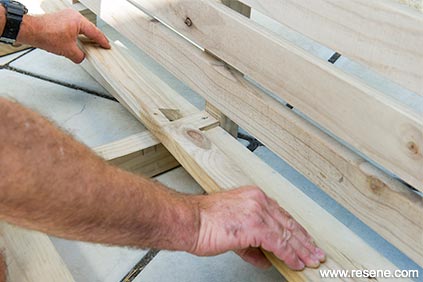
Step 1: Start with the seat. Make the frame for the seat base, using our photograph as a template, or use straight pieces if preferred. Sand any cut edges. Pre-drill the holes so that the screws can counter-sink for a neater and more comfortable finish, and use the glue for extra strength.
 Step 2
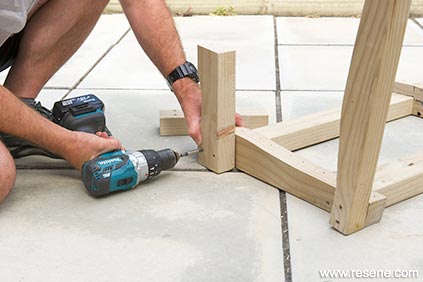
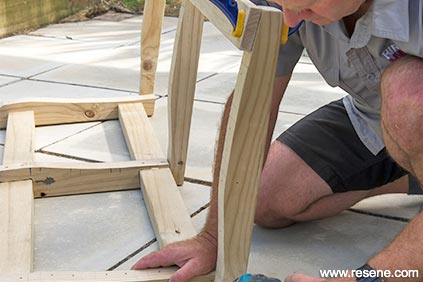
Step 2: Make and attach the uprights for the back of the seat. Clamp one of the slats across the three uprights to ensure they're straight. Attach the arm rest supports.
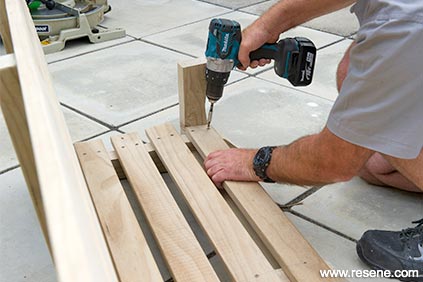
Step 3: Cut slats to length, and note that two of them are going to be shorter to go inside the uprights and one of those will have a notch jigsawed out of the centre to fit over the back frame.
Step 3b: Screw slats into place, using the narrow edge of a slat as a spacer.
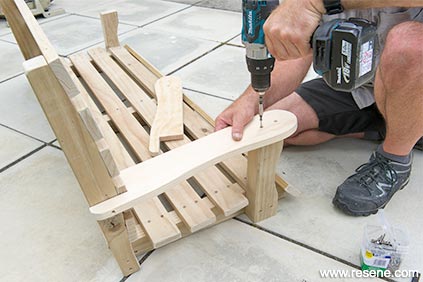
Step 4: Attach the arm rests and the self tapping screw eyes as shown.
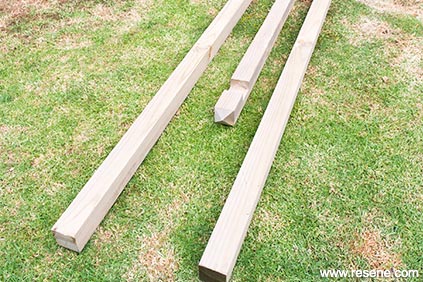
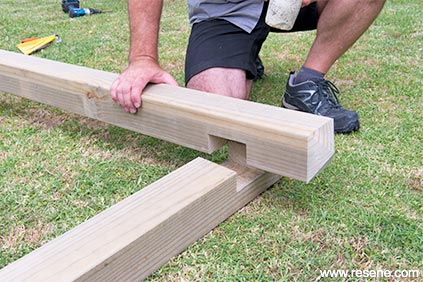
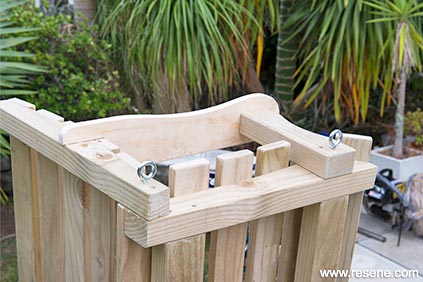
Step 5: Cut opposing notches into the top beam (130mm from the ends) and posts with a circular saw and chisel. Drill holes for the coach bolts. Slot the beam and posts together, using a mallet. We cut 30 degree bevels on the ends of the top beam which not only looks good but stops water seepage into the timber's end grain. Or you can leave the beam plain. Add the eye bolts to the underside of the top beam, 40mm in from the posts. They go close to the posts so that the rope stays out past the seat arms.
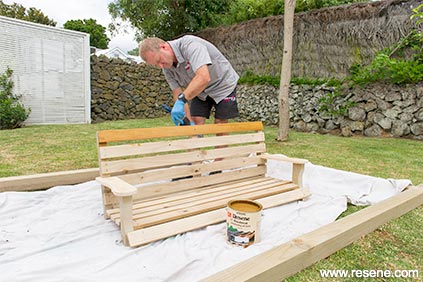
Step 6: Stain the timber. We used a brush to apply Resene Waterborne Woodsman stain, but if you choose a paint finish, you could use an airless spray gun. Thread the 10mm rope and knot it at the top so the chair doesn't tip, then thread through the eyelets on the chair, and knot. Adjust the height to around 450mm off the ground then tie off securely. Singe the rope ends so that they don't fray.
All equipment and expertise from Hirepool. Visit www.hirepool.co.nz or call 0800 15 15 15.
created by: Craig Burrowes
pictures: Mark Heaslip
Search habitat magazine stories
Printed copies of habitat highlights are available from late March 2024 at Resene ColorShops and resellers, while stocks last. You can view back issues of habitat magazine online.
Specifiers:
If you have an idea, project or story that you think would suit habitat, we’d love to hear from you. Please drop us an email with your details and include photos if submitting a project.
Sign up for a DIY card and Save! Australia | New Zealand
![]() Get inspired ! Subscribe
Get inspired ! Subscribe ![]() Get saving ! Apply for a DIY card
Get saving ! Apply for a DIY card
![]()
Can't find what you're looking for? Ask us!
Company profile | Terms | Privacy policy | Quality and environmental policy | Health and safety policy
Colours shown on this website are a representation only. Please refer to the actual paint or product sample. Resene colour charts, testpots and samples are available for ordering online. See measurements/conversions for more details on how electronic colour values are achieved.
What's new | Specifiers | Painters | DIYers | Artists | Kids | Sitemap | Home | TOP ⇧