From Habitat magazine - issue 14, step by step
Make a cool robot out of your old cardboard rolls and boxes!
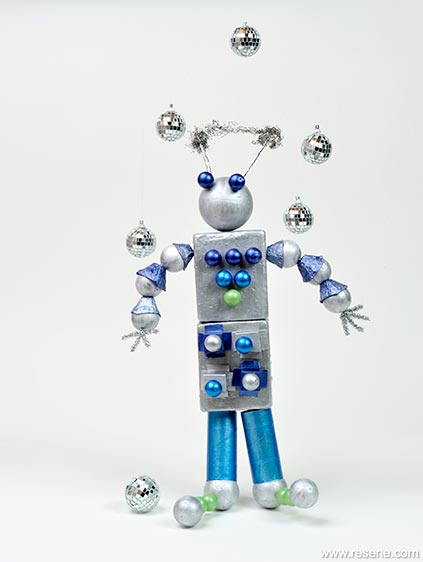
Finished robot
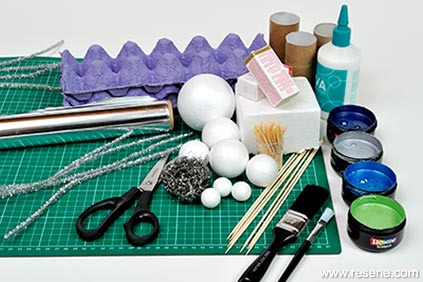 Supplies
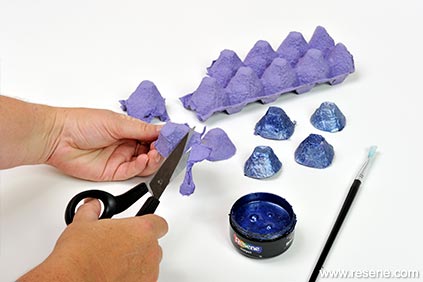 Step 1
 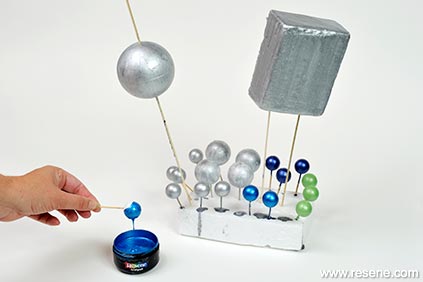 Step 2
Step 1: Turn the egg carton upside down and carefully cut out the individual egg holders. Then cut each one into a circular shape. You will need six of these for the arms. Paint them in Resene Super Sonic.
Step 2: Get a grown up to cut the square polystyrene block in half with a sharp knife and stick a couple of skewers into it so you can paint it on all sides using Resene Go Go Go. Using the same colour, paint the largest ball for the head, two mid-sized balls for the feet, eight small balls for the arms and feet, and two tiny balls for decorating the little boxes. It’s easiest to stick a toothpick into the tiny balls and dip them in the paint. Also dip four tiny balls into Resene Yeehaa for the box decoration and front buttons, five tiny balls into Resene Super Sonic for the eyes and front buttons, and five tiny balls into Resene Go Go Go, two for each foot and one for the front buttons. Poke the skewers and toothpicks in the remaining block of polystyrene to allow them to dry completely.
 Step 3
 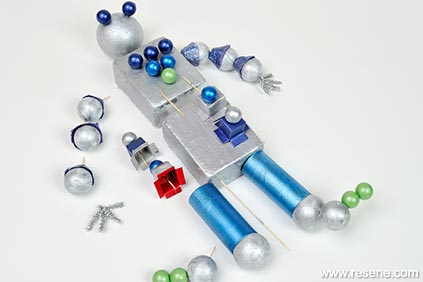 Step 4
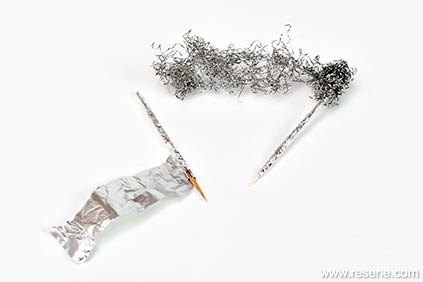 Step 5
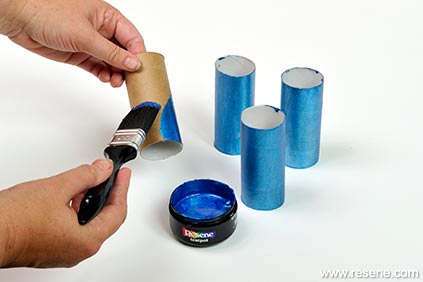
Step 3: Paint two toilet rolls in Resene Yeehaa for the legs. Cut the little boxes in half and paint one pair in Resene So Cool and one pair in Resene Super Sonic, for decorating the lower half of the body.
Step 4: Take two silver pipe cleaners and fold them into three fingered hands. Assemble the robot as shown in the picture, using the skewers and tooth picks to position the balls and other pieces. Glue in place to secure. Step 5 Break a skewer in half and wind a 3cm-wide strip of tinfoil round each skewer. Cut off a length of wire pot scrubber and tease it out to stretch between the two skewers and poke into the top of the head.
Step 5: Break a skewer in half and wind a 3cm-wide strip of tinfoil round each skewer. Cut off a length of wire pot scrubber and tease it out to stretch between the two skewers and poke into the top of the head.
Did you know... The Resene KidzColour chart has all the colours you need to decorate your child’s room. Pick up a free copy from your Resene ColorShop or reseller or order online.
styling and words: Helena Dunn
pictures: Mark Heaslip
Search habitat magazine stories
Printed copies of habitat highlights are available from late March 2024 at Resene ColorShops and resellers, while stocks last. You can view back issues of habitat magazine online.
Specifiers:
If you have an idea, project or story that you think would suit habitat, we’d love to hear from you. Please drop us an email with your details and include photos if submitting a project.
Sign up for a DIY card and Save! Australia | New Zealand
![]() Get inspired ! Subscribe
Get inspired ! Subscribe ![]() Get saving ! Apply for a DIY card
Get saving ! Apply for a DIY card
![]()
Can't find what you're looking for? Ask us!
Company profile | Terms | Privacy policy | Quality and environmental policy | Health and safety policy
Colours shown on this website are a representation only. Please refer to the actual paint or product sample. Resene colour charts, testpots and samples are available for ordering online. See measurements/conversions for more details on how electronic colour values are achieved.
What's new | Specifiers | Painters | DIYers | Artists | Kids | Sitemap | Home | TOP ⇧