Project ideas and inspiration from Good magazine
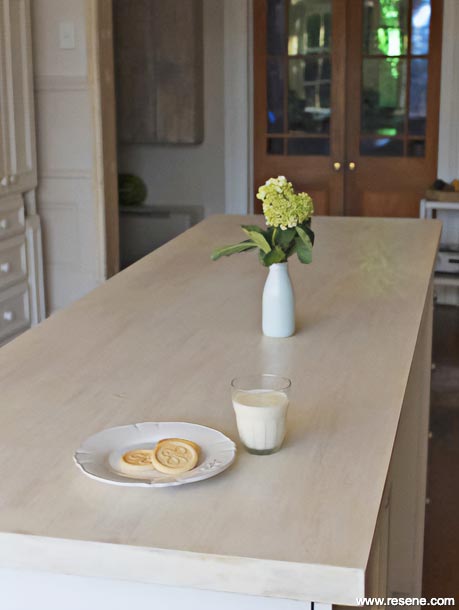
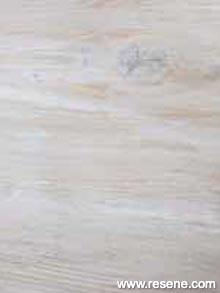
Horizontal surfaces have a huge visual impact. Use whitewashed timber to create a practical working surface that adds loads of character to your kitchen.
One Saturday a few years ago, we decided to give our scrubbed macrocarpa kitchen table a new look by whitewashing it. The solid slab tabletop made it fairly heavy, so the biggest challenge was carrying it outside. But once that was achieved, a quick sand and a light wash of paint later, the table was transformed. The paint shade we used was Resene Bianca, watered down to half strength.
Once the table was dry, a coat of clear sealer protected the paint effect and created a practical, wipeable surface.
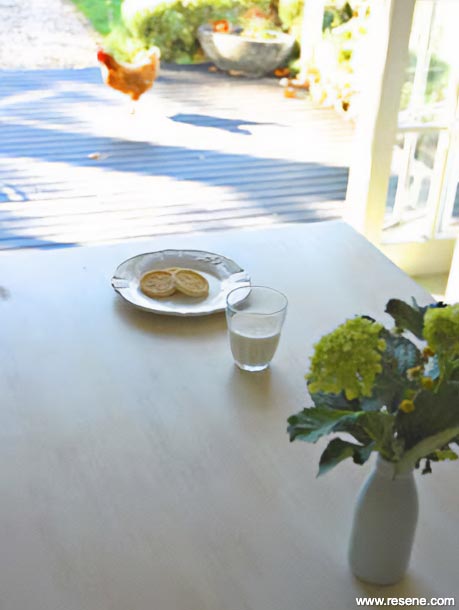
We loved the table’s new white-painted, rather than brown timber, look. After we’d lugged it back inside, what was striking was just how much brighter it made the kitchen seem.


More than one friend later commented that the room felt lighter and airier, but they couldn’t quite identify what had changed.
Whitewashing is an ideal paint treatment for wood surfaces, as you retain the character of the wood grain, without having to embrace a full-on wood tone. It’s also very forgiving of knocks and dings, with any imperfections just adding a little more character. This makes it ideally suited to an occasionally chaotic kitchen such as ours.
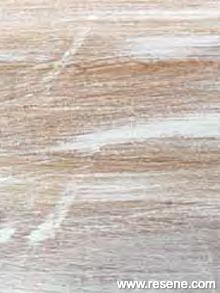

You can use a stain, such as Resene Colorwood tinted in a colour of your choice (see below) or Resene Colorwood Whitewash. For a more painterly effect, use Resene Lustacryl waterborne enamel, watered down a little. The final look depends on how much paint you apply and whether you rub it over with a dry paintbrush, or a soft cloth or old sock. To get the effect you want, try working on a small area at a time, feathering the edges so you can blend the entire surface treatment together. Whitewashing is easy, and the beauty of it is you can experiment – and if you feel inclined, sand surfaces back and re-do it whenever you feel like a change of shade.
Our kitchen has been a slow work-in-progress over the last few years. But now that we’ve finally got new cabinets, we decided to again use whitewashed macrocarpa for the benchtops. This time we’re using the shade Resene Black White, from the Resene Whites & Neutrals range.
Unlike more conventional benchtops made from particle board, compressed plastic or imported marble, I like that the timber of our benchtop grew in a paddock somewhere in the New Zealand countryside, and that it was milled at a sawmill only about 40 kilometres from town. I also like that as a laminated 40mm thick slab, it’s a solid working surface that’s going to last a good long while!
Sealer options to choose from:
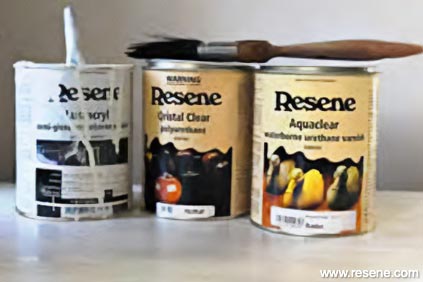
Supplies used
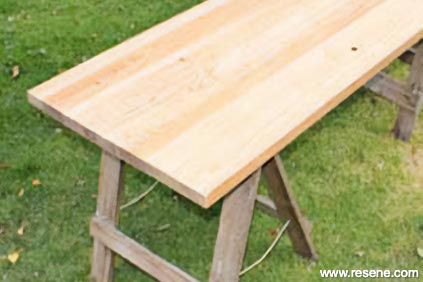
Step 1
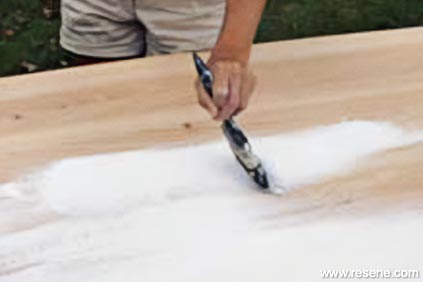
Step 2
Step 1 Ensure your timber surface is clean and smooth.
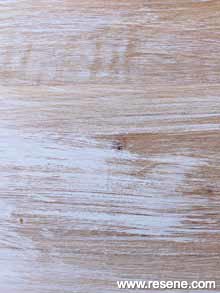
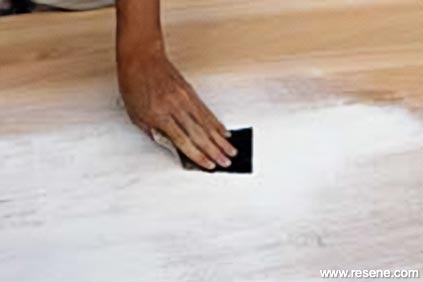
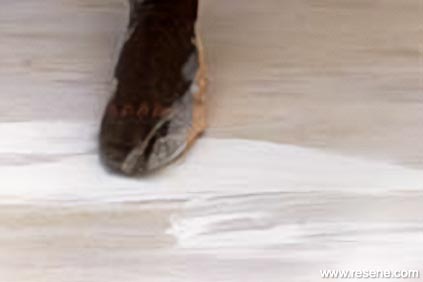
Step 2 Lightly paint one area using a little paint and fast-sweeping strokes following the line of the wood grain. Feather the paint edges, so when you move to the next area you can blend the paint together smoothly.
Step 3
Step 3
Step 3
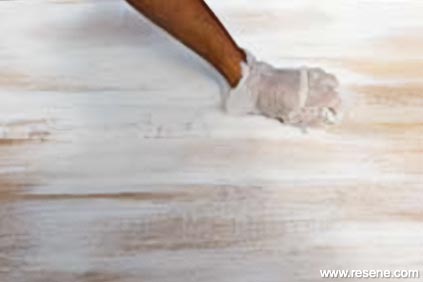
Step 3 Rub over the painted area using a dry paintbrush, an old sock over your hand or a damp cloth for a softer, more even effect. Work fast over the surface as the paint will soak in quickly. If one part has too much paint, remove some of it using a pot-scouring cloth and a little water. Once you have achieved the effect you want, move to the next unpainted area.
Step 4 Once the surface is fully dry, apply several coats of your chosen sealer, per the product instructions.
Photography and styling Sarah Heeringa. Chicken image Amanda Reelick. 2014
Good magazine projects
Wanting to tackle a project at your place but only have a weekend to spare? Get inspired with these projects from Good magazine. Reclaim and upcycle with paint.
![]() Get inspired ! Subscribe
Get inspired ! Subscribe ![]() Get saving ! Apply for a DIY card
Get saving ! Apply for a DIY card
![]()
Can't find what you're looking for? Ask us!
Company profile | Terms | Privacy policy | Quality and environmental policy | Health and safety policy
Colours shown on this website are a representation only. Please refer to the actual paint or product sample. Resene colour charts, testpots and samples are available for ordering online. See measurements/conversions for more details on how electronic colour values are achieved.
What's new | Specifiers | Painters | DIYers | Artists | Kids | Sitemap | Home | TOP ⇧