DIY project from NZ Gardener magazine
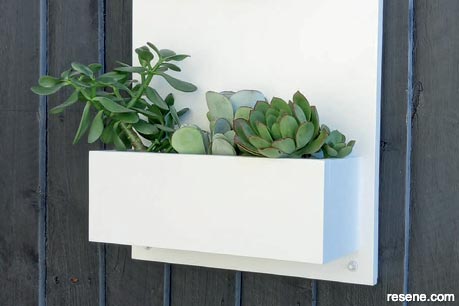
Make your own modern house number planter box.

Fill with soil and compost and put in your favourite plants.
Materials:
Tools:
Health & safety:
Cut list:
These sizes can be adjusted to suit your space requirements.
Cost:
$55 for timber, filler and screws, approximately $25 per house number. This excludes Resene products.
Learn how to make an address planter:
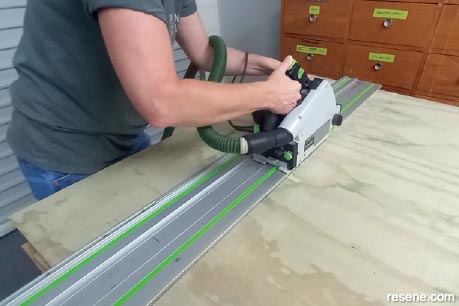 Step 1
Measure and mark your pieces, and cut the exterior plywood to size.
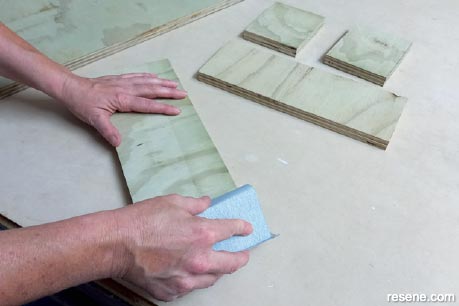 Step 2
Sand each piece, including the edges.
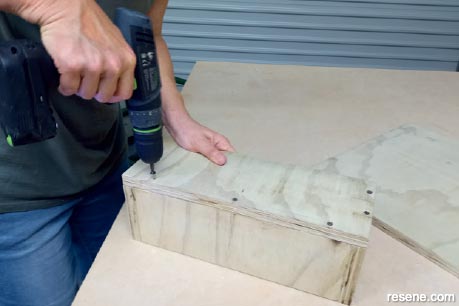 Step 3
Mark out the screw holes on the planter pieces and pre-drill the holes. Screw the pieces together. You can also drill holes into the bottom piece for water drainage.
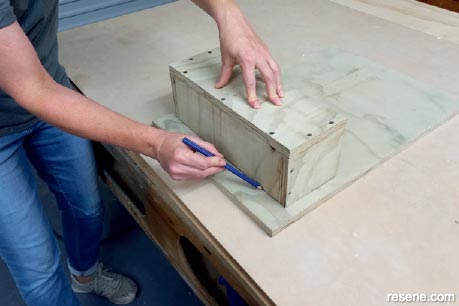 Step 4
Mark out the position of the planter on the plaque, and pre-drill the holes ready for the screws.
 Step 5
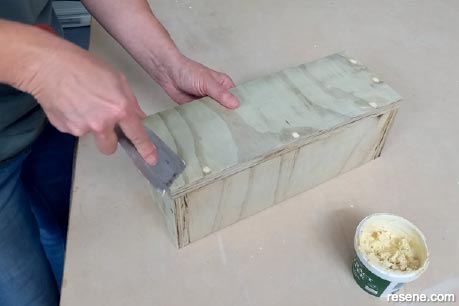
Fill the screw holes on the planter part with the exterior wood filler. Once dry, sand for a nice clean finish. Give the planter and plaque a good dust down.
 Step 6
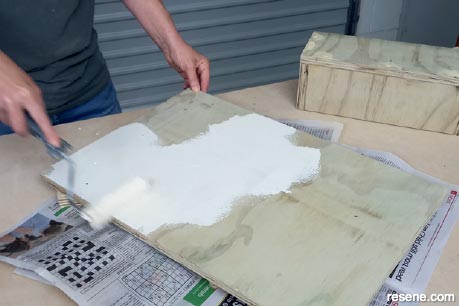
Prime and paint with your Resene exterior paint of choice (always follow the instructions on the tin). It is much easier to paint each piece now before they are screwed together.
 Step 7
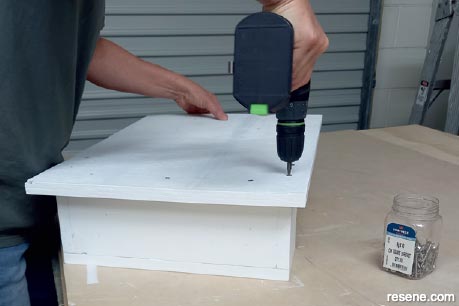
Screw the planter to the plaque from the back.
 Step 8
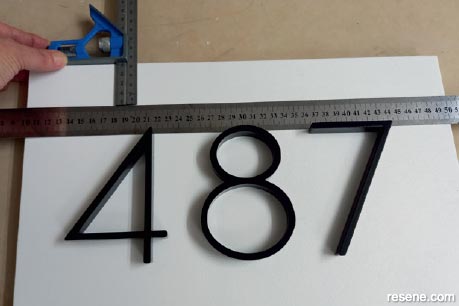
Position and mark out your house numbers, and attach as per the manufacturer’s instructions.
 Step 9
Pre-drill holes in each corner for the wall or fence fixings. Attach your plaque to your wall or fence. Fill with soil and compost and put in your favourite plants.
Project by: Jane Horne
Jane Horne and partner Simon Bartholomew design and develop projects from their studio in Christchurch, managing projects throughout the South Island.
![]() Get inspired ! Subscribe
Get inspired ! Subscribe ![]() Get saving ! Apply for a DIY card
Get saving ! Apply for a DIY card
![]()
Can't find what you're looking for? Ask us!
Company profile | Terms | Privacy policy | Quality and environmental policy | Health and safety policy
Colours shown on this website are a representation only. Please refer to the actual paint or product sample. Resene colour charts, testpots and samples are available for ordering online. See measurements/conversions for more details on how electronic colour values are achieved.
What's new | Specifiers | Painters | DIYers | Artists | Kids | Sitemap | Home | TOP ⇧

