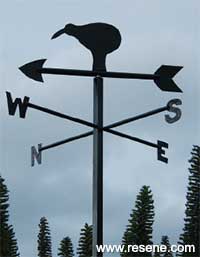
Mark Rayner shows how to make a kiwi weather vane.
You will need: A piece of stucco aluminium (we bought this and all other materials at Mitre 10 Mega), aluminium tubing as follows:
Tin snips, hacksaw, hammer, small nail punch, metal file, drill and 3mm, 10mm and 12mm drill bits, pop riveter with rivets, water-based marker pen, cloth, exterior construction glue, safety goggles, paintbrush, ruler or tape measure, Resene Smooth Surface Sealer, Resene Hi-Glo tinted to Resene Black.
Top tip: For safety, always use safety goggles and smooth rough edges as you go with a metal file.
![]()
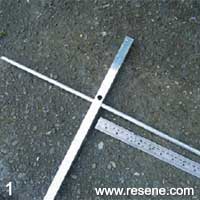
Step 1
Mark guide holes with the punch and then drill two 10mm holes, 150mm from the square aluminium’s top edge, and another two 10mm holes, 160mm from the top edge on the other face. Saw the 10mm length of tubing in half. Slide a piece through the lower two holes, as shown.
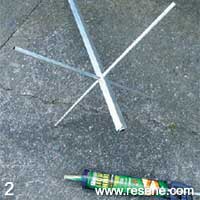
Step 2
Slide the second piece of tubing into place, a shown. Cut a 150mm length of the 16mm tubing. Slide this inside the top of the square aluminium. Fix it with a small amount of construction glue, taking care not to get glue on the inside of the 16mm tubing.
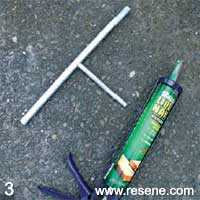
Step 3
Cut a 350mm length of 16mm tubing and a 135mm length of 12mm tubing. Drill a 12mm hole at the mid-point on the 16mm tubing. Slide the 12mm tubing into this hole to form a ‘T’ shape and fix it with construction glue.
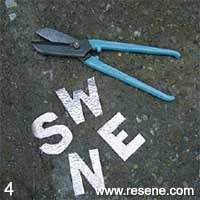
Step 4
Cut the letters N, S, E, and W out of the stucco aluminium, as shown, using the marker to outline the letters first. Wipe them clean afterwards with a cloth. Then cut out a ‘head’ and ‘tail’ for the pointer and a kiwi shape.
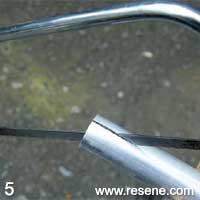
Step 5
Use the hacksaw to cut a 15mm vertical slit in each end of the horizontal bar of the pointer, as shown.
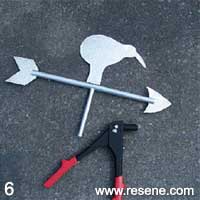
Step 6
Slide the pointer’s head and tail into the slit at each end of the pointer’s horizontal bar. Fix with construction glue. Attach the letters to the main frame the same way. Fix the kiwi to the horizontal bar with pop rivets (follow the manufacturer’s instructions).
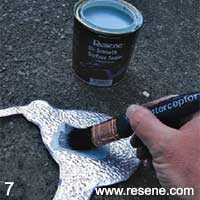
Step 7
Allow glue to dry and then apply one coat of Resene Smooth Surface sealer to the weather vane, allowing two hours for it to dry. Don’t apply sealer to the vertical bar of the pointer.
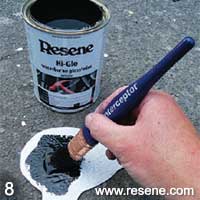
Step 8
Apply two coats of Resene Black to the weather vane, allowing two hours for each coat to dry. Again, don’t paint the vertical bar of the pointer. Once dry, slide the vertical bar of the pointer into the top of the main central frame.
![]() Get inspired ! Subscribe
Get inspired ! Subscribe ![]() Get saving ! Apply for a DIY card
Get saving ! Apply for a DIY card
![]()
Can't find what you're looking for? Ask us!
Company profile | Terms | Privacy policy | Quality and environmental policy | Health and safety policy
Colours shown on this website are a representation only. Please refer to the actual paint or product sample. Resene colour charts, testpots and samples are available for ordering online. See measurements/conversions for more details on how electronic colour values are achieved.
What's new | Specifiers | Painters | DIYers | Artists | Kids | Sitemap | Home | TOP ⇧