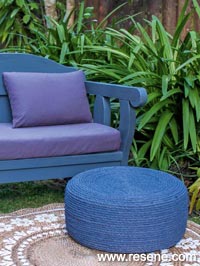
DIY project from NZ Gardener magazine
Rose Hughes upcycles an old tyre into this super stylish outdoor footrest.
You will need: 1 old tyre, 9mm sisal rope (amount required will vary with tyre size – I needed 5 x 15m packs), 6mm ply for top and base, optional feet: 20mm timber or similar cut into 4 squares, 65mm x 65mm pieces, suitable glue and small brush, a few fine gauge nails (to help hold the rope in place while the glue dries), Jigsaw, screwdriver & 8g x 50mm screws, sandpaper, tape measure and pencil, stain and paintbrush (I used Resene Woodsman Wood).
Cost: $95 excluding tyre and paint.
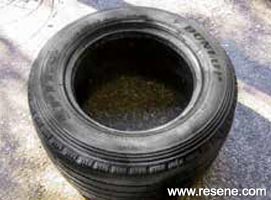 Step one
 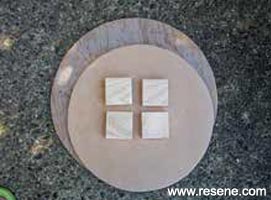 Step two
 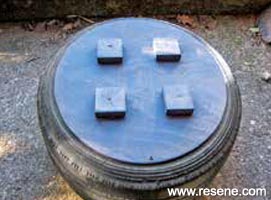 Step three
 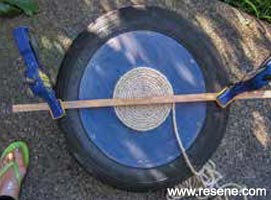 Step four
  Step five
 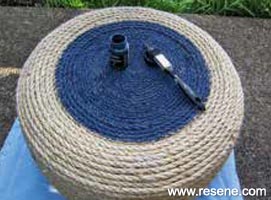 Step six
![]() Get inspired ! Subscribe
Get inspired ! Subscribe ![]() Get saving ! Apply for a DIY card
Get saving ! Apply for a DIY card
![]()
Can't find what you're looking for? Ask us!
Company profile | Terms | Privacy policy | Quality and environmental policy | Health and safety policy
Colours shown on this website are a representation only. Please refer to the actual paint or product sample. Resene colour charts, testpots and samples are available for ordering online. See measurements/conversions for more details on how electronic colour values are achieved.
What's new | Specifiers | Painters | DIYers | Artists | Kids | Sitemap | Home | TOP ⇧