Planting strawberries in winter means they have plenty of time to establish a well-formed root system – plus, you will have strawberries hanging over the sides of your planter come summer.

![]()
Cutting list:
Box one:
Box two:
Box three:
Box four:
Materials:
Tools:
Painting tip: If you’re choosing a dark colour finish, consider using a Resene CoolColour to help reflect more heat on hot summer days.
Top tip: Try to use an untreated hardwood (such as macrocarpa or Oregon) for your project to avoid the chemicals in treated wood that could leach into the soil over time. If H3 or H4 treated pine is all you have then consider lining the sides of your planter with sheets of plastic.
Here's another idea: Add a plywood base to stand this planter on a deck or patio – just remember to drill drainage holes.
How to build a tiered strawberry planter:
 Step one
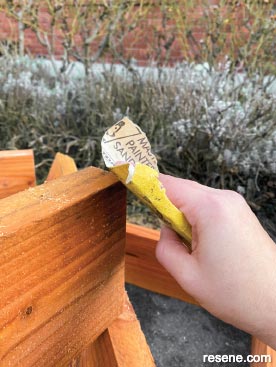
Sand down any rough edges on your timber.
 Step two
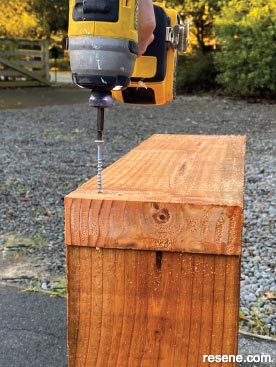
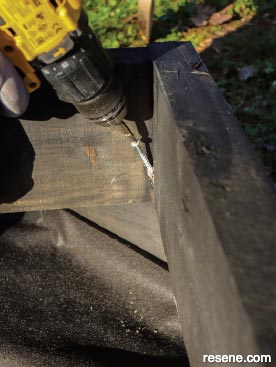
Join the four boards of box one together. Sandwich the two shorter boards inside the longer ones and screw together with 75mm screws, using two screws per corner. An extra pair of hands will make this step easier.
 Step three
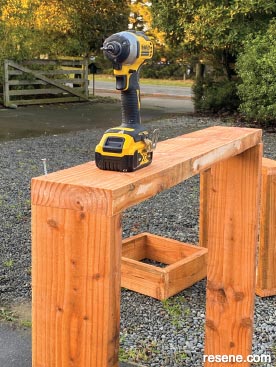
Repeat Step Two to create the next three boxes.
 Step four
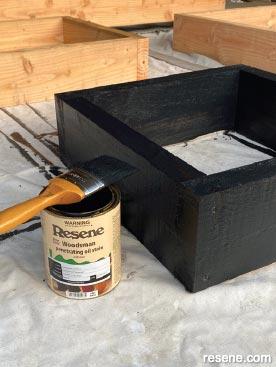
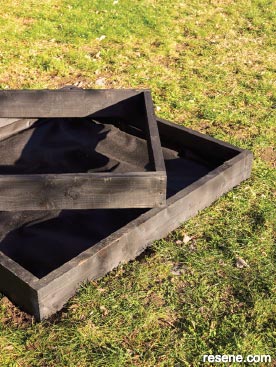
Stain each box with two coats of Resene Waterborne Woodsman penetrating oil stain in your choice of colour, allowing each coat to dry.
 Step five
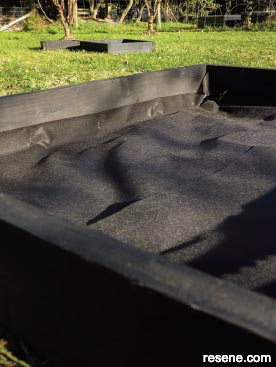
Place box one (the largest box) into position and cover the base with weed mat.
 Step six
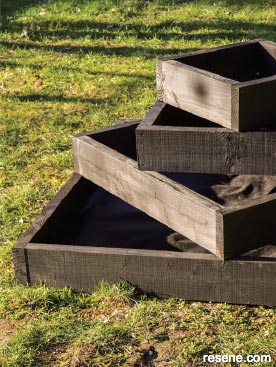
Beginning with box one, measure and mark the halfway point on each side of the box. Place box two diagonally on top of the first, matching each corner with the marks. Screw the two boxes together by screwing down from the inside corner of the top box.
 Step seven
Step seven Repeat Step Six with boxes three and four to create all four tiers.
 Step eight
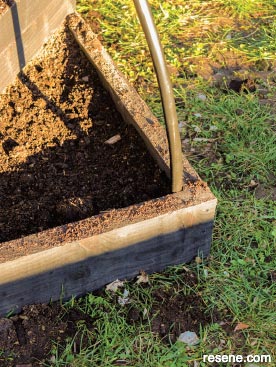
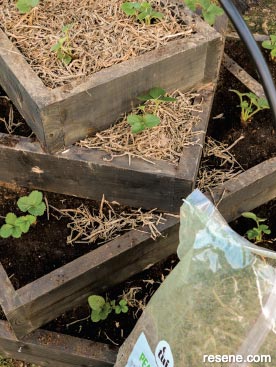
Working from the bottom, fill each tier with a combination of strawberry planting mix and potting mix, saving the strawberry mix for the planting triangles.
 Step nine
Place one end of the poly irrigation pipe in one of the corners of box one and then push the other end of the pipe into the diagonally opposite corner. Do the same with the second length of pipe between the other two corners.
 Step ten
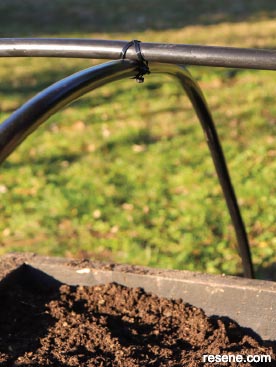
Cable tie the two pipes together where they cross over.
 Step eleven
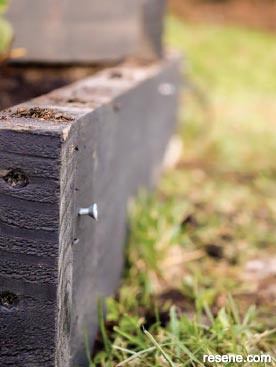
The bottom edge of each side of the planter. This will be where your netting hooks onto, so leave about 1cm of each screw sticking out.
 Step twelve
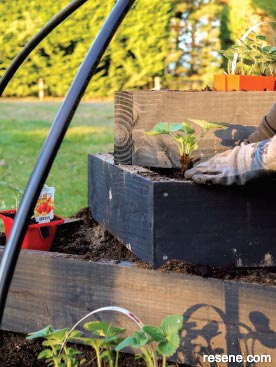
Plant strawberries in each of the triangular spaces created in your planter, as well as in the top tier.
 Step thirteen
Spread pea straw on each tier and water the plants well.
 Step fourteen
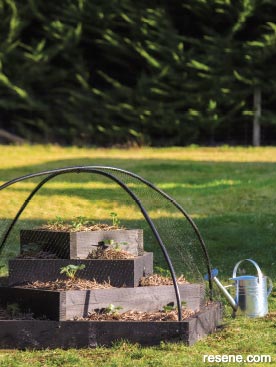
Drape the bird netting over your planter. Secure the netting at the base by hooking it onto the screws along the bottom of each side. (You can save this step for when your strawberry plants start fruiting.)
![]() Get inspired ! Subscribe
Get inspired ! Subscribe ![]() Get saving ! Apply for a DIY card
Get saving ! Apply for a DIY card
![]()
Can't find what you're looking for? Ask us!
Company profile | Terms | Privacy policy | Quality and environmental policy | Health and safety policy
Colours shown on this website are a representation only. Please refer to the actual paint or product sample. Resene colour charts, testpots and samples are available for ordering online. See measurements/conversions for more details on how electronic colour values are achieved.
What's new | Specifiers | Painters | DIYers | Artists | Kids | Sitemap | Home | TOP ⇧

