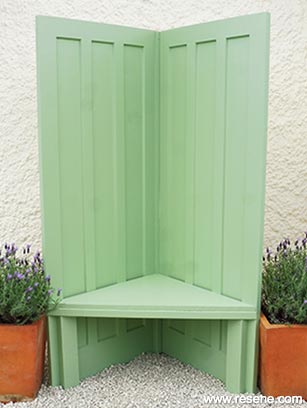
Take a seat
Upcycle a couple of old wooden doors into this stylish outdoor seat, ideal for a quiet corner of the garden.
You will need
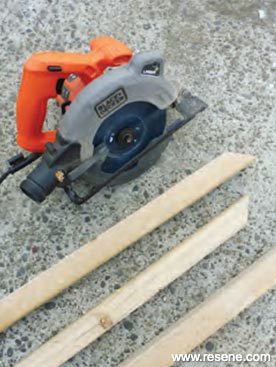
- 50mm x 50mm treated timber (approx. 5000mm)
- 50mm x 75mm treated timber (approx. 900mm)
- 20mm x 20mm treated timber (approx. 1450mm)
- 25mm exterior plywood
- 50mm exterior screws
- 90mm exterior screws
- 4 x large clamps
- Clean cloths
- Drill with 3mm drill bit
- Exterior filler
- Paintbrush
- Pencil
- Putty knife or similar (for filling)
- Resene Lustacryl tinted to Resene Amulet
- Resene Quick Dry
- Sandpaper
- Saw
- Screwdriver
- Set square
- Tape measure
- Two matching wooden doors (ours measured 1950mm x 750mm and were previously painted with an exterior paint)
Keep it safe: To avoid accidental damage or injury, avoid placing the chair in areas of strong wind.
Top tip: This chair is best placed on a patio or deck, as direct contact with soil will eventually rot the wooden doors.
To get the look: Mark painted the background wall with Resene Lumbersider tinted to Resene Dutch White.
How to build a corner seat
 Step one
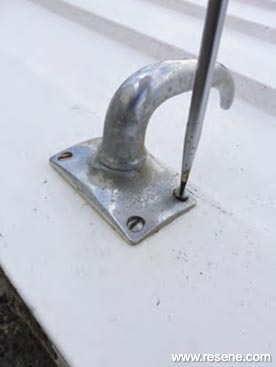
Prepare the doors thoroughly. Clean, if necessary, and remove any hinges and handles. Fill any holes and imperfections with appropriate exterior filler and, once dry, sand the filled areas smooth. Lightly sand the doors to ‘key’ the previously painted surface and wipe off any sanding residue with a clean cloth.
 Step two
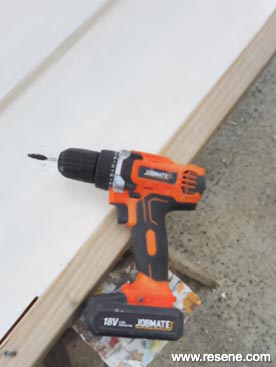
Measure, mark and cut a length of 50mm x 50mm timber to the same height as the doors (approximately 1950mm). Attach this piece of timber along the previously hinged edge of one of the doors. Fix with 90mm screws, drilling pilot holes first.
 Step three
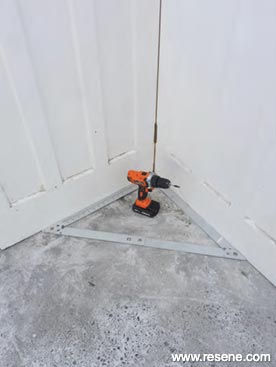
On a flat and level surface, stand both doors upright to form a right angle, as shown. Fix the second door to the piece of 50mm x 50mm timber, again using 90mm screws, drilling pilot holes first. Use the set square to ensure doors are at a 90-degree angle.
 Step four
Measure, mark and cut three pieces of 50mm x 50mm timber to form a triangular base to support the plywood seat, mitring the ends to fit neatly. (In this case, the front length measured approximately 1060mm and the two side lengths approximately 760mm.) At the same time, measure, mark and cut two lengths of 50mm x 75mm timber and one length of 50mm x 50mm timber, all measuring 450mm. Smooth any rough edges with sandpaper.
 Step five
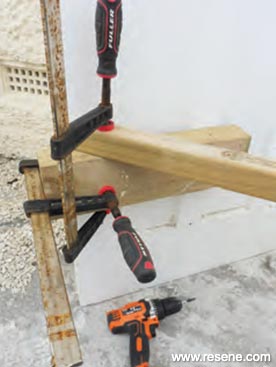
Clamp one of the pieces of 50mm x 75mm timber across the front edge of one of the doors, as shown, to form a temporary support. The top edge should be 450mm up from the bottom of the door. Do the same the other side and then use these clamped pieces of wood to support the front edge of the triangular base as you attach it in place, drilling and fixing it from behind with 90mm screws.
 Step six
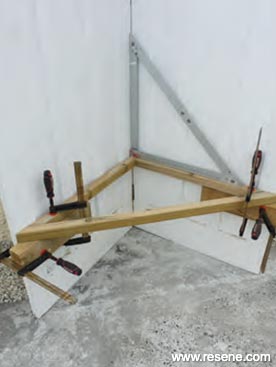
In the same way, attach the other two mitred pieces of 50mm x 50mm timber to complete the triangular frame for the seat, using the set square to ensure the frame is level and at 90 degrees to the back. One again, fix from behind with 90mm screws, drilling pilot holes first. Remove the clamps and temporary supports.
 Step seven
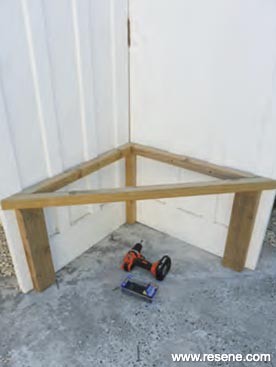
Fit the three remaining 450mm lengths of timber into position, as shown, to form additional vertical side and rear supports for the seat frame. Fix with 90mm screws, drilling pilot holes first.
 Step eight
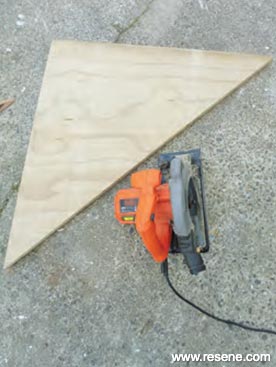
Measure, mark and cut a triangular piece of 25mm plywood to form the seat, ensuring all sides are flush with the support frame below. Smooth any rough edges with sandpaper.
 Step nine
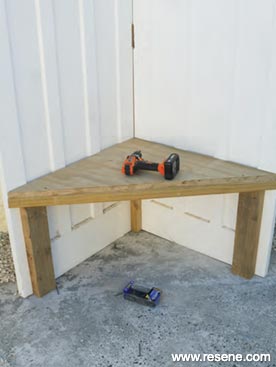
Place the piece of plywood into position on the seat frame, as shown, and fix along the sides with 50mm screws.
 Step ten
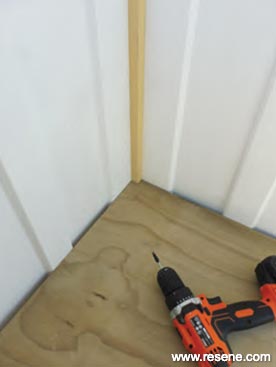
Measure, mark and cut a piece of 20mm x 20mm timber to run down the vertical join at the back of the seat. Fix into position with 50mm screws, drilling pilot holes first. Fill all screw heads and then, once the filler is dry, sand smooth. Wipe off any remaining sanding residue from the seat with a clean cloth.
 Step eleven
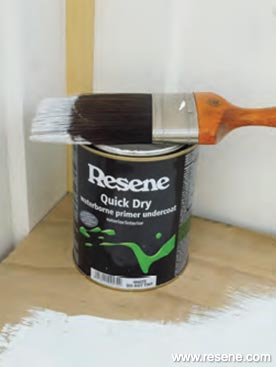
Apply one coat of Resene Quick Dry to the plywood seat and any other areas of bare wood and filled areas. Allow to dry.
 Step twelve
Apply two coats of Resene Lustacryl tinted to Resene Amulet to the entire seat, allowing two hours for each coat to dry.