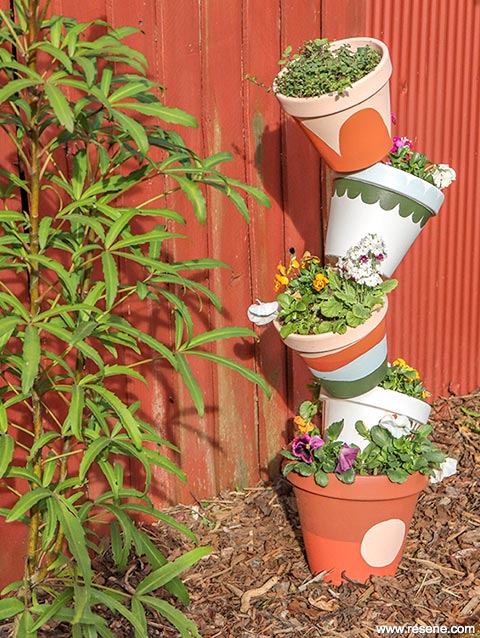
Add a touch of whimsy to your garden with these colourful pots that will keep the kids guessing.
![]()
Our colours: Resene Sunbaked, Resene Soulful, Resene Hot August, Resene Half Hairy Heath, Resene Olive Green, Resene Tiara, Resene Half Blanc.
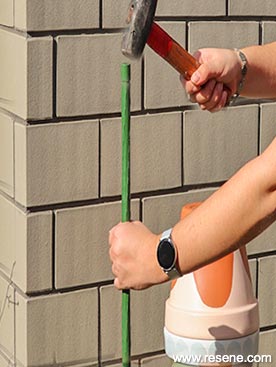
Handy hint: The support post should be able to fit through the drainage holes in the pots and be strong enough to hold the weight of the pots.
Another idea: Strawberries would do great in these pots and kids will love picking the fruit every time they walk past their creation.
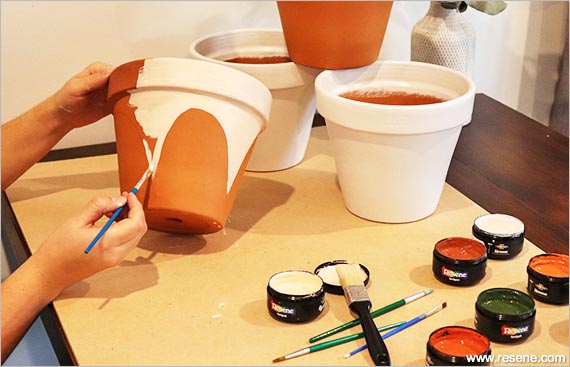
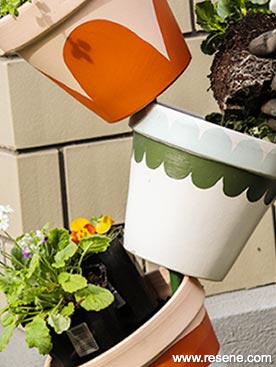
Painting ideas: Get creative with your paints and try an ombre effect, animal faces, metallic paints, or use tape to block out patterns.
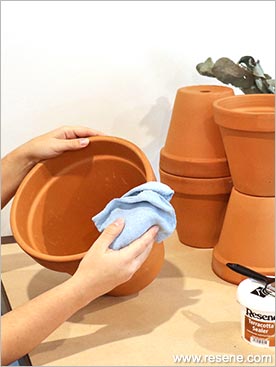
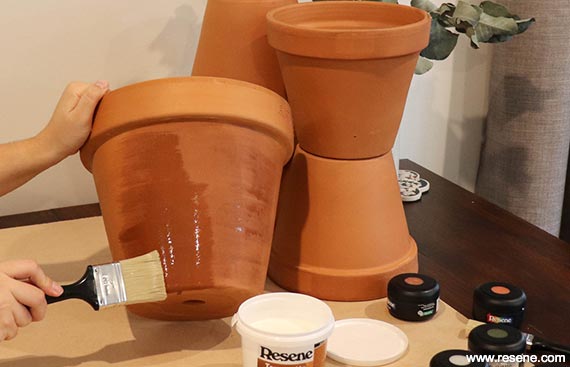
 Step four
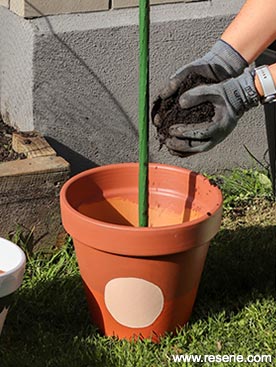 Step five
 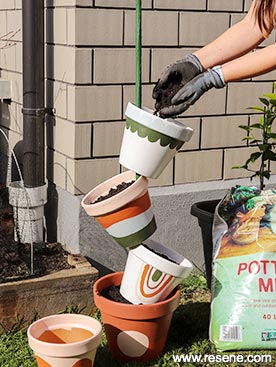 Step six
 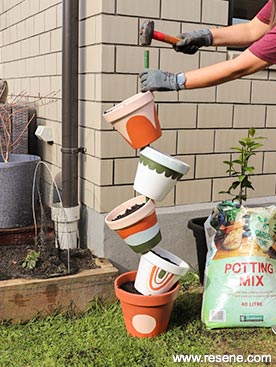 Step seven
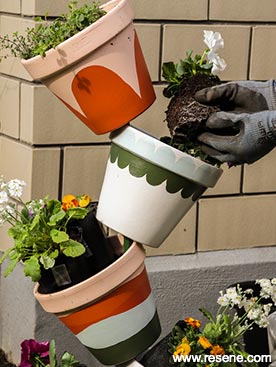 Step eight
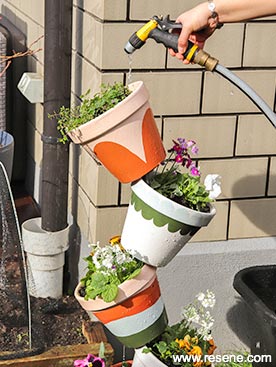 Step nine
![]() Get inspired ! Subscribe
Get inspired ! Subscribe ![]() Get saving ! Apply for a DIY card
Get saving ! Apply for a DIY card
![]()
Can't find what you're looking for? Ask us!
Company profile | Terms | Privacy policy | Quality and environmental policy | Health and safety policy
Colours shown on this website are a representation only. Please refer to the actual paint or product sample. Resene colour charts, testpots and samples are available for ordering online. See measurements/conversions for more details on how electronic colour values are achieved.
What's new | Specifiers | Painters | DIYers | Artists | Kids | Sitemap | Home | TOP ⇧

