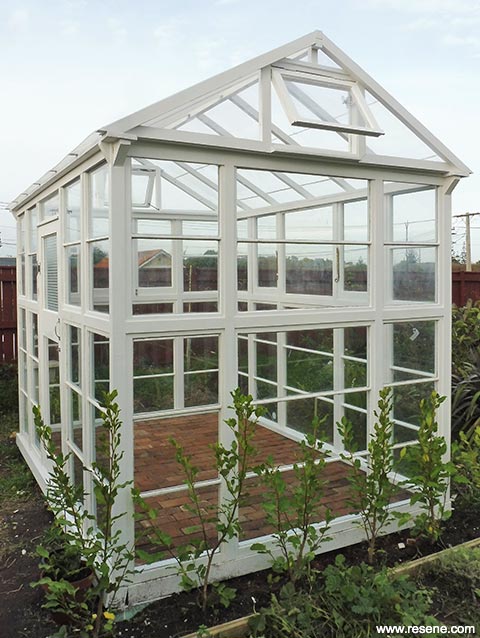
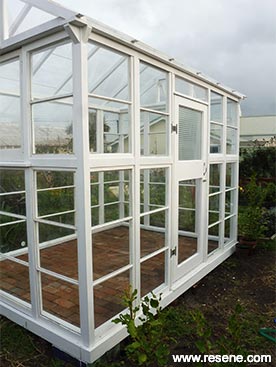
Rise to the challenge and use our glasshouse DIY as inspiration to create your very own winter workspace constructed mostly from found, reclaimed and upcycled materials.
![]()
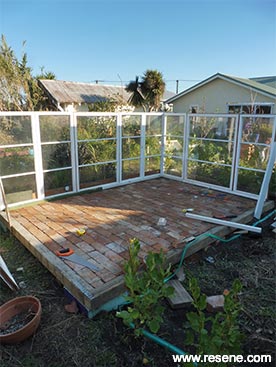
Before you begin: Use the windows and door you have to determine the dimensions and floor plan of the glasshouse. Lay out the windows and door to form each wall on a large flat surface and measure the dimensions to ascertain the size of the floor – ours measured approximately 2.4m x 3.6m.
Handy hint: As an alternative to acrylic panes, the roof could also be covered with clear corrugated plastic or polycarbonate sheeting. Recycled greenhouse glass could also be used, but it may be necessary for some additional bracing for support.
Top tip #1: If the roof timbers you’re using are bare then it’s easiest to prime and paint these before step ten.
Top tip #2: Acrylic sheeting can be successfully cut with a handsaw and also a jigsaw with an appropriate blade. However, for the neatest finish, it’s worth considering having it cut to size by a professional glass company
Other ideas: If you don’t have access to reclaimed bricks, the floor of the glasshouse could also be constructed from old concrete pavers, reclaimed decking, gravel or even left as bare soil for plants to grow directly in the ground..
To get the look: Mark stained the background fence with Resene Waterborne Woodsman tinted to Resene Warm Kwila.
Floor:
Walls:
Roof:
Other materials:
Paint
Tools:
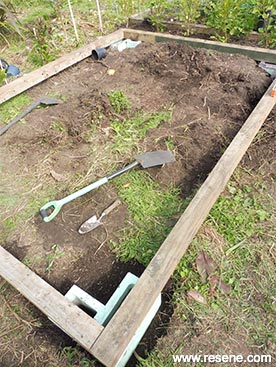
Step 1: Having decided on the dimensions of your glasshouse, measure, mark and cut the 100mm x 100mm fence posts to this footprint. Sink the four concrete blocks into the ground at each corner and place the fence posts on top, ensuring all sides (in all directions) are both level and square using a spirit level and set square. Fix at each corner with a galvanised Tylock plate and four 125mm screws.
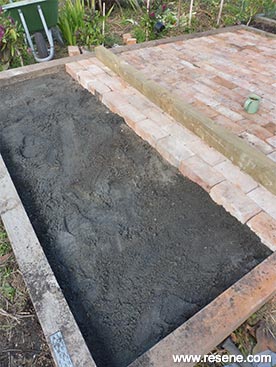
Step 2: Place a layer of sand within this frame and then level and compact it well. Cover with a little more sand and then proceed to lay bricks within the wooden frame, again compacting as you go. Use a length of straight timber or a string line to ensure the bricks are level in both directions across the floor area. Brush sand into any gaps.
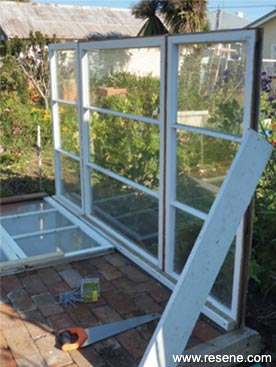
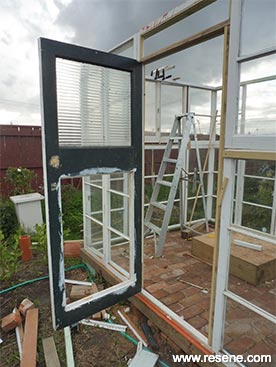
Step 3: Construct the first level of one of the shortest walls, by laying it flat on the brick floor and fixing the windows together along the base with 90mm screws and 50mm x 50mm timber. Screw a temporary brace along the top edges of the windows (on the outside) to keep them in position. Stand this wall section upright and ensure that it’s plumb in both directions using the spirit level. Use a temporary brace, as shown, to keep it in 2. place while you fix it to the timber floor frame with 100mm screws. Fix each of the windows together using 90mm screws, drilling pilot holes first, and countersinking the screw heads.
Step 4: In the same way, assemble the first level of the next wall and fix this into position, as shown.
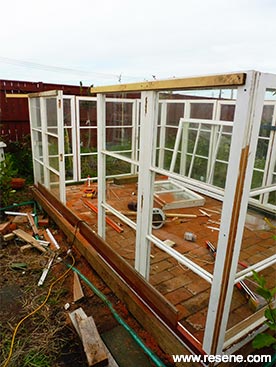
Step 5: In the same way, assemble the first levels of the remaining two walls, leaving a space for the door, as shown. Once again, fix the walls along each base to the timber floor frame with 100mm screws and fix each window to the next using 90mm screws. Use temporary bracing on the outside to keep the structure rigid and in place.
Step 6: Fix two windows of the next level together to form a right angle and attach this at one corner of the glasshouse, as shown. Fix at the base with construction glue and 90mm screws, countersinking the screw heads. Again, keep this structure stable with temporary bracing.
Step 7: In the same way, attach the remaining fixed windows to complete the walls, leaving gaps for the opening windows and door. Attach lengths of 50mm x 50mm timber along the tops of each wall, as shown, fixing with construction glue and 90mm screws.
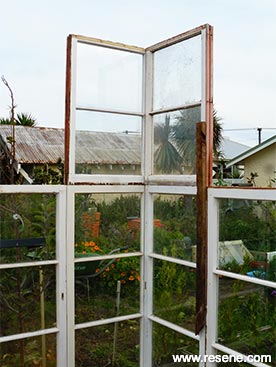
Step 8: Create a door frame and small window from 20mm x 20mm and 25mm x 50mm timber, fixing with 40mm and 65mm screws and construction glue. Fix the door and opening windows into position using the existing hinges.
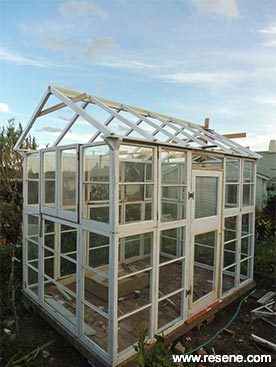

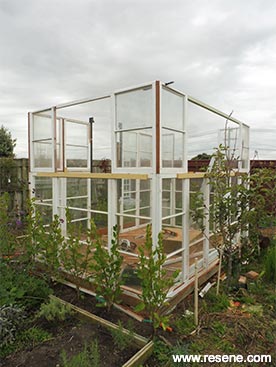
Step 9: Attach two 3.6m lengths of fence paling along the top of the two longest walls with triangular braces at each corner fashioned from off cuts of timber, fixing with screws and construction glue. Assemble the roof frame, as shown, with centres of each rafter approximately 600mm apart. Once again, use temporary bracing to keep the frame upright and in position during construction.
Step 10: Attach two 50mm x 50mm x 2.5m lengths of timber along the inside base of each eave, cutting each end at an angle to fit, and then construct a frame for the opening window in each eave using 50mm x 50mm timber. Fix together with screws and construction glue and then fit each window using the existing hinges and catch.
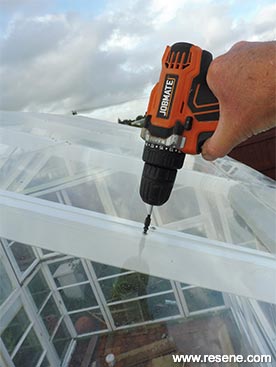
Step 11: Drill 3.5mm holes in the acrylic panes and fix to the rafters with 30mm screws and then seal the gaps between each pane with silicon. Measure, mark and cut the remaining 2.5m lengths of fence paling to form two interior shelves along the base of each eave, fixing with screws and construction glue.
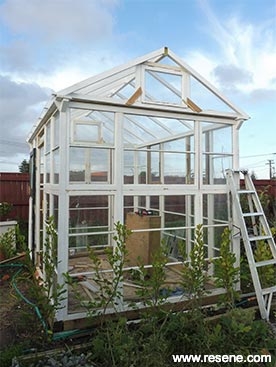
Step 12: Fit the small pane of acrylic in the window over the door and then measure, mark and cut the triangular pieces of acrylic for the eave sections, fixing with screws and sealing with silicon. Remove all temporary bracing.
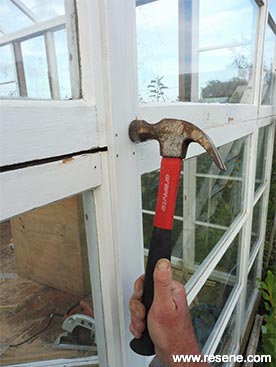
Step 13: Measure, mark and cut the 10mm x 60mm timber moulding to cover vertical and horizontal gaps between the windows on the outside and inside of the glasshouse, fixing with 30mm flathead galvanised nails and construction glue. Fill any screw heads in the construction with filler and, once dry, sand smooth. Fill any gaps inside and out with gap filler.
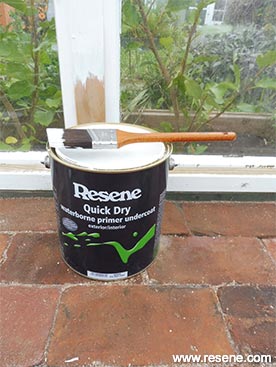
Step 14: Thoroughly clean the windows and frames and then sand any existing paintwork to ‘key’ the surface. Wipe off any sanding residue with a clean cloth and then prime any areas of bare wood and filler with Resene Quick Dry. Allow to dry.
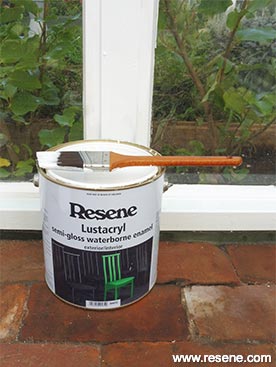
Step 15: Apply two coats of Resene Lustacryl tinted to Resene Quarter Alabaster to the interior and exterior of the glasshouse, allowing two hours for each coat to dry.
![]() Get inspired ! Subscribe
Get inspired ! Subscribe ![]() Get saving ! Apply for a DIY card
Get saving ! Apply for a DIY card
![]()
Can't find what you're looking for? Ask us!
Company profile | Terms | Privacy policy | Quality and environmental policy | Health and safety policy
Colours shown on this website are a representation only. Please refer to the actual paint or product sample. Resene colour charts, testpots and samples are available for ordering online. See measurements/conversions for more details on how electronic colour values are achieved.
What's new | Specifiers | Painters | DIYers | Artists | Kids | Sitemap | Home | TOP ⇧

