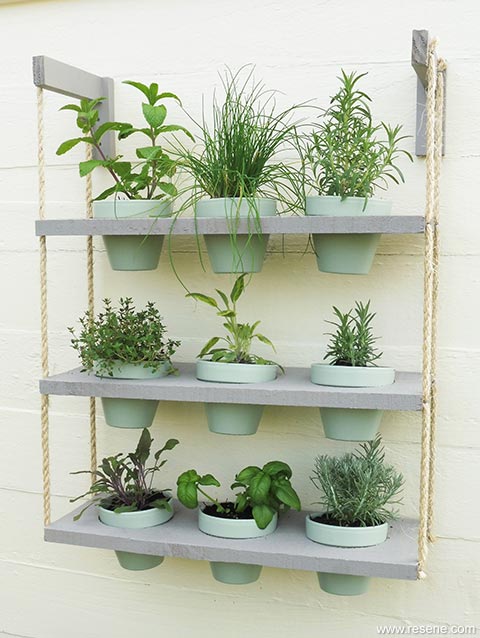
This stylish space-saving herb hanger can be easily made with timber, sisal rope and terracotta pots. It’s an ideal addition to your barbecue area!
You will need:
To get the look: Mark painted the background shed wall with Resene Lumbersider tinted to Resene Pipi.
Other options: If you don’t have timber planking to the dimensions listed, simply substitute with lengths of fence paling, reducing the diameter of the holes and size of the pots accordingly.
More ideas: You could also use the hanger to grow strawberries, trailing annuals or even small succulents.
![]()
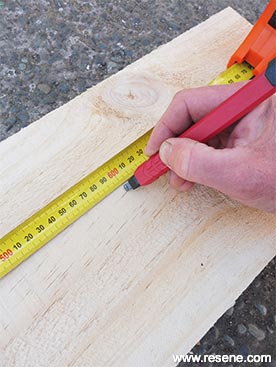 Step one
 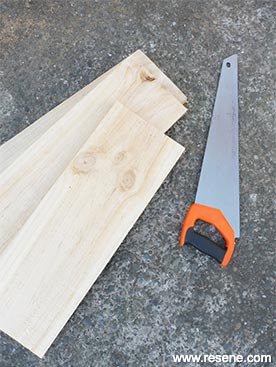 Step two
 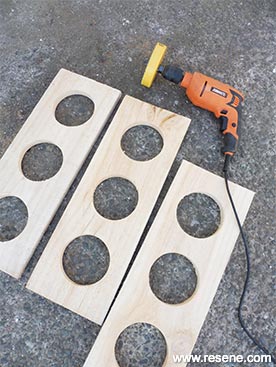 Step three
 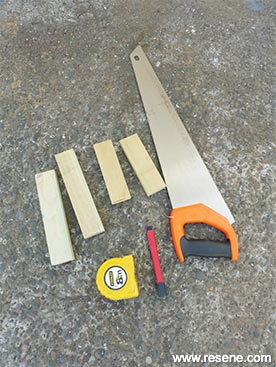 Step four
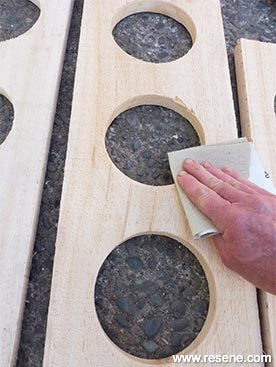 Step five
 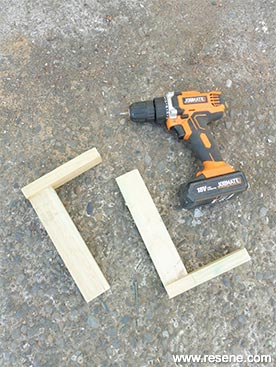 Step six
 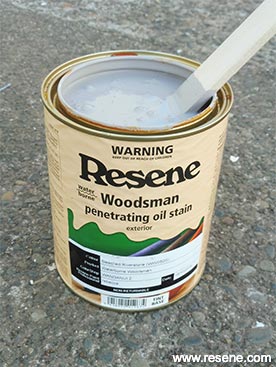 Step seven
 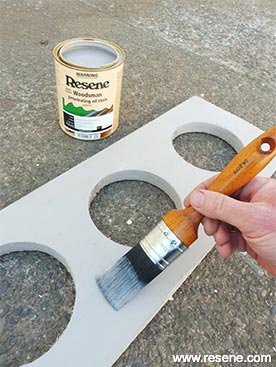 Step eight
 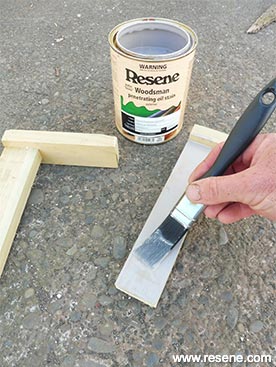 Step nine
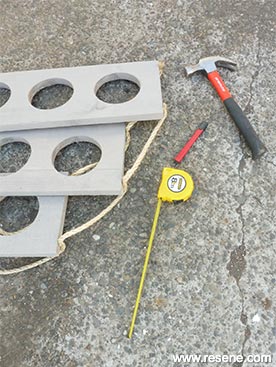 Step ten
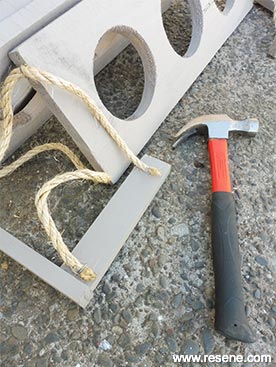 Step eleven
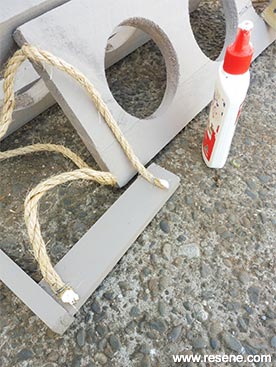 Step twelve
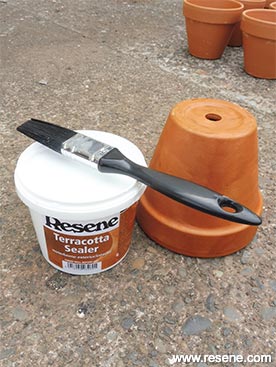 Step thirteen
  Step fourteen
 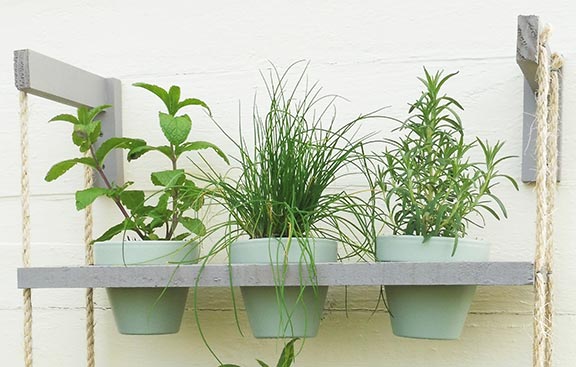 To complete the look: Attach the plant hanger to a wooden fence or shed wall with 50mm screws and plant up the pots with your favourite herbs.
![]() Get inspired ! Subscribe
Get inspired ! Subscribe ![]() Get saving ! Apply for a DIY card
Get saving ! Apply for a DIY card
![]()
Can't find what you're looking for? Ask us!
Company profile | Terms | Privacy policy | Quality and environmental policy | Health and safety policy
Colours shown on this website are a representation only. Please refer to the actual paint or product sample. Resene colour charts, testpots and samples are available for ordering online. See measurements/conversions for more details on how electronic colour values are achieved.
What's new | Specifiers | Painters | DIYers | Artists | Kids | Sitemap | Home | TOP ⇧

