Keep warm in the cooler weather with this easy to build fire pit – and with a simple circular cover it’s converted into a handy outdoor coffee table when not in use.

You will need: 7 x 1.2m fence palings, 40mm exterior screws, 48 x Sedona straight face retaining blocks (ours came from Mitre 10), 50mm x 25mm treated timber (approx 5.5m), concreted area, garden broom, gravel, jigsaw, paint stirrer, paintbrush, pencil, Resene Waterborne Woodsman tinted to Resene Tiri, sandpaper, scissors, screwdriver, string, tape measure.
Safety tips: Take great care when operating a fire pit, burning wood in the centre of the pit only. Supervise children and pets at all times and never leave a burning fire pit unattended. Thoroughly extinguish with water when finished and do not place the timber circle back on the fire pit until extinguished embers are cold.
To get the look: Mark placed a layer of fine lime chip mulch around the fire pit.
![]()
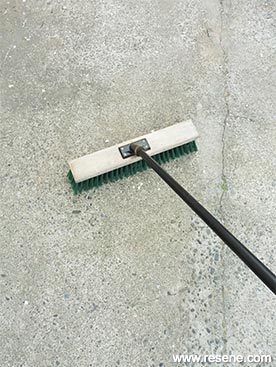 Step one
 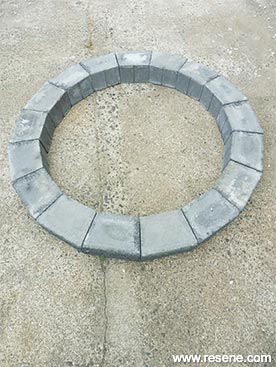 Step two
 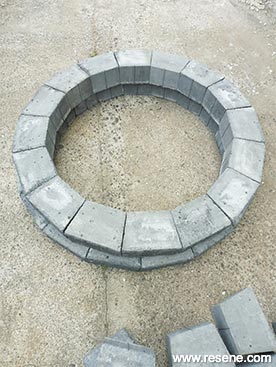 Step three
 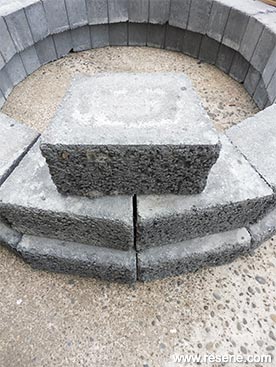 Step four
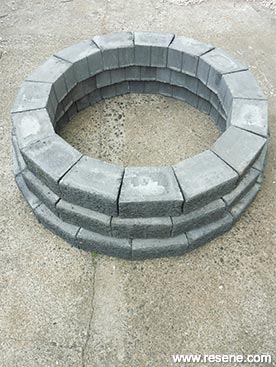 Step five
 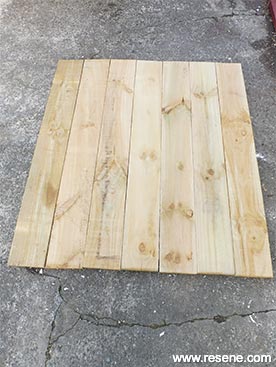 Step six
 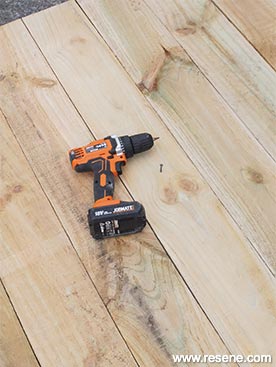 Step seven
 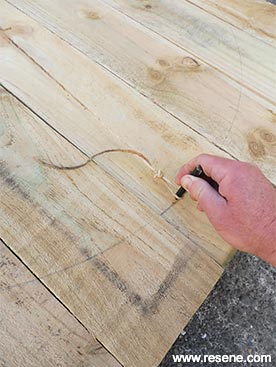 Step eight
 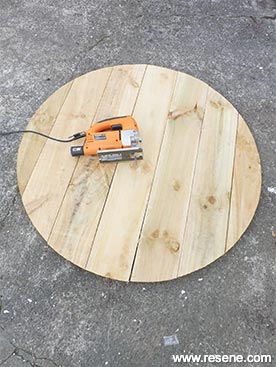 Step nine
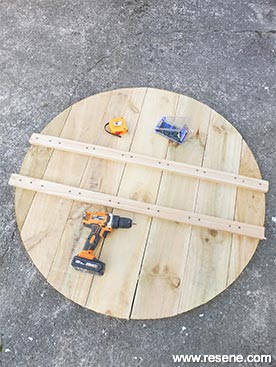 Step ten
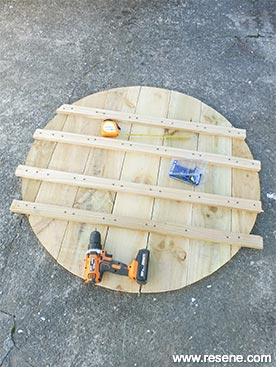 Step eleven
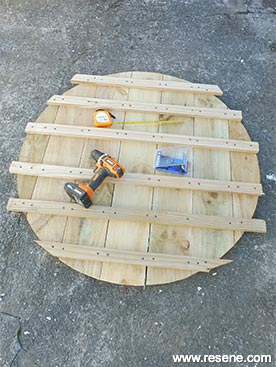 Step twelve
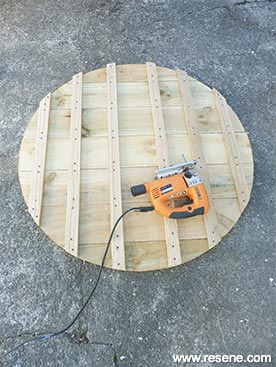 Step thirteen
 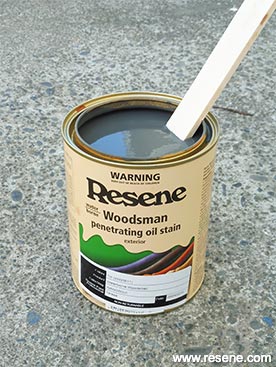 Step fourteen
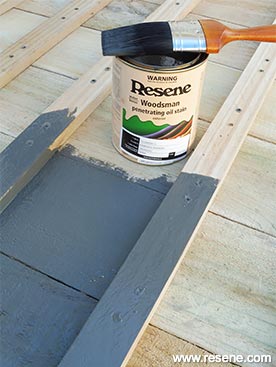 Step fifteen
 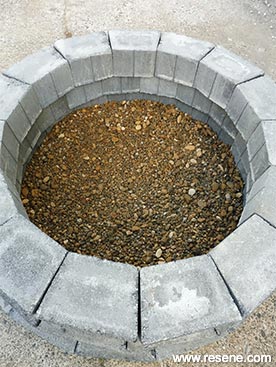 Step sixteen
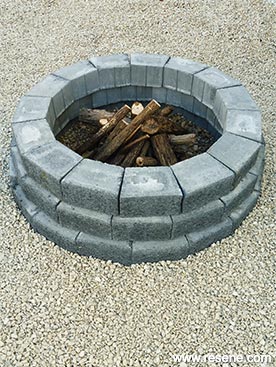 Fire pit finished
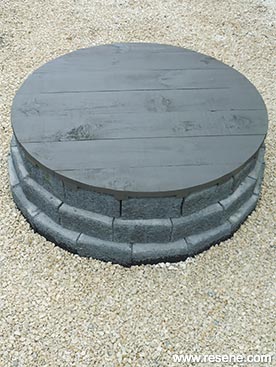 Coffee table alternative
![]() Get inspired ! Subscribe
Get inspired ! Subscribe ![]() Get saving ! Apply for a DIY card
Get saving ! Apply for a DIY card
![]()
Can't find what you're looking for? Ask us!
Company profile | Terms | Privacy policy | Quality and environmental policy | Health and safety policy
Colours shown on this website are a representation only. Please refer to the actual paint or product sample. Resene colour charts, testpots and samples are available for ordering online. See measurements/conversions for more details on how electronic colour values are achieved.
What's new | Specifiers | Painters | DIYers | Artists | Kids | Sitemap | Home | TOP ⇧

